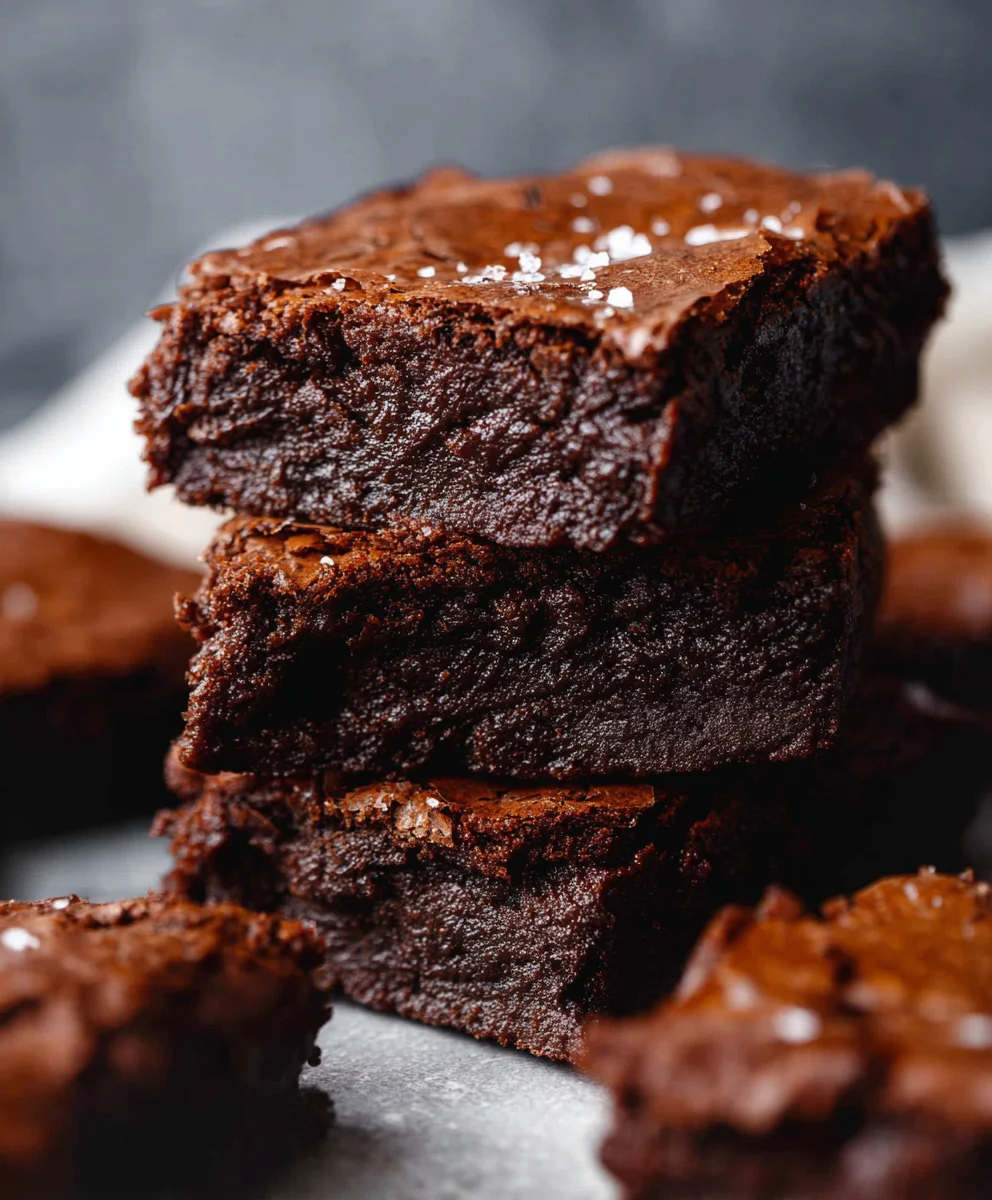
Easy Sourdough Discard Brownies-Rich & Chewy
Easy sourdough discard brownies are about to become your new favorite way to use up that tangy starter! There’s something incredibly satisfying about transforming what might otherwise be a forgotten ingredient into a decadent treat. People absolutely adore these brownies because they strike the perfect balance: intensely chocolatey, fudgy, and with just the right amount of chew. But what truly elevates easy sourdough discard brownies beyond the ordinary? It’s that subtle tang from the sourdough discard that cuts through the richness of the chocolate, adding a layer of complexity you just don’t find in traditional recipes. This simple ingredient swap not only adds flavor but also contributes to a wonderfully moist and tender crum extractb. Get ready to impress yourself and anyone lucky enough to share these with you!
Ingredients:
- 1/2 cup unsalted butter
- 1 1/2 cups semi-sweet chocolate chips (approximately 12 ounces), divided
- 1/2 cup cocoa powder (Dutch-processed or natural, your preference will subtly affect the final flavor and color)
- 2 teaspoons vanilla essence
- 2 large eggs
- 1 large egg yolk
- 1 cup granulated white sugar
- 1/2 cup packed light brown sugar
- 1/2 cup sourdough starter discard (this is the key ingredient that adds a wonderful tang and chewy texture!)
- 1 cup all-purpose flour
- 1 teaspoon salt
Preparing the Brownie Batter
Melting the Chocolate and Butter
Start by creating a beautiful, glossy base for your brownies. In a medium-sized, heatproof bowl, combine the 1/2 cup of unsalted butter and 1 cup of the semi-sweet chocolate chips. I find it’s easiest to do this by setting the bowl over a saucepan filled with about an inch of simmering water. Make sure the bottom of the bowl doesn’t touch the water – we want to gently melt the chocolate and butter, not scorch them. Stir occasionally with a spatula until everything is completely smooth and melted. This process typically takes about 5-7 minutes. Once it’s a luscious, uniform mixture, carefully remove the bowl from the heat. You can also achieve this by microwaving the butter and chocolate in short, 30-second bursts, stirring in between, until melted and smooth. This method requires a bit more attention to avoid overheating.
Incorporating the Wet Ingredients
Now, let’s add the flavor and richness. To the melted chocolate and butter mixture, stir in the 1/2 cup of cocoa powder. Whisk it thoroughly until it’s fully incorporated and there are no dry pockets of cocoa. Next, add the 2 teaspoons of vanilla essence and give it a quick stir. The aroma at this stage is already incredible! Then, add the 2 large eggs and the extra egg yolk. Beat them in with a whisk until they are just combined. Don’t over-beat at this stage; we’re not trying to whip air into the batter. Finally, it’s time for our sourdough secret weapon: the 1/2 cup of sourdough starter discard. Stir this in until it’s just combined with the chocolate mixture. You’ll notice the batter becoming slightly thicker and developing a beautiful sheen.
Adding the Dry Ingredients and Finishing the Batter
Combining Sugars and Flour
In a separate medium bowl, whisk together the 1 cup of granulated white sugar and the 1/2 cup of packed light brown sugar. The brown sugar adds moisture and a lovely caramel note to the brownies. Next, add the 1 cup of all-purpose flour and the 1 teaspoon of salt to this dry mixture. Whisk everything together well to ensure the salt and flour are evenly distributed. Having the salt distributed throughout the dry ingredients helps to balance the sweetness and enhance the chocolate flavor.
Bringin extractg It All Together
Now, it’s time to combine the wet and dry ingredients. Gradually add the dry ingredients to the wet chocolate mixture. You can do this in two or three additions, mixing gently with your spatula after each addition. Be careful not to overmix the batter at this stage. Overmixing can develop the gluten in the flour, leading to tougher brownies. We’re aiming for a thick, fudgy batter with just enough mixing to incorporate the flour. Stop mixing as soon as you no longer see streaks of dry flour. The batter will be quite dense and rich, which is exactly what we want for decadent brownies.
Adding the Remaining Chocolate Chips
The final touch for ultimate chegrape juicess and pockets of melted chocolate is to stir in the remaining 1/2 cup of semi-sweet chocolate chips. Gently fold these into the batter with your spatula. Ensure they are distributed throughout, but again, avoid overmixing. Some bakers prefer to reserve a few chocolate chips to sprinkle on top of the batter before baking for an extra visual appeal and an immediate hit of melted chocolate. This is entirely optional but highly recommended for those who truly love chocolate.
Baking the Easy Sourdough Discard Brownies
Preparing the Baking Pan and Oven
Preheat your oven to 350 degrees Fahrenheit (175 degrees Celsius). Line an 8×8 inch baking pan with parchment paper, leaving an overhang on the sides. This makes it incredibly easy to lift the brownies out of the pan once they’re baked and cooled. You can also grease the pan well before lining it for extra assurance against sticking.
Baking Time and Testing for Doneness
Pour the thick, fudgy batter into the prepared baking pan and spread it evenly with your spatula. Make sure the batter reaches all the corners. Place the pan in the preheated oven and bake for 25-30 minutes. The baking time can vary depending on your oven, so it’s important to keep an eye on them. You’ll know they’re ready when the edges are set and a toothpick inserted into the center comes out with moist crum extractbs attached, but not wet batter. If you prefer a gooier brownie, you can bake them for a minute or two less. If you like a slightly firmer brownie, bake them a minute or two longer.
Cooling for Perfect Texture
This is a crucial step for achieving the perfect brownie texture. Once baked, remove the pan from the oven and let the brownies cool completely in the pan on a wire rack. This can take at least an hour, and ideally longer. Resist the urge to cut into them while they are still warm, as they will be much softer andrum extractght crumble. The cooling process allows the brownies to set up properly, resulting in that delightful fudgy chew. Once they have cooled completely, you can use the parchment paper overhang to lift the entire slab of brownies out of the pan. Then, cut them into squares using a sharp knife. For extra clean cuts, you can wipe your knife between each slice.
Conclusion:
There you have it – a straightforward guide to creating the most delightful Easy Sourdough Discard Brownies! We’ve transformed that precious sourdough discard into rich, fudgy, and intensely chocolatey brownies that are surprisingly simple to whip up. The magic lies in the discard’s subtle tang, which perfectly complements the deep cocoa flavor, creating a brownie experience that’s both familiar and excitingly new. These are perfect for satisfying any sweet craving, from an afternoon pick-me-up to an impressive dessert for friends and family.
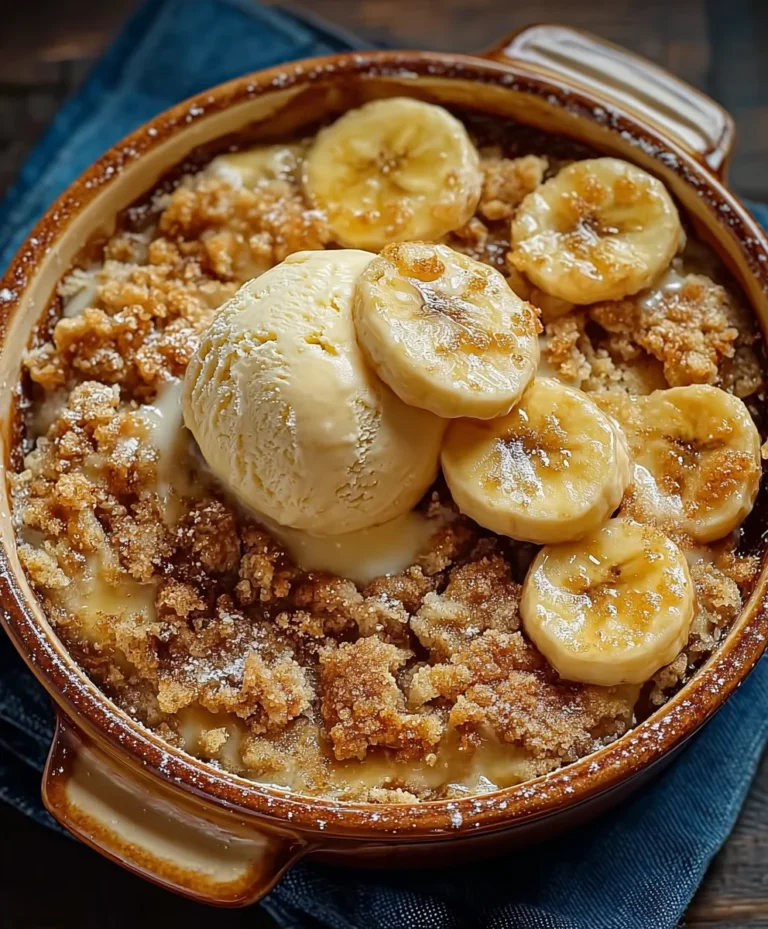
I encourage you to give these Easy Sourdough Discard Brownies a try. Don’t be intimidated by the sourdough element; it’s honestly a game-changer for texture and flavor. Feel free to experiment with add-ins like chocolate chips, chopped nuts, or even a swirl of caramel. Serve them warm with a scoop of vanilla ice cream, or enjoy them at room temperature with a tall glass of milk. Happy baking!
Frequently Asked Questions about Easy Sourdough Discard Brownies:
What is the best way to store Easy Sourdough Discard Brownies?
These brownies are best stored in an airtight container at room temperature for up to 3-4 days. For longer storage, you can refrigerate them, but allow them to come to room temperature before serving for the best fudgy texture. They also freeze beautifully for up to 3 months.
Can I use active sourdough starter instead of discard?
While the recipe is specifically designed for discard, you can use active starter, but you’ll need to adjust the liquid and possibly the leavening. Using active starter would likely result in a cakier brownie and the tang might be more pronounced. For the fudgiest, most balanced flavor as intended, sourdough discard is ideal.
Easy Sourdough Discard Brownies-Rich & Chewy
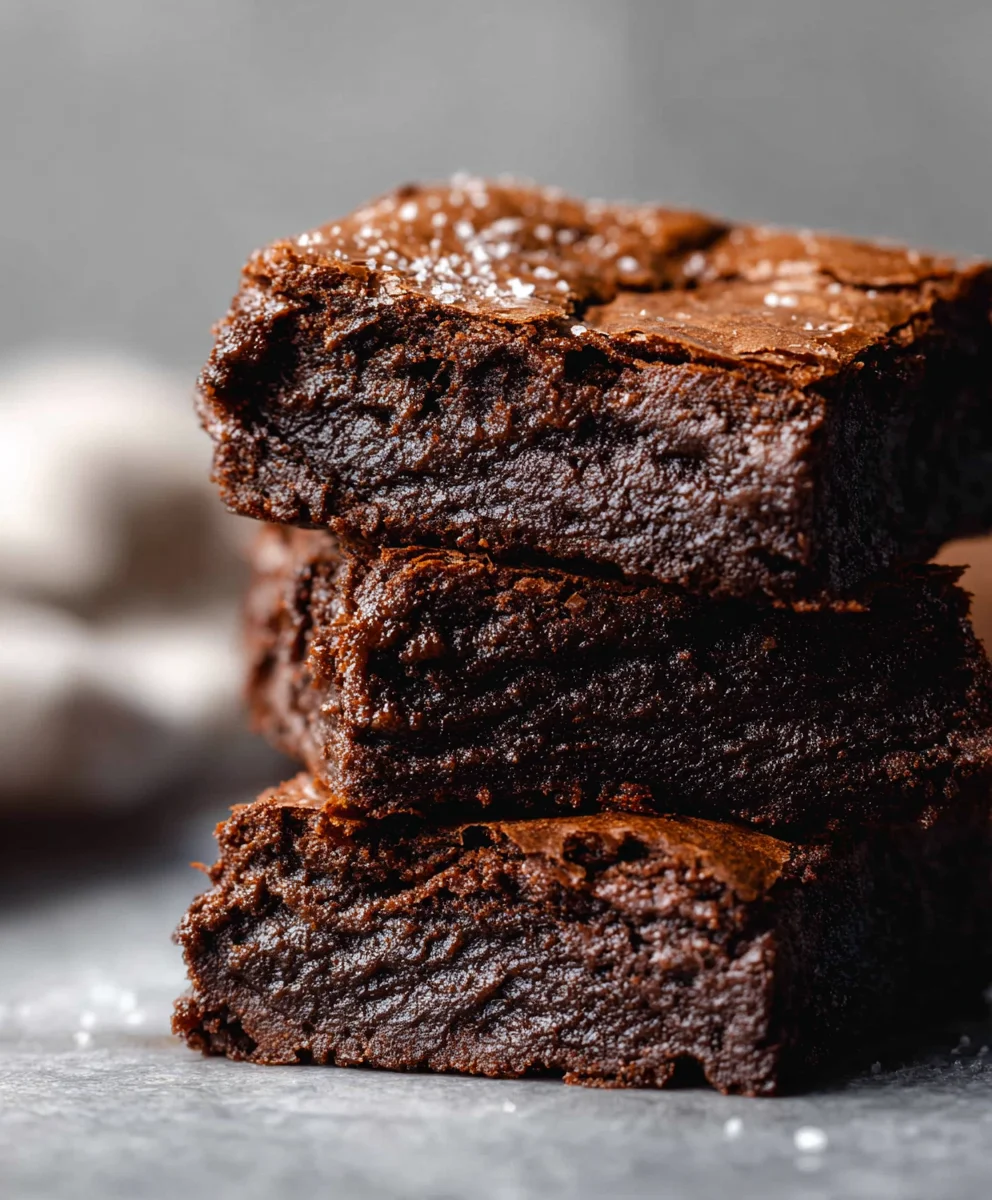
Decadent, rich, and chewy brownies made with the addition of sourdough starter discard for a unique tang and texture. These brownies feature a glossy, fudgy interior and are studded with chocolate chips.
Ingredients
-
1/2 cup unsalted butter
-
1 1/2 cups semi-sweet chocolate chips, divided
-
1/2 cup cocoa powder
-
2 teaspoons vanilla essence
-
2 large eggs
-
1 large egg yolk
-
1 cup granulated white sugar
-
1/2 cup packed light brown sugar
-
1/2 cup sourdough starter discard
-
1 cup all-purpose flour
-
1 teaspoon salt
Instructions
-
Step 1
Melt 1/2 cup unsalted butter and 1 cup semi-sweet chocolate chips together in a heatproof bowl over simmering water or in the microwave until smooth. -
Step 2
Stir in 1/2 cup cocoa powder until fully incorporated. Add 2 teaspoons vanilla essence, then beat in 2 large eggs and 1 egg yolk until just combined. Stir in 1/2 cup sourdough starter discard until just combined. -
Step 3
In a separate bowl, whisk together 1 cup granulated white sugar and 1/2 cup packed light brown sugar. Add 1 cup all-purpose flour and 1 teaspoon salt, whisking to combine. -
Step 4
Gradually add the dry ingredients to the wet chocolate mixture, mixing gently with a spatula until just combined and no streaks of dry flour remain. Fold in the remaining 1/2 cup semi-sweet chocolate chips. -
Step 5
Preheat oven to 350°F (175°C). Line an 8×8 inch baking pan with parchment paper. Pour batter into the pan and spread evenly. -
Step 6
Bake for 25-30 minutes, or until the edges are set and a toothpick inserted into the center comes out with moist crumbs. Cool completely in the pan on a wire rack before cutting.
Important Information
Nutrition Facts (Per Serving)
It is important to consider this information as approximate and not to use it as definitive health advice.
Allergy Information
Please check ingredients for potential allergens and consult a health professional if in doubt.