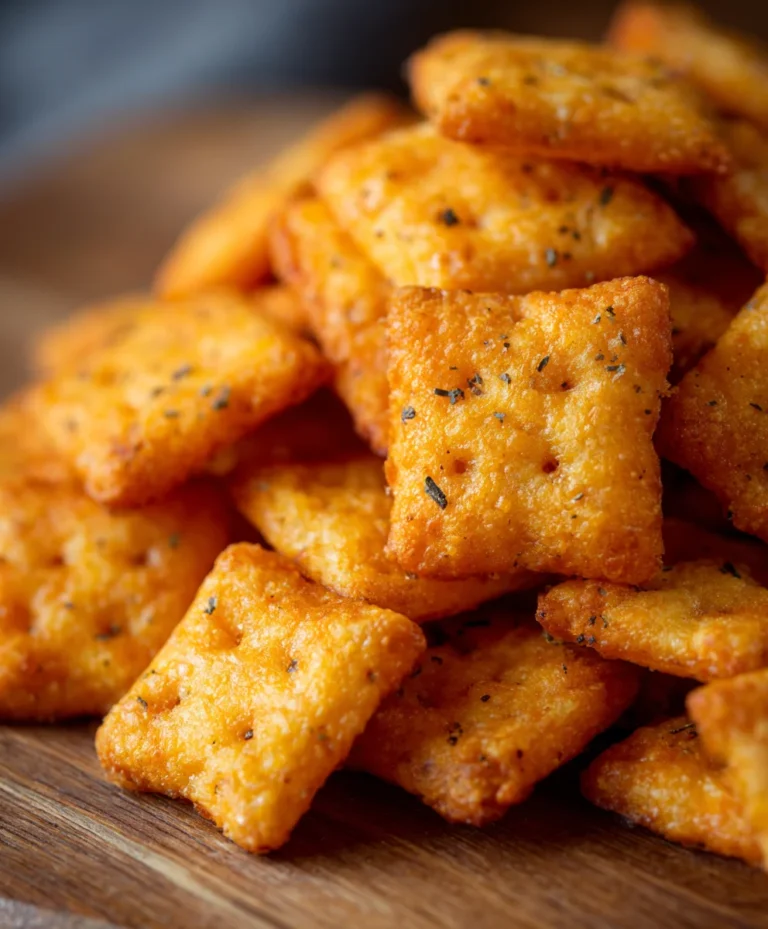
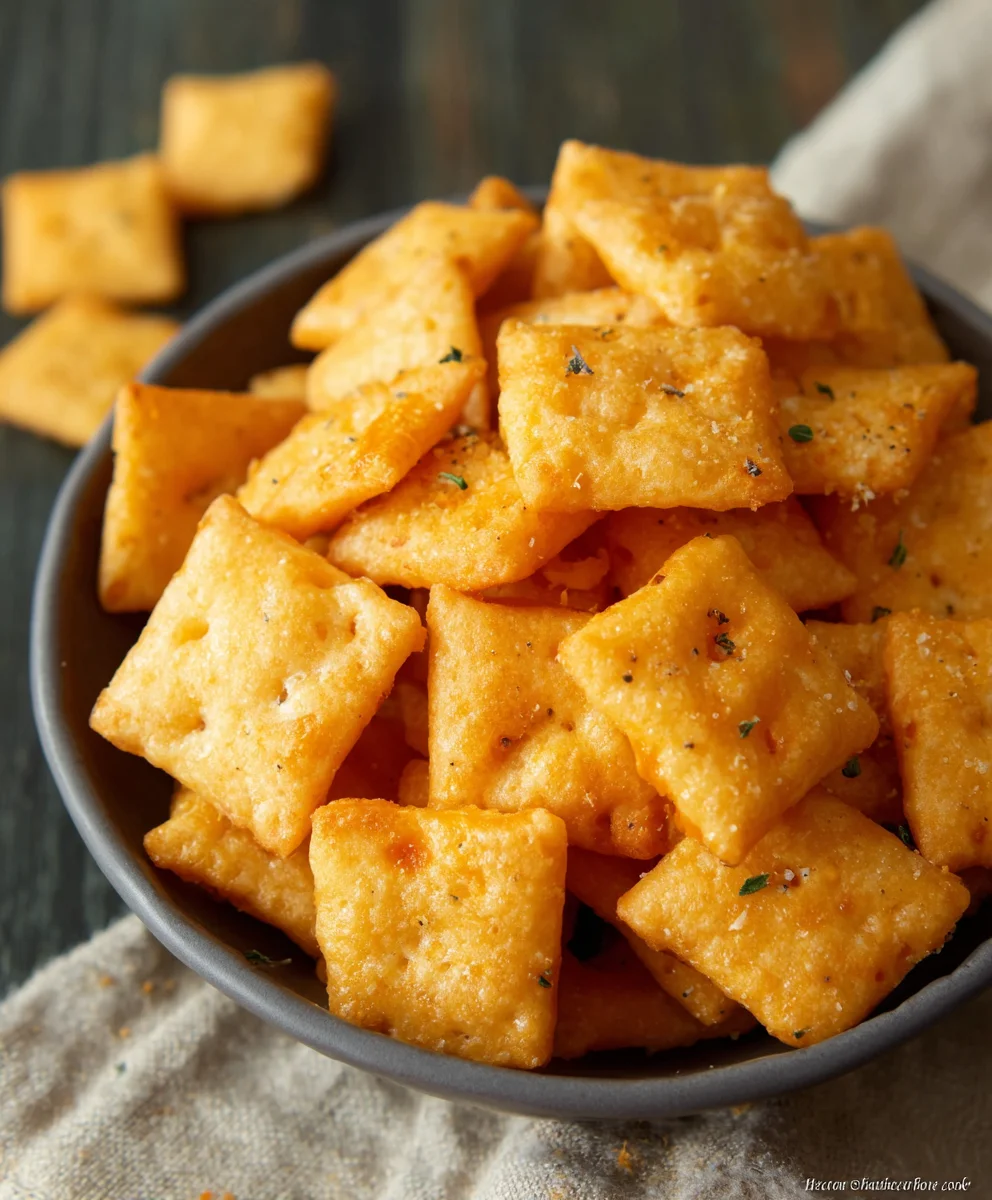
Gluten Free Cheez Its – Crispy Cheesy Snack Crackers
Gluten Free Cheez Its are more than just a snack; they’re a revelation for anyone who loves that signature sharp, cheesy, satisfying crunch but needs to avoid gluten. We’ve all been there, staring longin extractgly at the orange box, wishing for a way to enjoy that iconic flavor without the wheat. Well, wish no more! This recipe unlocks the secret to recreating those beloved crackers right in your own kitchen, delivering an unbelievably authentic taste and texture that will have you reaching for more. What is it about Cheez Its that captures our hearts? It’s that perfect salty-cheesy balance, that addictive crispiness that makes them the ultimate movie-watching, afternoon pick-me-up, or just an everyday treat. But making them gluten-free? That’s where the magic truly happens, transforming a childhood favorite into a guilt-free indulgence that everyone can enjoy. Get ready to discover your new favorite homemade snack!

Ingredients:
- 8 ounces cheddar cheese (mild or sharp), finely grated
- 4 tablespoons unsalted butter, chilled and cut into small cubes
- 1 cup gluten free flour blend (ensure it contains xanthan gum for best results)
- 1/2 teaspoon salt
- 1/8 teaspoon garlic powder
- 3 tablespoons ice cold water
- 1 teaspoon coarse salt, for sprinkling
- 1/8 teaspoon onion powder
Making Your Gluten Free Cheez-Its
This recipe will guide you through creating incredibly satisfying Gluten Free Cheez-Its that rival the store-bought version, but with the added benefit of knowing exactly what’s in them. The key to achieving that classic cheesy crunch lies in the quality of your cheese and the careful handling of the dough. Let’s get started on crafting these addictive little crackers.
Dough Preparation
First, let’s get our dough ready. In a large mixing bowl, combine your 1 cup of gluten free flour blend, 1/2 teaspoon of salt, 1/8 teaspoon of garlic powder, and 1/8 teaspoon of onion powder. Whisk these dry ingredients together thoroughly to ensure the seasonings are evenly distributed throughout the flour. This is a crucial step for consistent flavor in every bite. Next, add the chilled, cubed unsalted butter to the dry ingredients. Using a pastry blender, two forks, or your fingertips, work the butter into the flour mixture until it resembles coarse crum extractbs, with some pea-sized pieces of butter remaining. Don’t overwork it; these little butter pockets will contribute to a delightful flakiness.
Now, it’s time to incorporate the star of the show: the cheese! Add the 8 ounces of finely grated cheddar cheese to the flour and butter mixture. Gently toss the cheese with the dry ingredients to coat it. We want the cheese to be well distributed, but again, avoid overmixing at this stage. The goal is for the cheese to bind with the flour and butter, not to melt into a paste.
Finally, it’s time to bring the dough together. Gradually add the 3 tablespoons of ice-cold water, one tablespoon at a time, mixing gently with a fork or your hands after each addition. You might not need all of the water, or you might need a tiny bit more depending on the humidity and your specific gluten free flour blend. The dough should just start to come together into a shaggy mass. It shouldn’t be sticky, but it should hold together when squeezed. Once it’s cohesive, gather the dough into a ball. Be careful not to overwork it at this point; overworking gluten-free dough can lead to tough crackers.
Chilling and Rolling the Dough
Once your dough has come together, it needs a little rest and chill. Flatten the dough into a disk, wrap it tightly in plastic wrap, and refrigerate for at least 30 minutes. This chilling period is vital. It allows the gluten free flours to hydrate properly, the butter to firm up again, and makes the dough much easier to handle and roll out without sticking. This step significantly improves the texture and crispness of your final Gluten Free Cheez-Its.
After chilling, remove the dough from the refrigerator and let it sit at room temperature for a few minutes if it’s too stiff to roll. Place the dough between two sheets of parchment paper. This is the easiest way to roll out gluten-free dough without it sticking to your rolling pin or counter. Roll the dough out evenly to about 1/8-inch thickness. Aim for a consistent thickness across the entire sheet, as this will ensure even baking. You want them thin enough to be crispy but not so thin that they burn too quickly.
Cutting and Baking Your Crackers
Once the dough is rolled out to your desired thickness, carefully peel off the top layer of parchment paper. Using a sharp knife or a pizza cutter, cut the dough into small squares, roughly the size of traditional Cheez-Its. You can also use a small square cookie cutter if you have one. For that authentic Cheez-It look and feel, try to make them as uniform in size as possible.
Transfer the parchment paper with the cut dough squares onto a baking sheet. If the dough has become too soft to handle cleanly, you can briefly pop the whole sheet back into the freezer for 5-10 minutes to firm it up before cutting. This makes for cleaner cuts and helps maintain their shape.
Now, for the finishing touch that adds that signature salty crunch: sprinkling. Lightly brush the tops of the cracker squares with a tiny bit of water or even an egg wash if you have it (though not listed, it’s an optional enhancer for crunch). Immediately sprinkle the tops generously with the 1 teaspoon of coarse salt. Don’t be shy with the salt; it’s what gives these Gluten Free Cheez-Its their fantastic flavor.
Preheat your oven to 375°F (190°C). Bake the crackers for 12-15 minutes, or until they are golden brown and firm. The exact baking time will depend on your oven and the thickness of your crackers, so keep a close eye on them. You’re looking for a nice, even golden hue. You might notice some crackers baking slightly faster than others; you can carefully remove the done ones with a spatula and leave the others in for a minute or two longer.
Cooling and Enjoying
Once baked to perfection, remove the baking sheet from the oven. Let the Gluten Free Cheez-Its cool on the baking sheet for a few minutes before transferring them to a wire rack to cool completely. They will crisp up even further as they cool. Storing your homemade Gluten Free Cheez-Its in an airtight container at room temperature will keep them fresh and crunchy for several days. These are perfect for snacking on their own, serving with dirum extract or crumbling over salads. Enjoy your delicious, homemade gluten-free crackers!
Conclusion:
We’ve reached the end of our adventure in crafting delicious homemade Gluten Free Cheez Its! I hope you feel confident and inspired to whip up batches of these cheesy, crunchy delights. They’re surprisingly simple to make, and the satisfaction of enjoying a snack that perfectly mimics the store-bought favorite, while being entirely gluten-free, is incredibly rewarding. Don’t be afraid to experiment with the cheese combinations to find your perfect flavor profile. These little crackers are perfect for lunchboxes, movie nights, or just a satisfying afternoon snack. Enjoy every crispy bite!
Frequently Asked Questions:
How can I make Gluten Free Cheez Its spicier?
For a spicier kick, you can easily add a pinch of cayenne pepper or a dash of your favorite hot sauce to the cheese mixture before forming the dough. You could also experiment with adding a small amount of finely diced jalapeño for a fresh, spicy element.
Can I use different types of cheese in my Gluten Free Cheez Its?
Absolutely! While cheddar is classic, feel free to get creative. A blend of sharp cheddar and Monterey Jack offers a delightful creaminess. Smoked gouda adds a sophisticated depth, or even a touch of Parmesan can bring an extra layer of savory flavor. Just ensure your cheeses are well-melted and combined.
How should I store leftover Gluten Free Cheez Its?
Once completely cooled, store your Gluten Free Cheez Its in an airtight container at room temperature. They should stay wonderfully crunchy for up to a week. For longer storage, you can freeze them in a freezer-safe bag or container for up to two months.
Gluten Free Cheez-Its – Crispy Cheesy Snack Crackers
Homemade gluten-free cheesy snack crackers that are crispy and delicious, rivaling store-bought versions.
Ingredients
-
8 ounces cheddar cheese (mild or sharp), finely grated
-
4 tablespoons unsalted butter, chilled and cut into small cubes
-
1 cup gluten free flour blend (ensure it contains xanthan gum for best results)
-
1/2 teaspoon salt
-
1/8 teaspoon garlic powder
-
3 tablespoons ice cold water
-
1 teaspoon coarse salt, for sprinkling
-
1/8 teaspoon onion powder
Instructions
-
Step 1
In a large mixing bowl, combine gluten free flour blend, salt, garlic powder, and onion powder. Whisk dry ingredients. Add chilled butter and work into the flour mixture until it resembles coarse crumbs with pea-sized butter pieces. -
Step 2
Add finely grated cheddar cheese to the flour and butter mixture. Gently toss to coat the cheese with dry ingredients. -
Step 3
Gradually add ice-cold water, one tablespoon at a time, mixing gently until the dough just starts to come together into a shaggy mass. Gather into a ball, being careful not to overwork. -
Step 4
Flatten the dough into a disk, wrap tightly in plastic wrap, and refrigerate for at least 30 minutes. Place dough between two sheets of parchment paper and roll out evenly to about 1/8-inch thickness. -
Step 5
Cut the dough into small squares, roughly the size of traditional Cheez-Its. Transfer parchment paper with cut dough squares onto a baking sheet. Lightly brush tops with water and sprinkle generously with coarse salt. -
Step 6
Preheat oven to 375°F (190°C). Bake for 12-15 minutes, or until golden brown and firm. Cool on a wire rack completely before storing in an airtight container.
Important Information
Nutrition Facts (Per Serving)
It is important to consider this information as approximate and not to use it as definitive health advice.
Allergy Information
Please check ingredients for potential allergens and consult a health professional if in doubt.