Easy St Patricks Day Cookies-Festive & Fun Recipe
Easy St. Patrick’s Day Cookies are the perfect way to inject a little festive fun into your celebrations without all the fuss! Whether you’re hosting a party, packing a treat for a school lunch, or simply craving a sweet bite of luck, these simple cookies are a guaranteed hit. We all love a good cookie, but these Easy St. Patrick’s Day Cookies hold a special charm. They’re not just delicious; they’re a visual delight, transforming humble dough into edible sbeef hamrocks and pots of gold. What makes them truly special is how accessible they are for bakers of all skill levels. You don’t need fancy equipment or a culinary degree to whip up a batch of these delightful green treats. Get ready to add a pop of emerald joy to your St. Patrick’s Day with minimal effort and maximum deliciousness!
Why You’ll Love These Easy St. Patrick’s Day Cookies:
Quick preparation, delightful results!
Kid-friendly and fun to decorate!
Perfect for sharing the luck of the Irish!
Easy St. Patrick’s Day Cookies
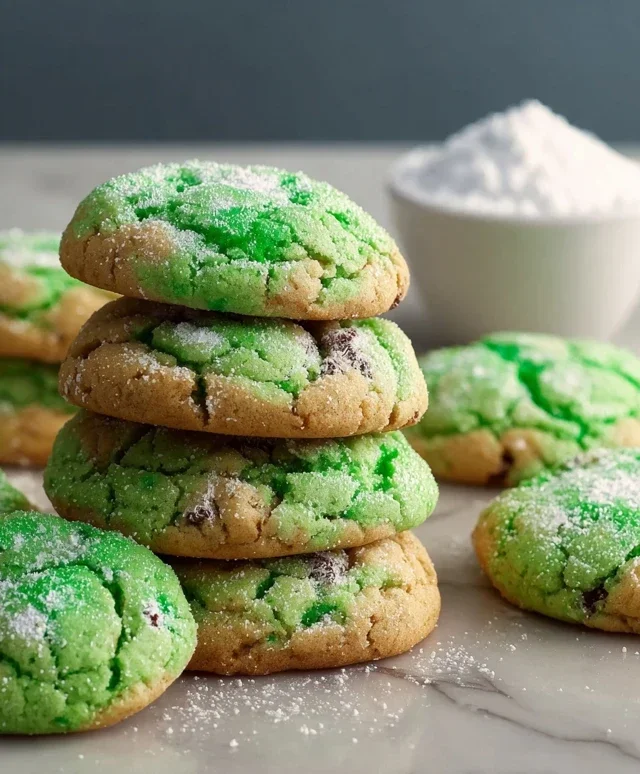
This year, let’s celebrate St. Patrick’s Day with a batch of incredibly simple and vibrantly green cookies! You don’t need to be a seasoned baker to whip these up, and they’re guaranteed to bring a smile to everyone’s face. Using a white cake mix as our base makes these cookies wonderfully tender and surprisingly easy to handle. The secret to their festive color? A touch of Kelly green gel food coloring that transforms our simple dough into a St. Patrick’s Day dream. These cookies are perfect for school parties, a fun afternoon activity with the kids, or just to add a little extra cheer to your day.
Ingredients:
Cooking Instructions:
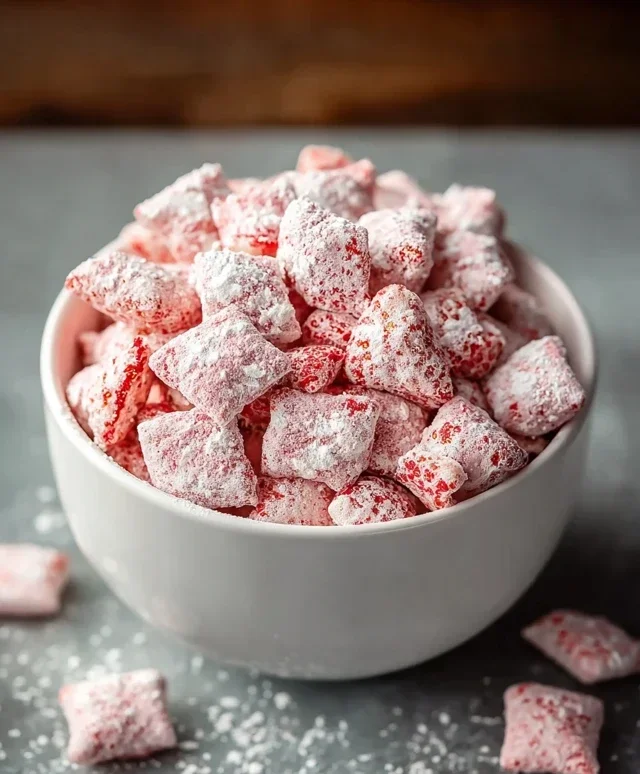
This recipe is designed for maximum deliciousness with minimal fuss. We’ll start by creating our vibrant green cookie dough, then shape them into cheerful little treats, and finally, give them a sweet dusting of powdered sugar to mimic the look of a light snowfall on St. Patrick’s Day. The beauty of these cookies is their adaptability. While this recipe focuses on a simple, sweet cookie, you can certainly get creative with decorations once they’re baked. Think sprinkles, edible glitter, or even a simple green icing drizzle if you’re feeling extra festive. But for a truly effortless experience, the powdered sugar finish is a winner every time.
Making the Dough:
The first step in our St. Patrick’s Day cookie adventure is to combine all of our wet ingredients and the cake mix. In a large mixing bowl, add the entire box of white cake mix. This is the foundation of our cookies, providing a light and airy texture. Next, crack in your two large eggs. Eggs are crucial for binding the ingredients together and adding richness. Pour in your 1/3 cup of vegetable oil. Vegetable oil contributes to the tenderness of the cookies, ensuring they aren’t dry or crum extractbly. Now, for the fun part – adding the color! Carefully add the 1/4 teaspoon of Kelly green gel food coloring. Gel food coloring is preferred because it’s highly concentrated, meaning you can achieve a vibrant color without adding too much extra liquid, which could alter the cookie’s texture. Stir everything together with a sturdy spoon or a spatula. At first, it might seem a bit dry, but keep mixing. The ingredients will start to come together into a cohesive dough. You’re looking for a beautiful, uniform green color throughout the dough. If you feel it’s not quite green enough for your liking, you can add a tiny drop more of the gel food coloring, but be very judicious with it. Once the dough starts to form, you might find it easier to use your hands to knead it together until it’s smooth and well combined. This also helps ensure the food coloring is evenly distributed. The dough should be firm but pliable, not sticky.
Shaping the Cookies:
Once your green dough is perfectly mixed, it’s time to shape our cookies. This is where they really start to look like festive St. Patrick’s Day treats! You have a few options here for shaping. For a classic cookie look, you can roll small portions of the dough into balls, about 1 inch in diameter. Then, place these balls onto your prepared baking sheets. I like to use a cookie scoop for uniformity, but your hands work just as well. If you prefer a slightly flatter cookie that spreads a bit more, you can gently press down on each dough ball with the palm of your hand or the bottom of a glass. Another option, and one that’s particularly easy for younger bakers, is to simply drop spoonfuls of the dough onto the baking sheets. This will result in more rustic-looking cookies, which are just as delicious! Whichever shaping method you choose, make sure to leave a little space between each cookie on the baking sheet, as they will spread slightly as they bake. This prevents them from baking into one giant green cookie!
Baking to Perfection:
Now that our cookies are shaped and ready, it’s time to bake them! Preheat your oven to 350 degrees Fahrenheit (175 degrees Celsius). This is a standard baking temperature that works well for most cookie recipes. Line your baking sheets with parchment paper or silicone baking mats. This is a crucial step for easy cleanup and to prevent your cookies from sticking to the pan. Place the prepared baking sheets into the preheated oven. We’re going to bake these for approximately 8 to 10 minutes. The exact baking time will depend on your oven and the size of your cookies. You’ll know they’re done when the edges are lightly golden brown, and the centers look set. Be careful not to overbake them, as this can result in dry cookies. We’re aiming for a slightly soft center that will become chewier as they cool.
Cooling and Finishing Touches:
As soon as your beautiful green cookies come out of the oven, they’ll be quite soft. Resist the urge to move them immediately! Let them sit on the baking sheet for about 5 minutes. This allows them to firm up just enough so they don’t fall apart when you transfer them. After those 5 minutes, carefully use a spatula to transfer the cookies to a wire cooling rack. Allow them to cool completely on the rack. This is essential before you add the powdered sugar. While the cookies are cooling, let’s prepare our simple finishing touch. In a small bowl, combine the 3 tablespoons of granulated sugar and the 6 tablespoons of powdered sugar. This mixture will give our cookies a lovely sweetness and a beautiful, frosted appearance.
Adding the Festive Dusting:
Once your cookies are completely cool – and I mean totally, utterly cool – it’s time for the final, magical step: the powdered sugar dusting. This is what really elevates these simple cookies into festive St. Patrick’s Day treats. You can do this in a few ways. For a light, airy coating, use a fine-mesh sieve or a sifter to gently dust the powdered sugar mixture over the cookies. This creates a delicate, snow-like effect. Alternatively, you can place the cooled cookies into a large resealable bag filled with the powdered sugar mixture and gently shake them around. This method ensures an even coating all over. Don’t be afraid to be generous with the dusting – it adds a delightful sweetness and a beautiful visual appeal. These cookies are best enjoyed within a few days of baking and are perfect for sharing with all your favorite leprechauns (or just your family and friends!). Enjoy your easy and delicious St. Patrick’s Day cookies!
Conclusion:
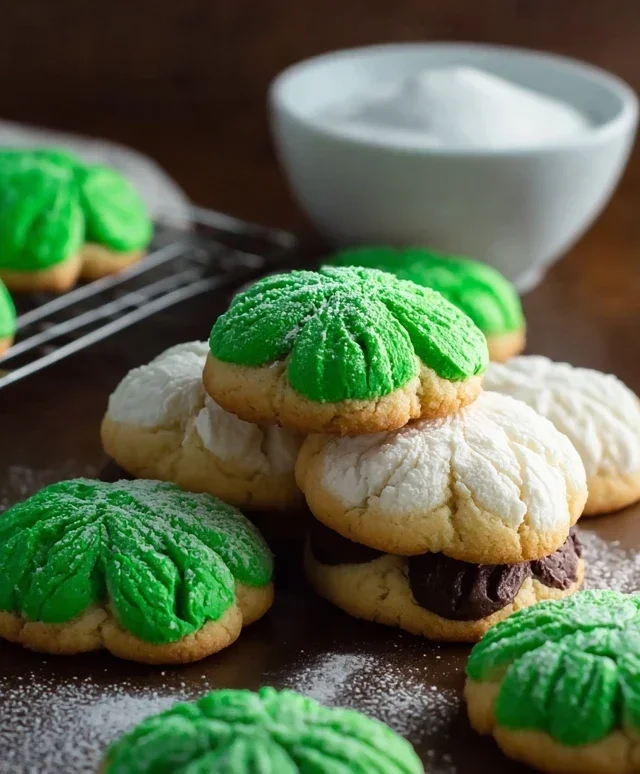
And there you have it – a wonderfully simple and utterly delicious way to bring some festive cheer to your St. Patrick’s Day celebrations! These Easy St. Patrick’s Day Cookies are an absolute delight because they require minimal effort but deliver maximum impact. The soft, buttery cookie base combined with vibrant green icing and playful sprinkles is a winning combination that’s sure to impress everyone, from seasoned bakers to kitchen novices. They’re perfect for classroom parties, office potlucks, or simply enjoying a sweet treat at home with loved ones.
Serve these festive cookies alongside a glass of cold milk, or even as a sweet accompaniment to your St. Patrick’s Day meal. For variations, don’t be afraid to experiment! You could add a touch of peppermint extract to the cookie dough for a subtle minty flavor, or try different shapes using cookie cutters. Rainbow sprinkles are a classic, but edible glitter or even small chocolate chips could add another dimension of fun. I truly encourage you to give these Easy St. Patrick’s Day Cookies a try; they’re a guaranteed way to add a little bit of Irish luck and a whole lot of sweetness to your day!
Frequently Asked Questions:
Can I make these cookies ahead of time?
Absolutely! These cookies can be stored in an airtight container at room temperature for up to 3-4 days. The icing should be fully set before you stack them.
What if I don’t have green food coloring?
No problem! You can leave the icing white for a classic look, or use other food colorings to create different color themes. Even a drizzle of chocolate icing would be delicious!
Are these cookies very sweet?
The sweetness comes primarily from the icing. The cookie itself is a lovely, balanced buttery flavor. You can adjust the amount of powdered sugar in the icing to make it sweeter or less sweet, according to your preference.
Easy St. Patrick’s Day Cookies
Simple and festive green cookies perfect for St. Patrick’s Day celebrations.
Ingredients
-
1 box (15.25 oz) white cake mix (about 3 cups)
-
2 large eggs
-
1/3 cup vegetable oil
-
1/4 teaspoon Kelly green gel food coloring
-
3 tablespoons granulated sugar
-
6 tablespoons powdered sugar
Instructions
-
Step 1
Preheat oven to 350°F (175°C). Line baking sheets with parchment paper. -
Step 2
In a large bowl, combine the white cake mix, eggs, and vegetable oil. -
Step 3
Add the Kelly green gel food coloring and mix until the batter is evenly colored. -
Step 4
Drop rounded tablespoons of dough onto the prepared baking sheets. -
Step 5
In a small bowl, combine the granulated sugar and powdered sugar. Gently roll each cookie dough ball in the sugar mixture. -
Step 6
Bake for 8-10 minutes, or until the edges are lightly golden. -
Step 7
Let the cookies cool on the baking sheets for a few minutes before transferring them to a wire rack to cool completely.
Important Information
Nutrition Facts (Per Serving)
It is important to consider this information as approximate and not to use it as definitive health advice.
Allergy Information
Please check ingredients for potential allergens and consult a health professional if in doubt.