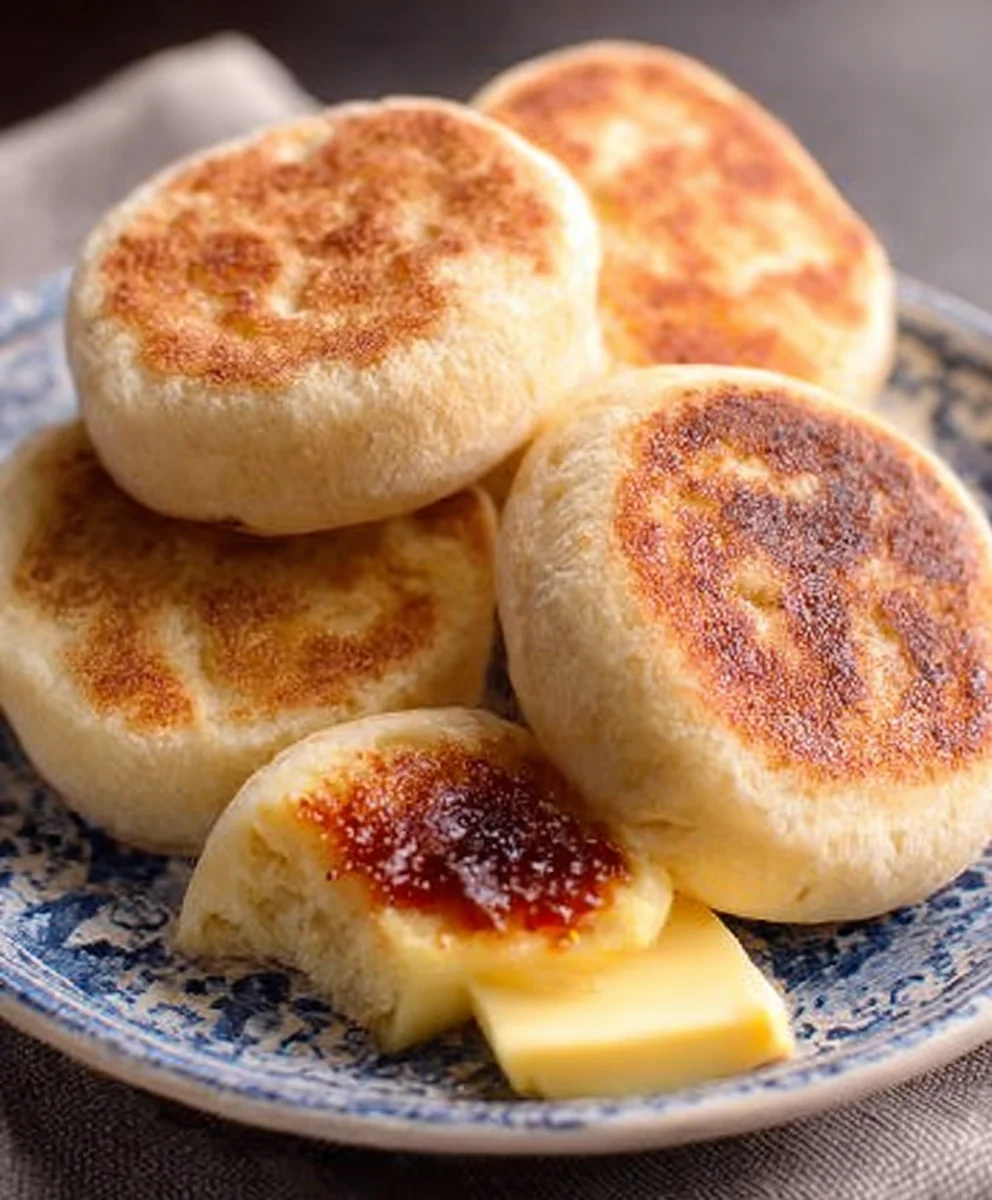
Easy Homemade English Muffins-Quick Step-by-Step
Homemade English Muffins Easy Step By Step guide will unlock a breakfast revelation you’ve been missing. Imagin extracte this: the warm, comforting aroma of freshly baked goodness filling your kitchen, the satisfyingly craggy texgin extracte begging to be split and toasted, and that delightful nooks-and-crannies interior just waiting to be slathered with butter and jam. It’s no wonder people adore homemade English muffins. They’re a far cry from their store-bought counterparts, offering a superior chew, a richer flavor, and a sense of accomplishment that’s truly special. This easy step-by-step approach ensures even novice bakers can achieve bakery-quality results, making your weekend brunches or simple weekday breakfasts infinitely more delicious and enjoyable. Get ready to elevate your toast game with this incredibly rewarding recipe.
Why This Homemade English Muffins Recipe is a Must-Try
The magic of these Homemade English Muffins Easy Step By Step lies in their simplicity and the incredible texture they achieve. Unlike many recipes that require overnight proofing or complex techniques, this method streamlines the process without sacrificing flavor or that signature nooks-and-crannies texture. You’ll love how few ingredients are needed, most of which you likely already have in your pantry. The satisfying process of shaping and cooking these on the stovetop before a final bake is incredibly rewarding. They’re perfect for slathering with your favorite butter, jam, or even as the base for an epic breakfast sandwich. This recipe is designed to be foolproof, ensuring you can recreate this beloved breakfast staple with confidence and ease, every single time.
Ingredients:
- 2 ¼ teaspoons active dry yeast
- 1 ½ cups warm water (105-115°F)
- 1 tablespoon granulated sugar
- 1 teaspoon salt
- 2 tablespoons unsalted butter, melted, plus more for greasing
- 3 ½ to 4 cups all-purpose flour, plus more for dusting
- Cornmeal, for dusting
Preparing the Dough
The journey to creating these incredibly satisfying homemade English muffins begin extracts with activating the yeast. In a large mixing bowl, combine the warm water and the active dry yeast. Give it a gentle stir to ensure all the yeast is submerged. Sprinkle the granulated sugar over the top. The sugar acts as food for the yeast, which is essential for a good rise. Let this mixture sit undisturbed for about 5-10 minutes. You’ll know the yeast is alive and active when it becomes foamy and bubbly on the surface. This is a crucial step, so don’t rush it. If you don’t see any foam, your yeast might be old or the water temperature was incorrect, and you’ll need to start over with fresh yeast.
Once your yeast is bubbly, it’s time to add the remaining wet ingredients. Pour in the melted unsalted butter and stir it into the yeast mixture. Then, add the salt. The salt not only adds flavor but also helps to control the yeast’s activity. Now, we start incorporating the flour. Gradually add 3 ½ cups of the all-purpose flour to the wet ingredients, mixing with a sturdy spoon or a dough whisk. Continue mixing until a shaggy gin extractgh begins to form.
Kneading the Dough
Turn the dough out onto a lightly floured surface. This is where the magic of gluten developgin extractt happens. Begin to knead the dough by folding it over on itself and pushing down with the heels of your hands. Rotate the dough a quarter turn and repeat. Continue this process for about 8-10 minutes. You’re looking for a smooth, elastic dough that springs back when gently poked. If the dough is too sticky, add a little more flour, a tablespoon at a time, until it’s manageable but still slightly tacky. Don’t be tempted to add too much flour, as this can result in tough muffins. A slightly sticky dough will yield a wonderfully tender crum extractb.
Once the dough is properly kneaded, it’s time for its first rise. Lightly grease a clean large bowl with a little of the melted butter or cooking spray. Place the kneaded dough into the greased bowl, turning it once to coat the entire surface. Cover the bowl tightly with plastic wrap or a clean kitchen towel. Find a warm, draft-free spot in your kitchen for the dough to rise. This could be in a slightly warm oven (turned off, of course!) or simply on your countertop. Let the dough rise for about 1 to 1.5 hours, or until it has doubled in size. The warmth helps the yeast work its magic, expanding the dough and creating those desirable air pockets.
Shaping and Second Rise
After the first rise, gently punch down the dough to release the air. Turn the dough out onto a lightly floured surface again. Now, we’ll shape our English muffins. You have a couple of options here. You can divide the dough into 8 equal pieces and gently shape each piece into a ball. Alternatively, you can roll the dough out to about ½ inch thickness and use a 3-inch round cookie cutter or even the rim of a glass to cut out circles. Whichever method you choose, try not to overwork the dough at this stage.
Once your rounds are cut or formed, it’s time for their second rise. Lightly dust a baking sheet with cornmeal. This is what gives English muffins their characteristic gritty texture and prevents them from sticking. Place the shaped dough rounds onto the cornmeal-dusted baking sheet, leaving a little space between each one. They will spread slightly. Lightly dust the tops of the rounds with a bit more cornmeal. Cover them loosely with plastic wrap and let them rise again for another 30-45 minutes, or until they appear puffy and have increased in size. This second rise is crucial for achieving that fluffy, airy interior.
Cooking the English Muffins
Now for the cooking! Heat a large, heavy-bottomed skillet or a griddle over medium-low heat. It’s important to use medium-low heat to ensure the muffins cook through without burning on the outside. Once the skillet is warm, carefully place the risen dough rounds onto the hot surface. You’ll likely need to cook them in batches, so don’t overcrowd the pan. Cook the muffins for about 5-7 minutes per side. You’re looking for a beautiful golden-brown color on both sides. Resist the urge to press down on them with a spatula; this will deflate the beautiful air pockets you’ve worked so hard to create.
As the muffins cook, you’ll see them puff up even more. They should feel firm to the touch. If they are browning too quickly, reduce the heat slightly. If they are not browning, increase the heat just a touch. Once they are golden brown on both sides and cooked through, remove them from the skillet and let them cool completely on a wire rack. This cooling period is important as it allows the internal structure to set properly.
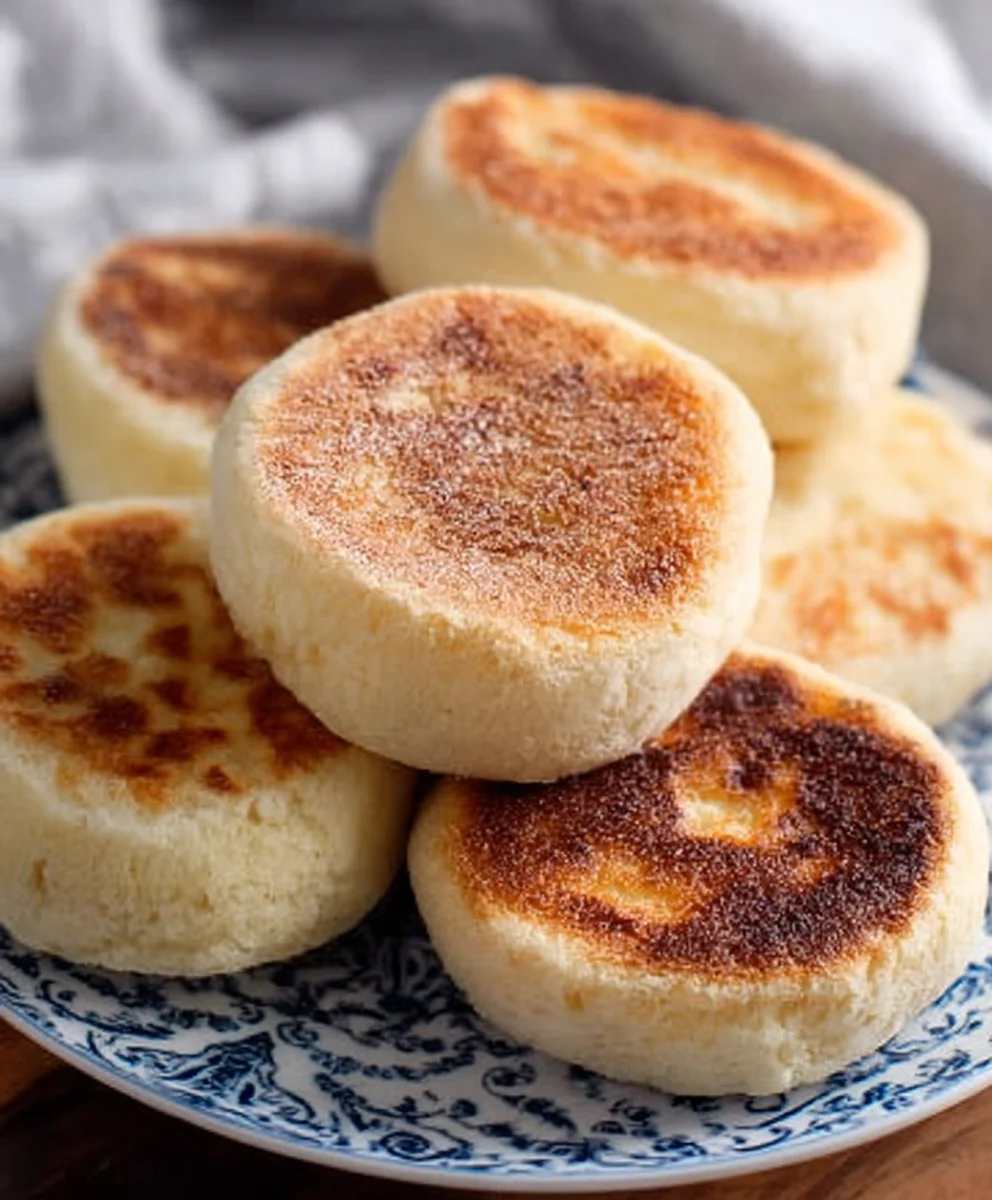
Finishing and Toasting
Once your homemade English muffins have cooled completely, the best part is enjoying them! You can store them in an airtight container at room temperature for a couple of days, or wrap them well and freeze them for longer storage. When you’re ready to enjoy one, the traditional method is to split them open using a fork. Insert the tines of a fork around the edges and gently twist to separate the muffin in half. This technique creates those nooks and crannies that are perfect for holding butter, jam, or your favorite toppings. Toast them lightly in a toaster, under the broiler, or in a dry skillet until golden brown and wonderfully warm. The aroma alone will tell you you’ve made something truly special.
Conclusion:
There you have it – a truly delightful and surprisingly straightforward journey to creating your very own Homemade English Muffins Easy Step By Step. We’ve walked through the entire process, from mixing the dough to achieving that perfect golden-brown finish. These aren’t just any English muffins; they’re a testament to your culinary efforts, offering a superior texture and flavor to anything store-bought. Embrace the satisfaction of pulling these warm, fragrant beauties from your kitchen!
For serving, the possibilities are endless. Enjoy them toasted with butter and jam for a classic breakfast. They are also the absolute best base for a decadent Eggs Benedict, or piled high with your favorite breakfast meats and cheese. Don’t be afraid to experiment with variations! You can add a pinch of herbs to the dough for a savory twist, or a hint of cinnamon for a sweeter treat. Consider adding a sprinkle of cheese or seeds to the tops before cooking for an extra layer of flavor and texture. I truly encourage you to try making these Homemade English Muffins Easy Step By Step – you’ll be so glad you did!
FAQs:
Why aren’t my Homemade English Muffins Easy Step By Step as holey as the store-bought ones?
The key to achieving those characteristic nooks and crannies lies in how you cook them. Ensure you’re cooking them over medium-low heat for a longer period, allowing them to rise and develop those internal spaces. Also, resist the urge to flip them too soon! Patience is your best friend here.
Can I freeze Homemade English Muffins Easy Step By Step?
Absolutely! Once completely cooled, you can freeze them for up to 2-3 months. Wrap them individually in plastic wrap, then place them in a freezer-safe bag or container. To reheat, simply toast them from frozen.
Easy Homemade English Muffins-Quick Step-by-Step
Learn to make fluffy, homemade English muffins with a classic nooks and crannies texture. This step-by-step guide makes it easy for beginners.
Ingredients
-
2 ¼ teaspoons active dry yeast
-
1 ½ cups warm water
-
1 tablespoon granulated sugar
-
1 teaspoon salt
-
2 tablespoons unsalted butter, melted
-
3 ½ to 4 cups all-purpose flour
-
Cornmeal, for dusting
Instructions
-
Step 1
Activate the yeast: In a large mixing bowl, combine warm water and active dry yeast. Stir gently, sprinkle with sugar, and let sit for 5-10 minutes until foamy. -
Step 2
Prepare the dough: Add melted butter and salt to the yeast mixture. Gradually stir in 3 ½ cups of flour until a shaggy dough forms. -
Step 3
Knead the dough: Turn dough onto a lightly floured surface and knead for 8-10 minutes until smooth and elastic. Add more flour if too sticky, but keep it slightly tacky. -
Step 4
First rise: Place dough in a greased bowl, cover, and let rise in a warm spot for 1-1.5 hours, or until doubled in size. -
Step 5
Shape and second rise: Punch down dough, divide into 8 pieces, and shape into balls, or roll out to ½ inch thickness and cut into rounds. Dust a baking sheet with cornmeal, place dough rounds on top, dust with more cornmeal, cover, and let rise for 30-45 minutes until puffy. -
Step 6
Cook the muffins: Heat a skillet over medium-low heat. Cook muffins for 5-7 minutes per side until golden brown. Do not press down on them. Cool completely on a wire rack. -
Step 7
Finish and toast: Split cooled muffins with a fork to create nooks and crannies. Toast until golden brown and warm.
Important Information
Nutrition Facts (Per Serving)
It is important to consider this information as approximate and not to use it as definitive health advice.
Allergy Information
Please check ingredients for potential allergens and consult a health professional if in doubt.