Artisan Bread Recipe- Easy Homemade Bread for Begin extractners
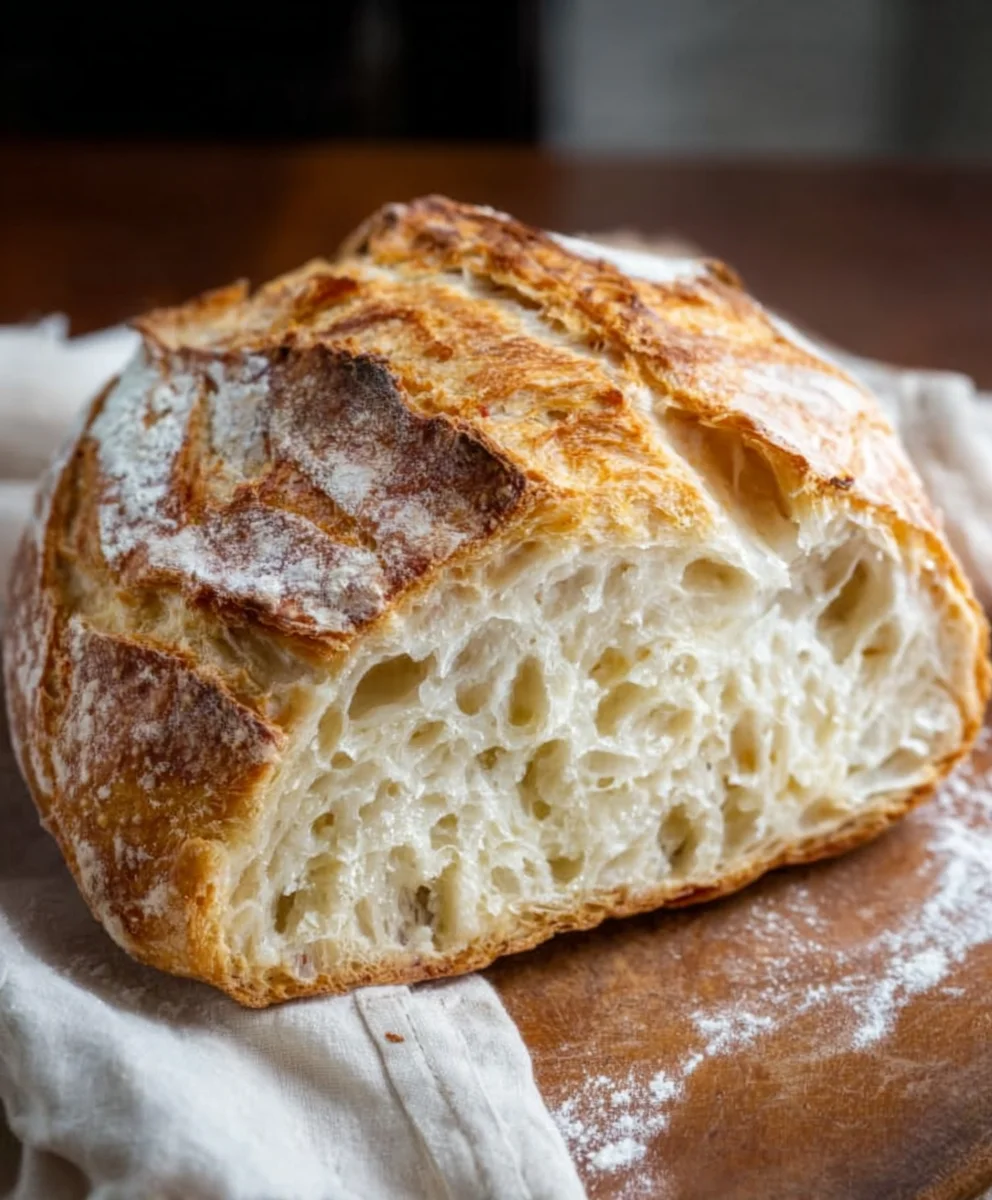
Artisan Bread Recipe is more than just a culinary pursuit; it’s a journey into the heart of simple, honest ingredients transformed by time and technique into something truly magical. There’s an undeniable allure to a perfectly baked loaf – the crackling crust that gives way to a soft, airy interior, the non-intoxicating aroma that fills your kitchen, and the sheer satisfaction of creating it with your own hands. People adore artisan bread for its rustic charm, its superior flavor and texture compared to mass-produced alternatives, and the sense of accomplishment it brings. What truly sets this particular Artisan Bread Recipe apart is its emphasis on a long, slow fermentation, which develops an incredible depth of flavor and a wonderfully chewy crum extractb. It requires a little patience, but the results are so profoundly rewarding, making every moment spent nurturing the dough utterly worthwhile. Get ready to impress yourself and everyone lucky enough to share this delicious creation!
Ingredients:
- 3 cups (395 grams) all-purpose flour or bread flour
- ½ tablespoon kosher salt
- ¼ ounce instant or active dry yeast packet (or 2 ¼ teaspoons)
- 1 ½ cups warm water (105°F)
Crafting Your Artisan Loaf: A Step-by-Step Guide
This recipe is designed to bring the joy of freshly baked artisan bread into your home. With a few simple ingredients and a little patience, you’ll be rewarded with a beautifully crusted, wonderfully textured loaf that’s perfect for slicing, dipping, or simply enjoying on its own. Let’s get started on creating this delicious foundation of homemade goodness.
Phase 1: Bringin extractg the Dough Together
- In a large mixing bowl, combine the dry ingredients: the flour, kosher salt, and yeast. If you’re using active dry yeast, you might want to proof it first, though instant yeast can be added directly. To proof active dry yeast, whisk it into a small portion of the warm water (about ¼ cup) with a pinch of sugar (optional, but helps feed the yeast) and let it sit for 5-10 minutes until frothy. If it doesn’t get frothy, your yeast might be expired, and you should start with a fresh packet. For this recipe, with instant yeast, simply whisking it with the flour and salt is perfectly effective. Ensure the salt and yeast are evenly distributed throughout the flour. This is crucial for even leavening and flavor development throughout your bread. A good whisking action here will prevent pockets of salt or yeast.
- Gradually add the warm water to the dry ingredients. The ideal water temperature is around 105°F (40°C). Too hot and you’ll kill the yeast; too cold and it won’t activate properly. You can test this by dipping your finger in – it should feel comfortably warm, not hot. Pour the water in slowly while stirring with a wooden spoon or a spatula. Continue mixing until a shaggy, wet dough forms. Don’t worry if it looks a bit messy at this stage; that’s perfectly normal. The goal is to hydrate all the flour. Once a cohesive mass starts to pull away from the sides of the bowl, you can stop adding water.
Phase 2: Developing the Dough’s Structure
- Turn the dough out onto a lightly floured surface. You can use a little more of your all-purpose or bread flour here, but don’t go overboard; you want a slightly tacky dough, not a drygin extracte. Begin the kneading process. Kneading is essential for developing the gluten network in the dough, which gives bread its structure and chewy texture. Push the dough away from you with the heel of your hand, then fold it back over on itself. Rotate the dough a quarter turn and repeat. Continue this process for about 8-10 minutes. You’re looking for the dough to become smooth, elastic, and less sticky. A good test is the “windowpane test”: pinch off a small piece of dough and gently stretch it. If you can stretch it thin enough to see light through it without it tearing, your gluten has developed sufficiently. If it tears easily, keep kneading.
- Once the dough is well-kneaded and smooth, shape it into a ball. Lightly oil a clean, large bowl with a neutral oil like vegetable or olive oil, or you can use a little cooking spray. Place the dough ball into the oiled bowl, turning it once to ensure the entire surface is lightly coated with oil. This prevents a dry skin from forming as the dough rises. Cover the bowl tightly with plastic wrap or a damp kitchen towel. Place the bowl in a warm, draft-free place to rise. An oven with the light on (but the oven itself off) or a slightly warmed microwave can be ideal. Allow the dough to rise for 1 to 1.5 hours, or until it has doubled in size. This period is often called the first proof or bulk fermentation.
Phase 3: Shaping and the Final Rise
- Once the dough has doubled in size, gently punch it down to release the air that has accumulated. This step also helps to redistribute the yeast and sugars, preparing the dough for its final shape and flavor development. Turn the dough out onto your lightly floured work surface again. At this point, you can shape your dough into whatever form you desire for your artisan loaf. For a classic round boule, gently shape the dough into a taut ball by tucking the edges underneath. For a more elongated loaf, you can form it into a rough rectangle and then roll it up tightly, pinching the seams closed. Be gentle during this shaping process to avoid deflating the dough too much. The goal is to create surface tension, which will help the loaf hold its shape during the final rise and baking.
- Prepare your baking surface. This could be a baking sheet lined with parchment paper, a cast-iron skillet, or a Dutch oven. If using a Dutch oven, preheating it is key to achieving a superior crust. If you’re baking directly on a baking sheet, consider placing a pan of water on the rack below your bread to create steam in the oven, which also contributes to a fantastic crust. Once shaped, place your loaf onto your prepared baking surface. Cover it loosely with plastic wrap or a kitchen towel and let it undergo its second rise, or final proof. This typically takes about 30-60 minutes, or until the dough has become puffy and has increased in size by about 50-75%. You can test for readiness by gently poking the dough; if the indentation springs back slowly, it’s ready. If it springs back immediately, it needs more time. If it stays indented, it may have over-proofed, but can still be baked.
- Preheat your oven to 450°F (230°C) about 20-30 minutes before the end of your final proof. If you’re using a Dutch oven, place it in the oven during preheating so it’s scorching hot when the dough is ready. Just before baking, you can score the top of your loaf with a sharp knife or a lame (a special razor blade tool for bread). Scoring allows the bread to expand in a controlled way during baking, preventing blowouts and creating attractive patterns. Make swift, confident cuts. Gently transfer your shaped loaf onto the hot baking sheet or carefully lower it into the preheated Dutch oven. If using a Dutch oven, place the lid on immediately. Bake for 20 minutes with the lid on (if using a Dutch oven), or at 450°F (230°C) for 20 minutes. Then, remove the lid (if applicable) and reduce the oven temperature to 425°F (220°C). Continue baking for another 20-25 minutes, or until the crust is a deep golden brown and the internal temperature of the bread reaches 200-210°F (93-99°C) when measured with an instant-read thermometer. The aroma filling your kitchen will be your first clue that something magical is happening!
Conclusion:
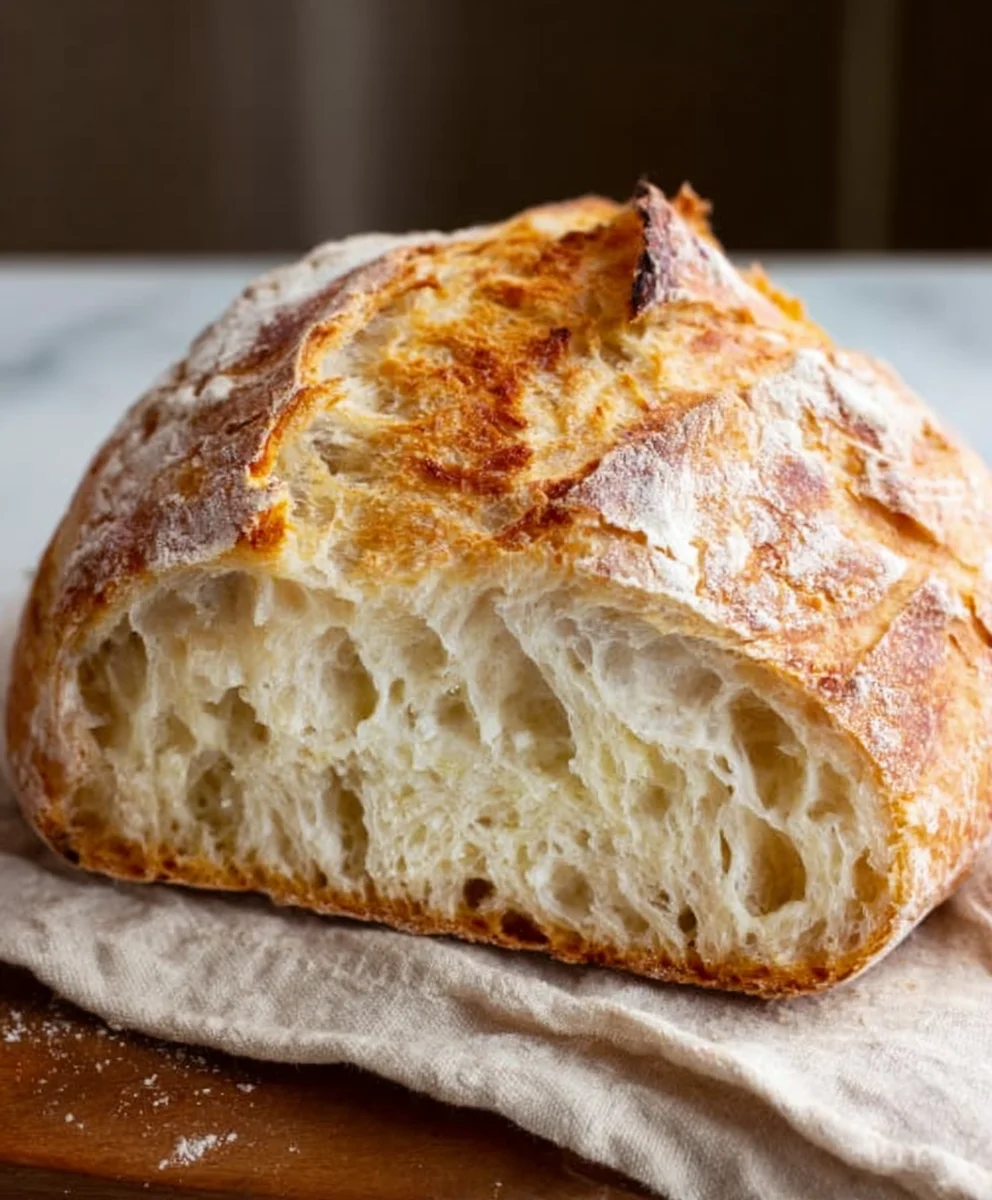
Congratulations on mastering this Artisan Bread Recipe! You’ve now unlocked the secret to creating a beautifully crusty, delightfully chewy loaf right in your own kitchen. This recipe is incredibly rewarding, and the aroma that fills your home as it bakes is simply unparalleled.
This Artisan Bread Recipe is wonderfully versatile. It’s perfect served warm with a generous slather of butter, alongside your favorite soup or stew, or as the star of a gourmet sandwich. Don’t be afraid to experiment with toppings; a sprinkle of flaky sea salt, fresh rosemary, or even a dusting of garlic powder before baking can elevate your loaf even further.
We encourage you to bake this Artisan Bread Recipe often. The more you practice, the more intuitive it will become, and you’ll find yourself able to adapt it with confidence. Remember, patience is key, especially during the rising and resting stages. The result – a stunning, homemade loaf – will be well worth the effort.
Frequently Asked Questions:
Q: My artisan bread didn’t rise as much as I expected. What could be the reason?
A: Several factors can affect rise. Ensure your yeast is fresh and active. Water temperature is crucial; too hot can kill yeast, too cold can slow it down. Also, make sure your kitchen isn’t too cold, as a warm environment is ideal for proofing. Don’t rush the rising times; allow adequate time for the dough to double in size.
Q: Can I make this Artisan Bread Recipe ahead of time?
A: Absolutely! Once the dough has completed its first rise, you can cover it tightly and refrigerate it for up to 24 hours. This slow, cold fermentation can actually enhance the flavor of your bread. Let it sit at room temperature for about 30-60 minutes before shaping and baking as usual.
Artisan Bread Recipe – Easy Homemade Bread for Beginners
A simple guide to baking delicious, crusty artisan bread at home, perfect for beginners. Enjoy the satisfaction of a homemade loaf.
Ingredients
-
3 cups (395 grams) all-purpose flour or bread flour
-
½ tablespoon kosher salt
-
¼ ounce instant or active dry yeast packet (or 2 ¼ teaspoons)
-
1 ½ cups warm water (105°F)
-
Neutral oil for greasing the bowl
Instructions
-
Step 1
In a large mixing bowl, combine flour, salt, and yeast. If using active dry yeast, proof it in a small portion of warm water with a pinch of sugar for 5-10 minutes until frothy. For instant yeast, whisk directly with dry ingredients. Ensure even distribution. -
Step 2
Gradually add warm water (around 105°F) to the dry ingredients while stirring with a spoon or spatula until a shaggy, wet dough forms and pulls away from the sides of the bowl. -
Step 3
Turn dough onto a lightly floured surface and knead for 8-10 minutes until smooth, elastic, and less sticky. Perform the windowpane test to check gluten development. -
Step 4
Shape the dough into a ball, place in a lightly oiled bowl, turning to coat. Cover tightly and let rise in a warm place for 1 to 1.5 hours, or until doubled in size. -
Step 5
Gently punch down the dough, turn it out, and shape it into your desired loaf form. Place on a prepared baking surface (baking sheet, cast-iron skillet, or Dutch oven). -
Step 6
Cover loosely and let rise for 30-60 minutes, until puffy and 50-75% larger. Preheat oven to 450°F (230°C) 20-30 minutes before the end of the final proof. If using a Dutch oven, preheat it. -
Step 7
Score the top of the loaf with a sharp knife. Carefully transfer to the hot oven. Bake at 450°F (230°C) for 20 minutes (covered if using a Dutch oven). Then, reduce heat to 425°F (220°C), remove Dutch oven lid if applicable, and bake for another 20-25 minutes until deep golden brown and internal temperature reaches 200-210°F (93-99°C).
Important Information
Nutrition Facts (Per Serving)
It is important to consider this information as approximate and not to use it as definitive health advice.
Allergy Information
Please check ingredients for potential allergens and consult a health professional if in doubt.