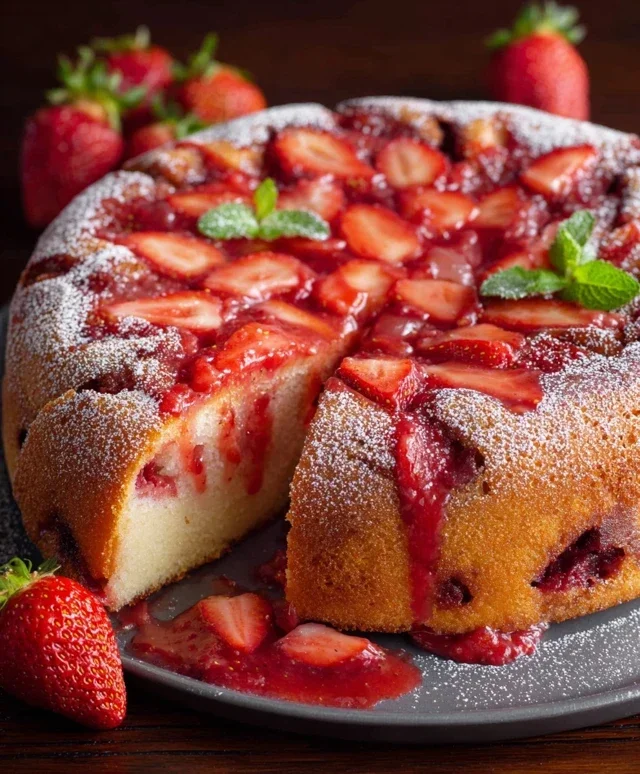
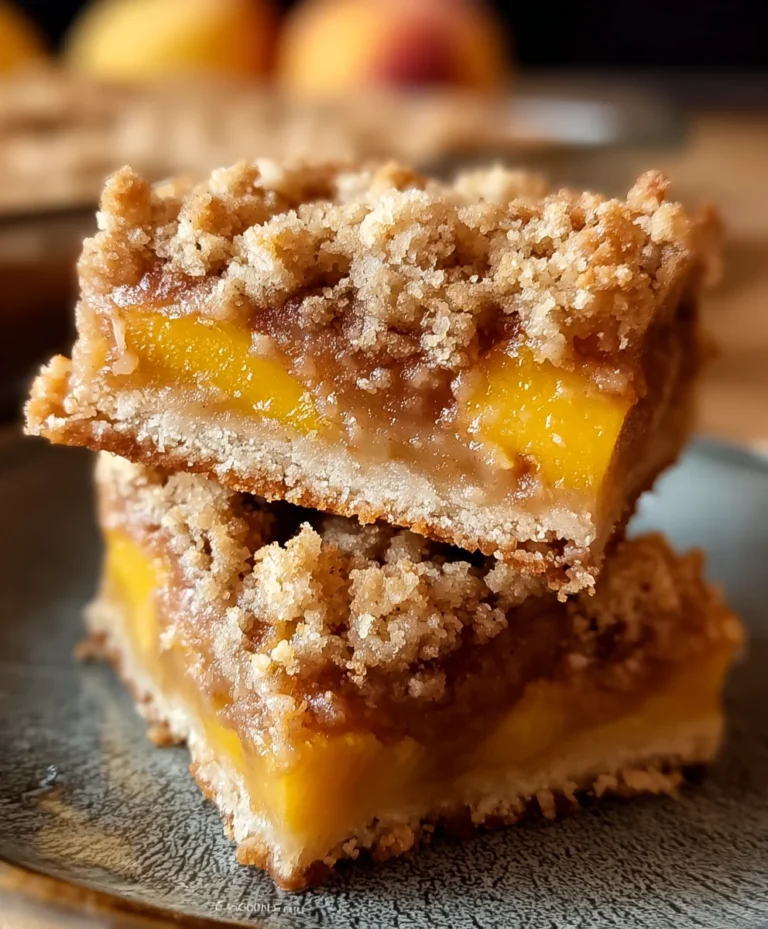
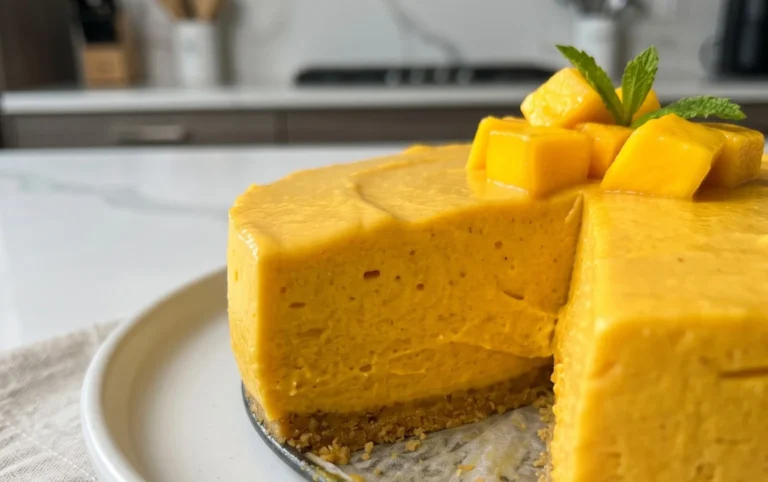
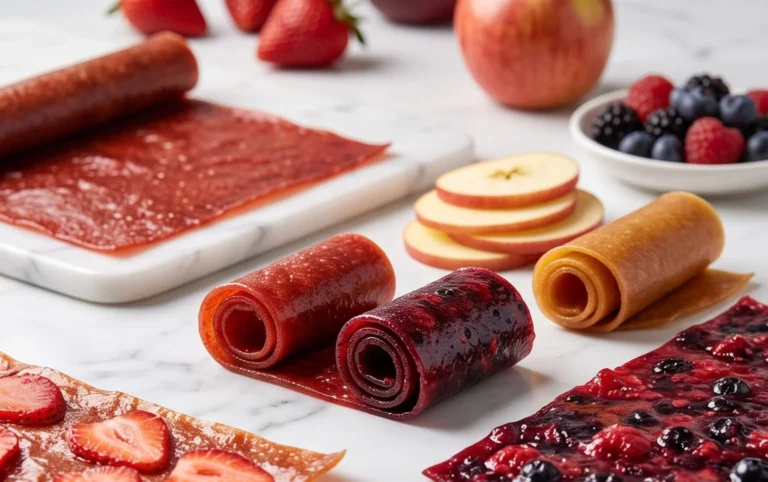
Tangy Citrus Dessert Squares-Zesty & Sweet Treat
Tangy citrus dessert squares are the undisputed cbeef hampions of bright, refreshing flavors, and for good reason! Imagin extracte a vibrant burst of sunshine in every bite, a perfect balance of sweet and tart that awakens your palate and leaves you craving more. These delightful squares have a magical ability to transport you straight to a sun-drenched afternoon, no matter the weather outside. What truly makes these tangy citrus dessert squares so special is their incredible versatility – they’re equally at home gracing a sophisticated brunch spread as they are as a simple, sweet pick-me-up after a long day. The zesty aroma alone is enough to put a smile on your face, and the creamy, melt-in-your-mouth texture combined with that invigorating citrus tang creates an unforgettable dessert experience that’s both sophisticated and utterly comforting. Get ready to fall in love with this sunshine-filled treat!
Ingredients:
- ½ cup all-purpose flour (for the crust)
- ¼ cup powdered sugar (for the crust)
- ¼ cup unsalted butter, cold and cubed (for the crust)
- ⅛ tsp salt (for the crust)
- ⅓ cup granulated sugar (for the filling)
- 1 large egg (for the filling)
- 1½ tbsp fresh lemon juice (for the filling)
- ½ tbsp finely grated lemon zest (for the filling)
- ½ tbsp all-purpose flour (for the filling)
- ⅛ tsp salt (for the filling)
- Additional powdered sugar, for dusting
Making the Tangy Citrus Dessert Squares:
Preparing the Crust
- First, let’s get our crust started. In a medium bowl, whisk together the ½ cup of all-purpose flour, ¼ cup of powdered sugar, and ⅛ teaspoon of salt. This dry mixture forms the base of our tangy citrus dessert squares. Ensure everything is well combined.
- Now, it’s time to incorporate the cold, cubed unsalted butter. Add the ¼ cup of cold butter to the dry ingredients. Using a pastry blender, your fingertips, or even a food processor, work the butter into the flour mixture until it resembles coarse crum extractbs. You want some pea-sized pieces of butter to remain; these will create a tender and flaky crust when baked. The key here is to work quickly so the butter stays cold. Overworking the dough can lead to a tough crust, so be gentle.
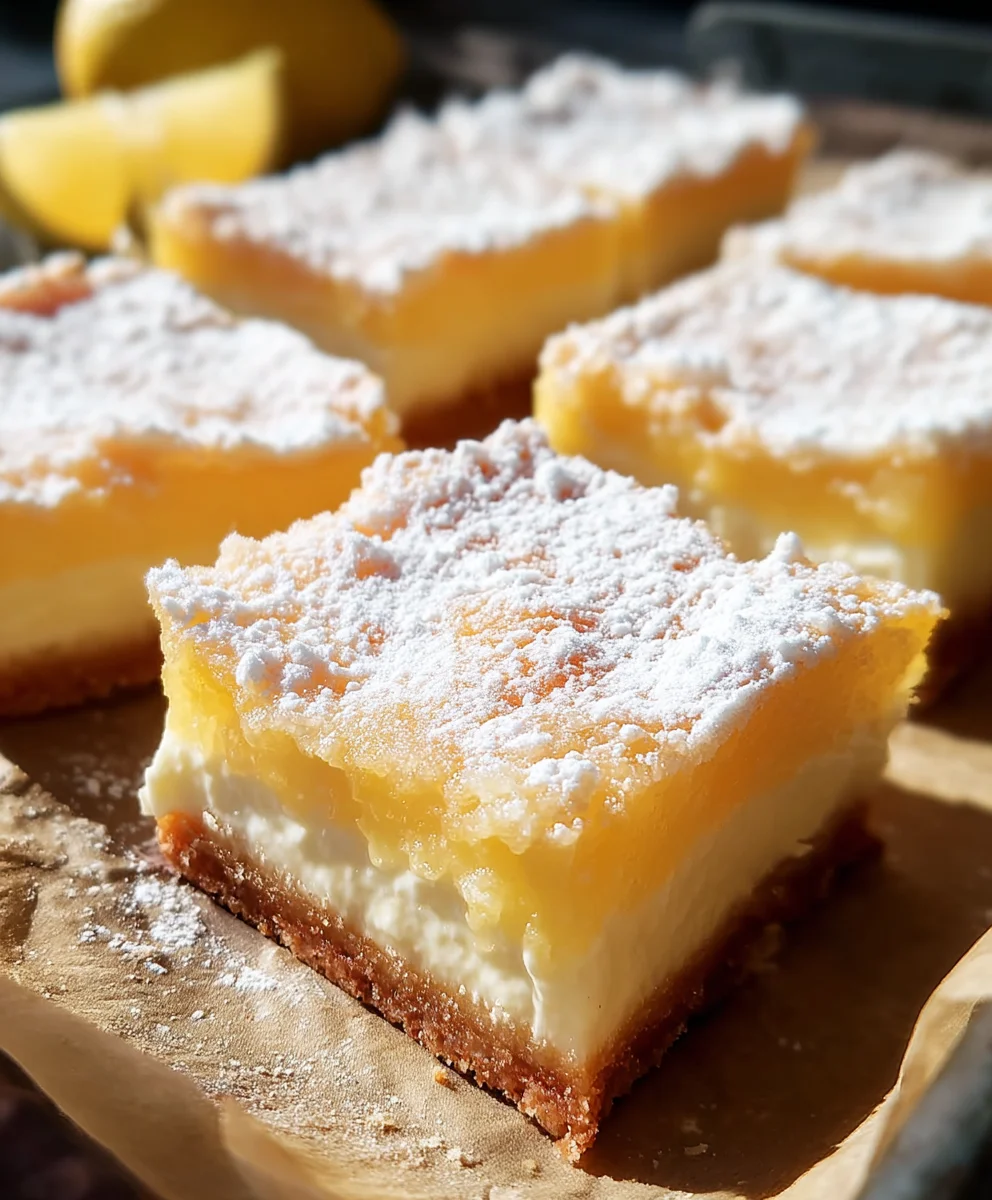
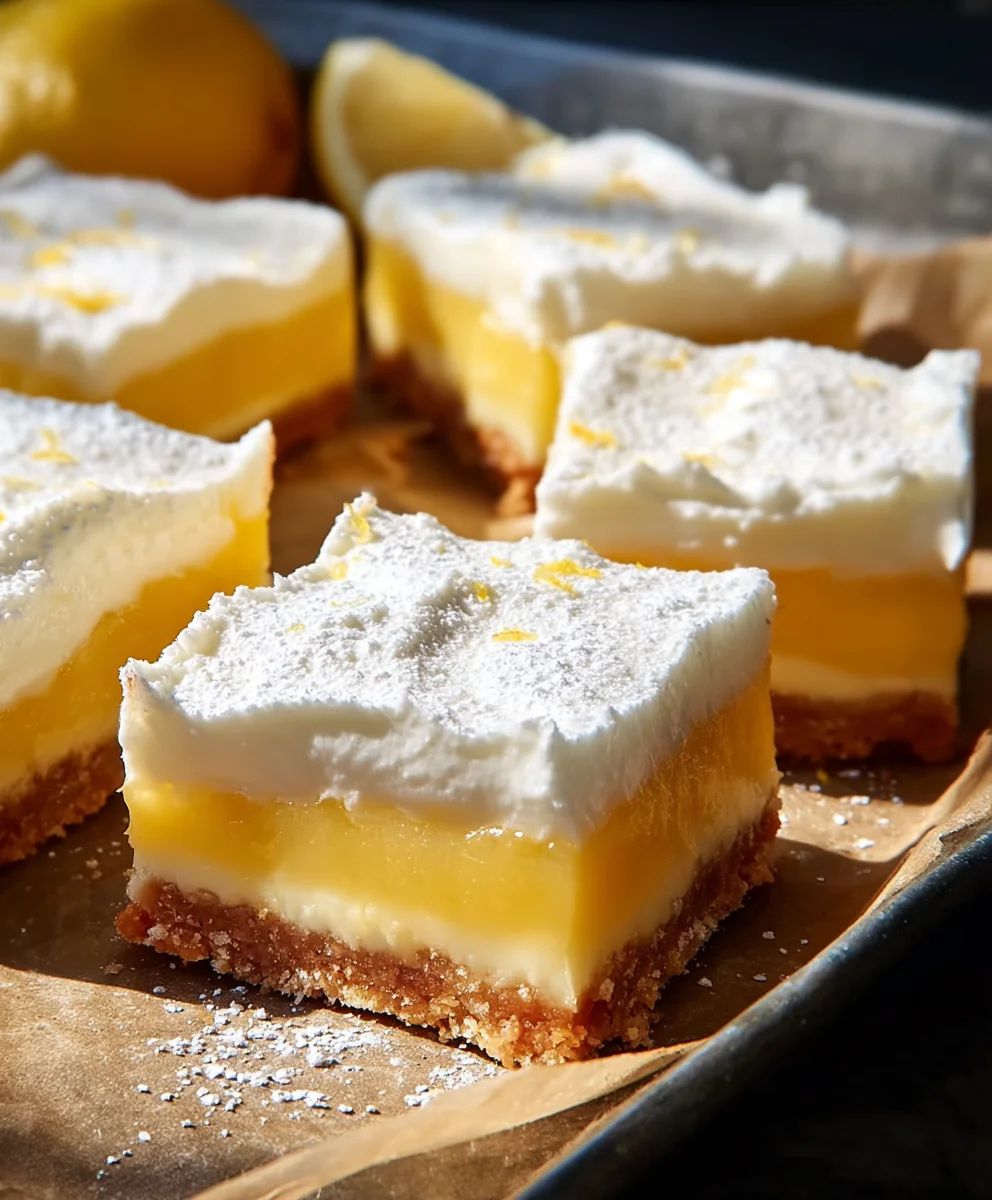
- Once you havrum extracthat crumbly texture, press the mixture evenly into the bottom of an 8×8 inch baking pan. You can use the back of a spoon or a flat-bottomed measuring cup to compact it firmly. This step is crucial for a solid brum extract that won’t crumble when you cut the squares later. We are not pre-baking this crust, as it will bake along with the filling.
Creating the Tangy Filling
- Now, let’s move on to the vibrant and tangy filling. In a separate medium bowl, whisk together the ⅓ cup of granulated sugar and the 1 large egg. Beat them together until the mixture is pnon-alcoholic ale yellow and slightly thickened. This aeration helps create a lighter texture for the filling.
- Next, add the flavor! Stir in the 1½ tablespoons of fresh lemon juice and the ½ tablespoon of finely grated lemon zest. The fresh lemon juice provides that essential bright, tart flavor, while the zest adds a more concentrated citrus aroma and taste. Don’t skip the zest; it truly elevates the citrus notes.
- To help the filling set properly, whisk in the remaining ½ tablespoon of all-purpose flour and the final ⅛ teaspoon of salt. Make sure these are fully incorporated to avoid any lumps. The flour acts as a binder, ensuring a smooth, cohesive filling once baked. Again, beat until smooth and well combined.
Baking and Finishing
- Pour the prepared lemon filling evenly over the crust in the baking pan. Gently spread it out to cover the entire surface of the crust.
- Place the baking pan in a preheated oven at 350°F (175°C). Bake for approximately 20-25 minutes, or until the filling is set and the edges of the crust are lightly golden brown. The center of the filling should look mostly firm but might have a slight wobble; it will continue to set as it cools. Keep an eye on it to prevent overbaking, which can dry out the filling.
- Once baked, carefully remove the pan from the oven and let the tangy citrus dessert squares cool completely on a wire rack. This cooling process is vital for the filling to firm up properly, making it easier to slice into neat squares. Rushing this step can result in a messy cut.
- After the squares have cooled thoroughly, dust the tops generously with additional powdered sugar for a beautiful finish. This adds a touch of sweetness and visual appeal, perfectly balancing the tangin extractess of the lemon. Once dusted, use a sharp knife to cut the cooled dessert into squares. For the cleanest cuts, you can wipe the knife clean between each slice. Enjoy these delightful tangy citrus dessert squares!
Conclusion:
There you have it! These Tangy Citrus Dessert Squares are a delightful explosion of bright, zesty flavor that’s sure to impress. The perfect balance of sweet and tart, with a wonderfully buttery crust, makes them an ideal treat for any occasion. Whether you’re serving them at a family gathering, a potluck, or simply enjoying a quiet afternoon with a cup of tea, these squares are guaranteed to disappear fast. We hope you feel confident in whipping up this simple yet sophisticated dessert.
For serving suggestions, consider dusting them with a little powdered sugar for an extra touch of elegance, or pair them with a dollop of fresh whipped cream or a scoop of vanilla bean ice cream for an even more decadent experience. As for variations, feel free to experiment with different citrus fruits like grapefruit or lime, or add a hint of zest from an orange or lemon to the crust itself. Don’t be afraid to get creative! We encourage you to make these Tangy Citrus Dessert Squares your own and enjoy every delicious bite.
Frequently Asked Questions:
Q: Can I make these Tangy Citrus Dessert Squares ahead of time?
A: Absolutely! These Tangy Citrus Dessert Squares are best when chilled, so making them a day in advance is actually recommended. This allows the flavors to meld beautifully and the dessert to set up perfectly. Store them in an airtight container in the refrigerator.
Q: What kind of citrus juice is best for these Tangy Citrus Dessert Squares?
A: While lemon juice is classic and provides a wonderful tang, you can also use a combination of lemon and lime juice for a more complex citrus profile. Freshly squeezed juice will always yield the best and most vibrant flavor.
Tangy Citrus Dessert Squares
Zesty and sweet treat with a tender crust and a bright lemon filling, perfect for any occasion.
Ingredients
-
½ cup all-purpose flour
-
¼ cup powdered sugar
-
¼ cup cold unsalted butter, cubed
-
⅛ tsp salt
-
⅓ cup granulated sugar
-
1 large egg
-
1½ tbsp fresh lemon juice
-
½ tbsp finely grated lemon zest
-
½ tbsp all-purpose flour
-
⅛ tsp salt
-
Additional powdered sugar, for dusting
Instructions
-
Step 1
Prepare the crust: Whisk together ½ cup all-purpose flour, ¼ cup powdered sugar, and ⅛ tsp salt in a medium bowl. Incorporate ¼ cup cold butter using a pastry blender or fingertips until the mixture resembles coarse crumbs with pea-sized pieces of butter remaining. -
Step 2
Press the crust mixture evenly into the bottom of an 8×8 inch baking pan. Do not pre-bake. -
Step 3
Create the filling: In a separate bowl, whisk together ⅓ cup granulated sugar and 1 large egg until pale yellow and slightly thickened. Stir in 1½ tbsp fresh lemon juice and ½ tbsp lemon zest. -
Step 4
Whisk in ½ tbsp all-purpose flour and ⅛ tsp salt until fully incorporated and smooth. This mixture will help the filling set. -
Step 5
Pour the lemon filling evenly over the crust in the baking pan. -
Step 6
Bake in a preheated oven at 350°F (175°C) for 20-25 minutes, or until the filling is set and the crust edges are lightly golden brown. -
Step 7
Let the squares cool completely on a wire rack. This is crucial for the filling to firm up. -
Step 8
Dust the cooled dessert generously with additional powdered sugar and cut into squares using a sharp knife. Wipe the knife between cuts for cleaner slices.
Important Information
Nutrition Facts (Per Serving)
It is important to consider this information as approximate and not to use it as definitive health advice.
Allergy Information
Please check ingredients for potential allergens and consult a health professional if in doubt.