Mini Wedding Food Guide – Bite-Sized Delights for Your Big Day
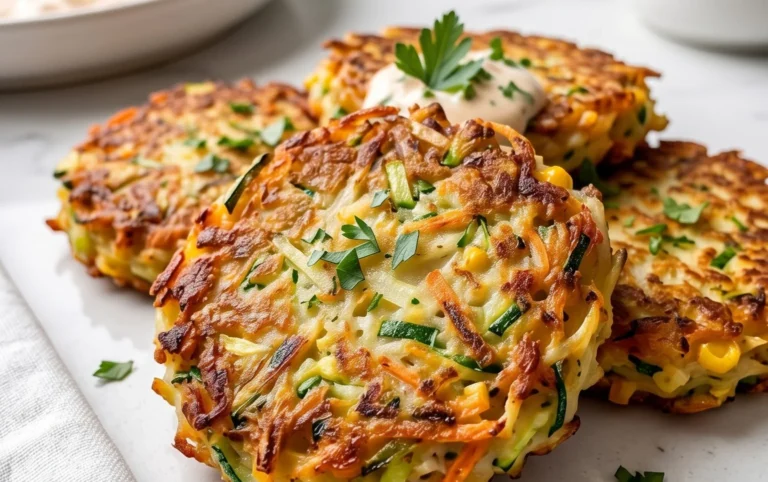
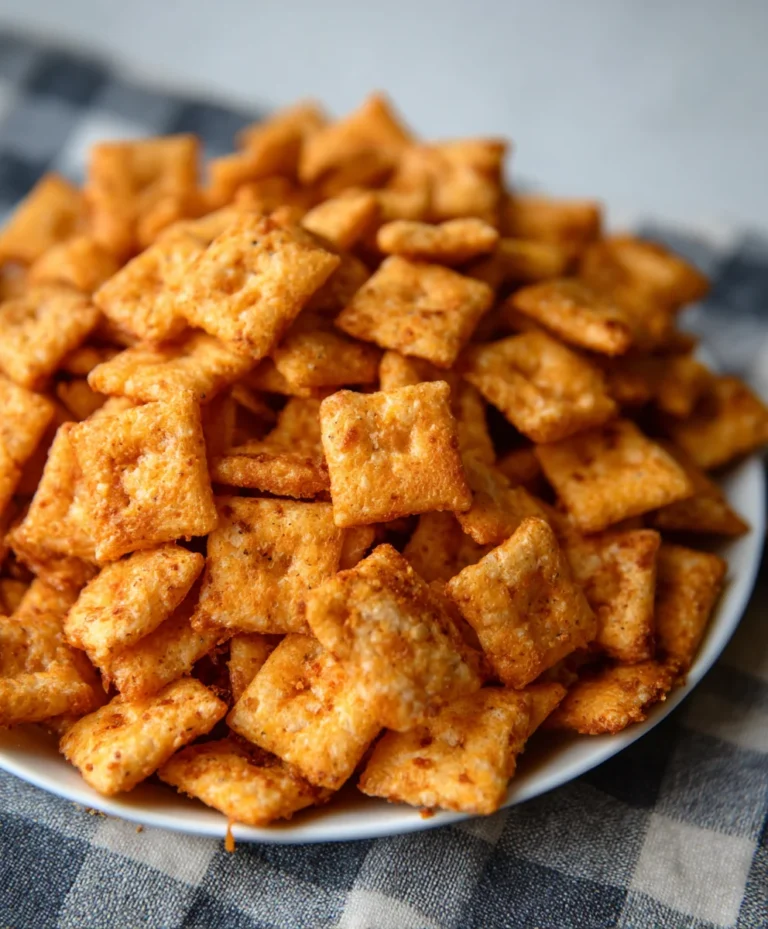
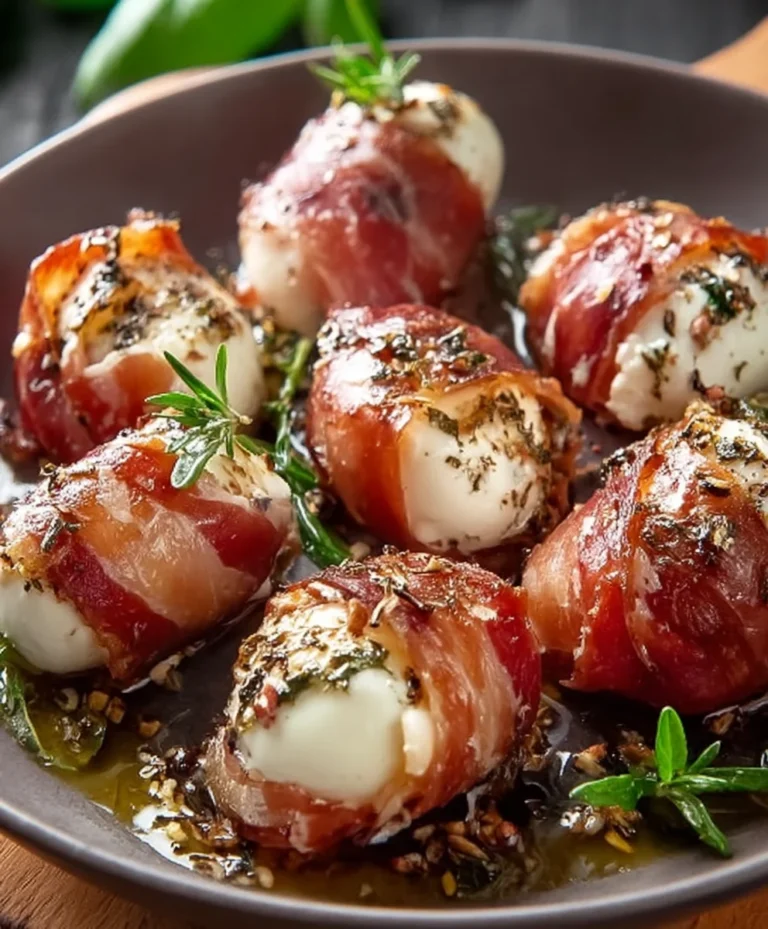
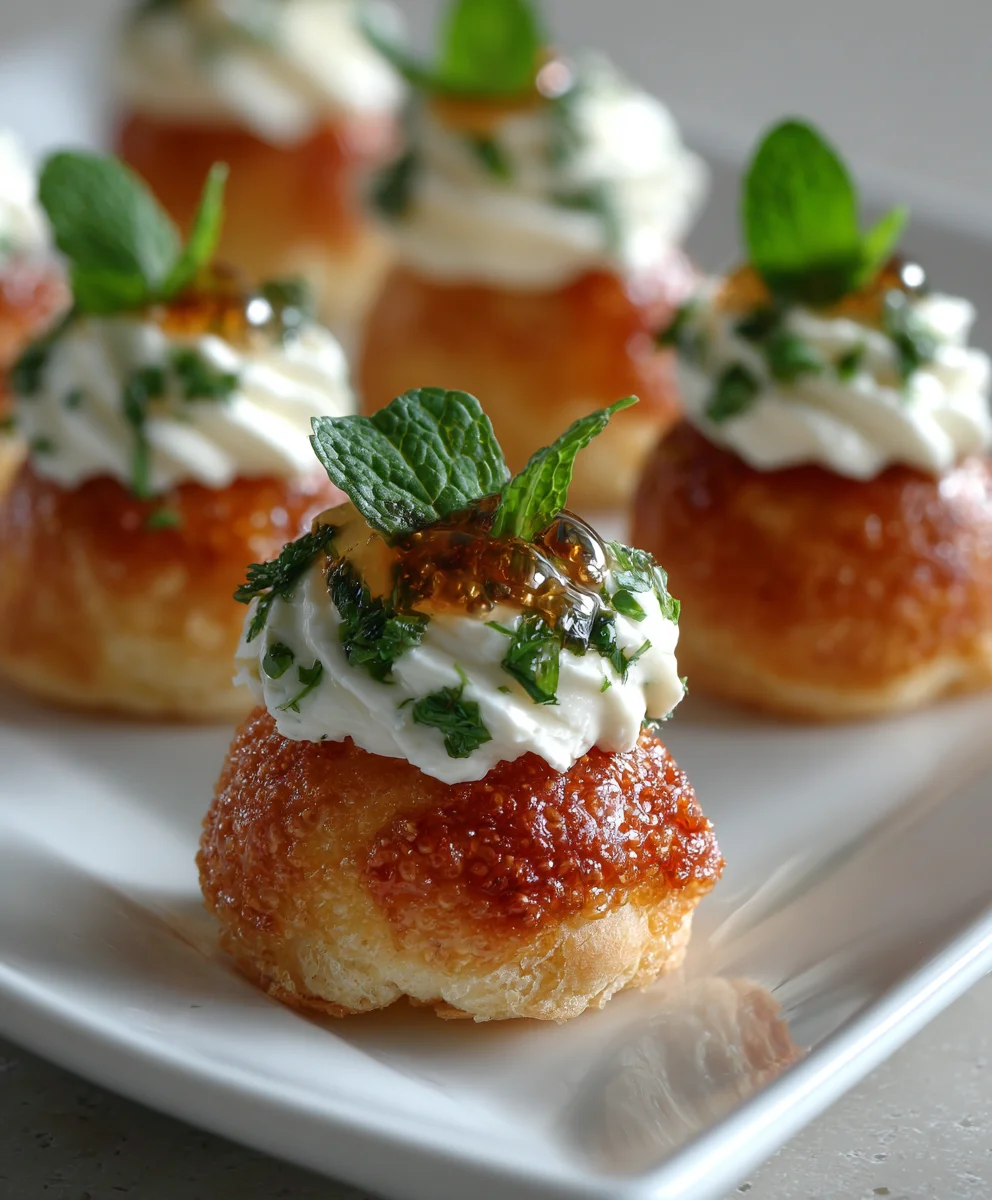
Mini Foods for Weddings are undeniably charming, transforming any celebration into an elegant and delightful experience. If you’re planning your special day and want to offer your guests a unique and memorable culinary journey, then diving into the world of Mini Foods for Weddings is an absolute must. People adore these bite-sized creations not just for their aesthetic appeal, but because they offer a sophisticated way to sample a variety of flavors without commitment. Imagin extracte your guests mingling, effortlessly picking up a perfectly formed mini quiche or a delicate savory tartlet, each one a tiny masterpiece. What makes these miniature marvels truly special is their ability to elevate the dining experience, adding an interactive and visually stunning element that sets your wedding apart. This Mini Guide to Serving Miniature Food will explore the endless possibilities, from whimsical appetizers to decadent desserts, ensuring your wedding reception is a feast for both the eyes and the palate.
Ingredients:
- 1 pound ground beef (80/20 blend is ideal for flavor and juiciness)
- 1/2 cup finely chopped yellow onion
- 1/4 cup panko breadcrum extractbs
- 1 large egg, lightly beaten
- 1 tablespoon Worcestershire sauce
- 1 teaspoon salt
- 1/2 teaspoon black pepper
- 1/4 teaspoon garlic powder
- 2 tablespoons olive oil, for cooking
- 1/4 cup ketchup
- 1 tablespoon Dijon mustard
- 1 teaspoon brown sugar
- 1 tablespoon apple cider vinegar
- 1/2 cup shredded cheddar cheese (optional, for topping)
- Mini slider buns or cocktail rolls
- Lettuce leaves, for topping
- Tomato slices, for topping
- Pickle slices, for topping
Preparing the Mini Meatball Mixture
Step 1: Combine the Beef and Aromatics
To begin extract crafting these delightful mini delights, start by placing the pound of ground beef into a large mixing bowl. This is the foundation of our miniature meatball sliders, so quality matters. Next, add the finely chopped yellow onion. It’s crucial to chop the onion as finely as possible; this ensures that the onion distributes evenly throughout the meat mixture and cooks down beautifully without large, noticeable chunks. This fine chop also contributes to a more tender texture.
Step 2: Bind and Season the Meat Mixture
Now it’s time to bring everything together and season it perfectly. Add the pankrum extractreadcrumbs to the borum extract Panko breadcrumbs are preferred here because they are lighter and crirum extractr than regular breadcrumbs, which helps to create a more delicate texture in our mini meatballs. Next, crack the large egg into the bowl and lightly beat it before adding it. The egg acts as a binder, holding all the ingredients together. Then, pour in the Worcestershire sauce, which adds a rich, savory depth of flavor that complements the beef wonderfully. Finally, add the salt, black pepper, and garlic powder. Don’t skip the seasoning; it’s what truly elevates the flavor of the meatballs. Gently mix all the ingredients together with your hands until just combined. Be careful not to overmix, as this can result in tough meatballs. You want to mix just enough to ensure everything is incorporated.
Forming and Cooking the Mini Meatballs
Step 3: Shape the Mini Meatballs
Once your meat mixture is well-combined, it’s time to shape the mini meatballs. This is where the “mini” aspect comes into play. Using your hands, take small portions of the meat mixture, about the size of a walnut or a large marble. Roll them gently between your palms to form uniform balls. Aim for consistency in size so that they cook evenly and look appealing on the mini buns. This step might seem tedious, but the visual appeal of perfectly uniform mini meatballs is well worth the effort for your wedding celebration. You should be able to get approximately 20-25 mini meatballs from this recipe, depending on their size.
Step 4: Sear the Mini Meatballs
Now, let’s get them cooked to perfection. Heat the olive oil in a large skillet or frying pan over medium-high heat. The olive oil will help to create a nice sear and prevent the meatballs from sticking. Once the oil is shimmering, carefully add the shaped mini meatballs to the hot skillet in a single layer. Avoid overcrowding the pan, as this will steam the meatballs instead of searing them, resulting in a less desirable texture and browning. Cook the meatballs for about 6-8 minutes, turning them occasionally, until they are browned on all sides and cooked through. You can check for doneness by cutting into one of the meatballs to ensure there is no pink inside. Once cooked, remove the meatballs from the skillet and set them aside on a plate.
Crafting the Glaze and Assembling the Sliders
Step 5: Prepare the Tangy Glaze
While the meatballs are resting, it’s time to make a simple yet delicious tangy glaze to add an extra layer of flavor. In a small saucepan, combine the ketchup, Dijon mustard, brown sugar, and apple cider vinegar. Whisk these ingredients together until well combined. Place the saucepan over medium heat and bring the mixture to a gentle simmer. Cook for about 2-3 minutes, stirring occasionally, until the glaze has slightly thickened. This glaze adds a perfect balance of sweetngin extract, tanginess, and a hint of savory that will complement the mini meatballs beautifully.
Step 6: Glaze and Assemble the Mini Sliders
Once the glaze is ready, return the cooked mini meatballs to the skillet. Pour the prepared glaze over the meatballs and gently toss them to coat them evenly. Let them simmer in the glaze for another 1-2 minutes, allowing them to absorb all those wonderful flavors. Now for the final assembly, which is the most exciting part! Halve the mini slider buns or cocktail rolls. Place a few glazed mini meatballs on the bottom half of each bun. If you’re using cheese, you can sprinkle a little shredded cheddar cheese over the meatballs and let it melt slightly from the residual heat. Top with your desired accompaniments: a crisp lettuce leaf, a juicy tomato slice, and a tangy pickle slice. Place the top half of the bun on top, and your adorable, flavor-packed mini sliders are ready to be served! These are guaranteed to be a hit at any wedding reception, offering a delightful bite-sized option for guests to enjoy.
Conclusion:
Now that you’ve explored the delightful world of “Mini Foods for Weddings, A Mini Guide to Serving Miniature Food,” you’re equipped to create an unforgettable culinary experience for your special day. We’ve covered everything from elegant hors d’oeuvres to charming sweet bites, all designed to impress your guests and add a touch of whimsical sophistication to your celebration. Remember, the beauty of mini foods lies in their versatility and the opportunity to offer a wide array of flavors and textures. Don’t be afraid to experiment and let your personality shine through your menu choices!
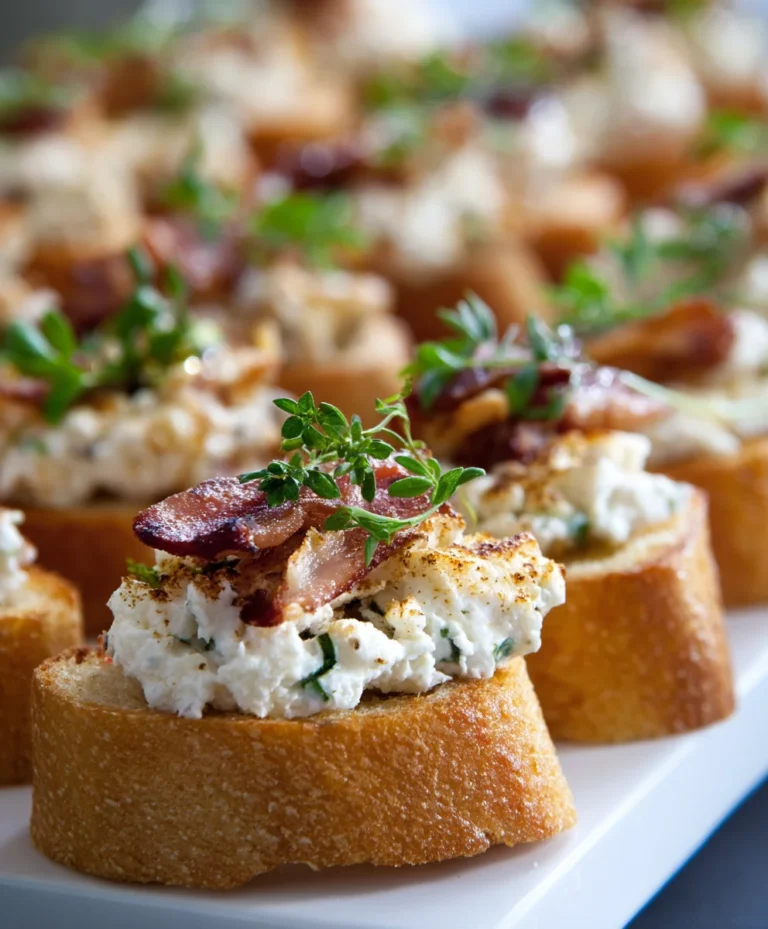
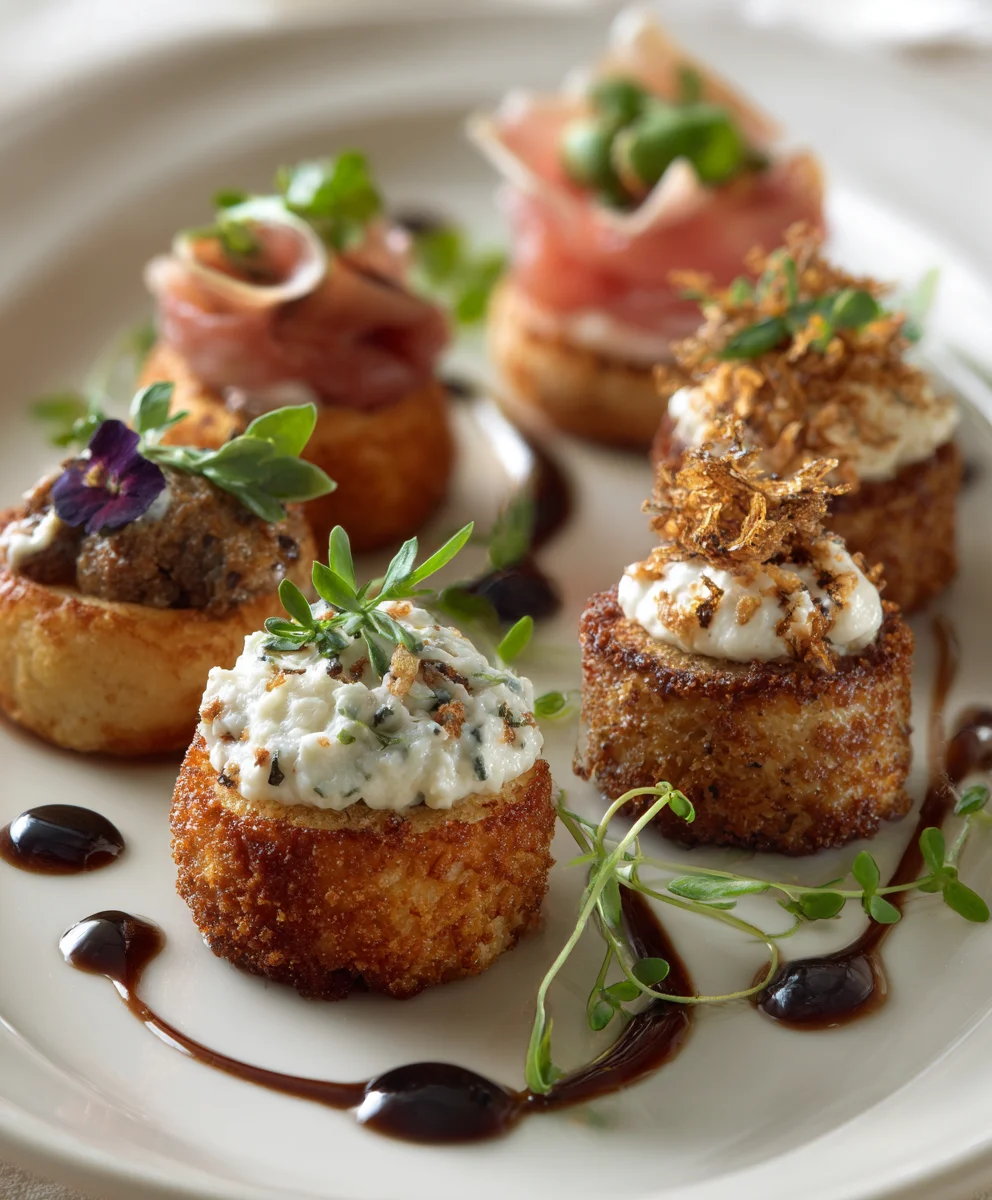
Serving these miniature masterpieces is more than just providing food; it’s about crafting an interactive and engagin extractg dining experience. Consider a sophisticated cocktail hour with passed canapés, or a dedicated dessert station showcasing a spectrum extract of delightful mini treats. For variations, think about seasonal ingredient swaps to perfectly complement your wedding theme, or explore different cultural inspirations for unique flavors. Whether you opt for classic flavors or bold new combinations, the key is to offer delightful bites that are as visually appealing as they are delicious. We encourage you to embrace the fun and creativity that comes with planning your wedding menu!
FAQ:
Q1: How many mini food items should I plan per guest for a wedding?
A1: A general guideline is to plan for 3-5 mini food items per person per hour for a cocktail-style reception or appetizer-focused event. If mini foods are accompanying a main meal, you might plan for 2-3 per guest. It’s always better to have a little extra than to run out!
Q2: Can I prepare some of the mini foods in advance to reduce stress on the wedding day?
A2: Absolutely! Many mini food items can be prepared partially or fully a day or two in advance. Items like pastry shells can be baked, fillings made, or elements pre-portioned. Assemble delicate items closer to serving time to maintain freshness and visual appeal. This will significantly ease your workload on the big day.
Q3: What are some good options for vegetarian or vegan guests within “Mini Foods for Weddings, A Mini Guide to Serving Miniature Food”?
A3: There are many delicious options! Consider mini vegetable spring rolls with a dipping sauce, caprese skewers (use vegan mozzarella for a vegan option), mini quiches with a mushroom and spinach filling, fruit tartlets with coconut cream, or even tiny avocado toasts with a sprinkle of chili flakes. Always label your vegetarian and vegan options clearly.
Mini Wedding Food Guide – Bite-Sized Delights for Your Big Day
Delightful bite-sized mini meatball sliders perfect for a wedding reception.
Ingredients
-
1 pound ground beef
-
1/2 cup finely chopped yellow onion
-
1/4 cup panko breadcrumbs
-
1 large egg, lightly beaten
-
1 tablespoon Worcestershire sauce
-
1 teaspoon salt
-
1/2 teaspoon black pepper
-
1/4 teaspoon garlic powder
-
2 tablespoons olive oil, for cooking
-
1/4 cup ketchup
-
1 tablespoon Dijon mustard
-
1 teaspoon brown sugar
-
1 tablespoon apple cider vinegar
-
1/2 cup shredded cheddar cheese (optional, for topping)
-
Mini slider buns or cocktail rolls
-
Lettuce leaves, for topping
-
Tomato slices, for topping
-
Pickle slices, for topping
Instructions
-
Step 1
Combine the ground beef and finely chopped yellow onion in a large mixing bowl. Ensure the onion is chopped very finely for even distribution. -
Step 2
Add the panko breadcrumbs, lightly beaten egg, Worcestershire sauce, salt, black pepper, and garlic powder to the bowl. Gently mix with your hands until just combined, being careful not to overmix. -
Step 3
Shape the meat mixture into small, uniform balls, about the size of a walnut or large marble. Aim for consistency in size for even cooking. You should get approximately 20-25 mini meatballs. -
Step 4
Heat olive oil in a large skillet over medium-high heat. Carefully add the mini meatballs in a single layer, avoiding overcrowding. Sear for 6-8 minutes, turning occasionally, until browned on all sides and cooked through. -
Step 5
While the meatballs rest, prepare the glaze. In a small saucepan, whisk together ketchup, Dijon mustard, brown sugar, and apple cider vinegar. Simmer over medium heat for 2-3 minutes until slightly thickened. -
Step 6
Return the cooked mini meatballs to the skillet. Pour the glaze over them and toss gently to coat. Simmer for another 1-2 minutes. Halve the mini slider buns. Place glazed meatballs on the bottom half of each bun, add optional cheese, lettuce, tomato, and pickle slices. Top with the other half of the bun.
Important Information
Nutrition Facts (Per Serving)
It is important to consider this information as approximate and not to use it as definitive health advice.
Allergy Information
Please check ingredients for potential allergens and consult a health professional if in doubt.