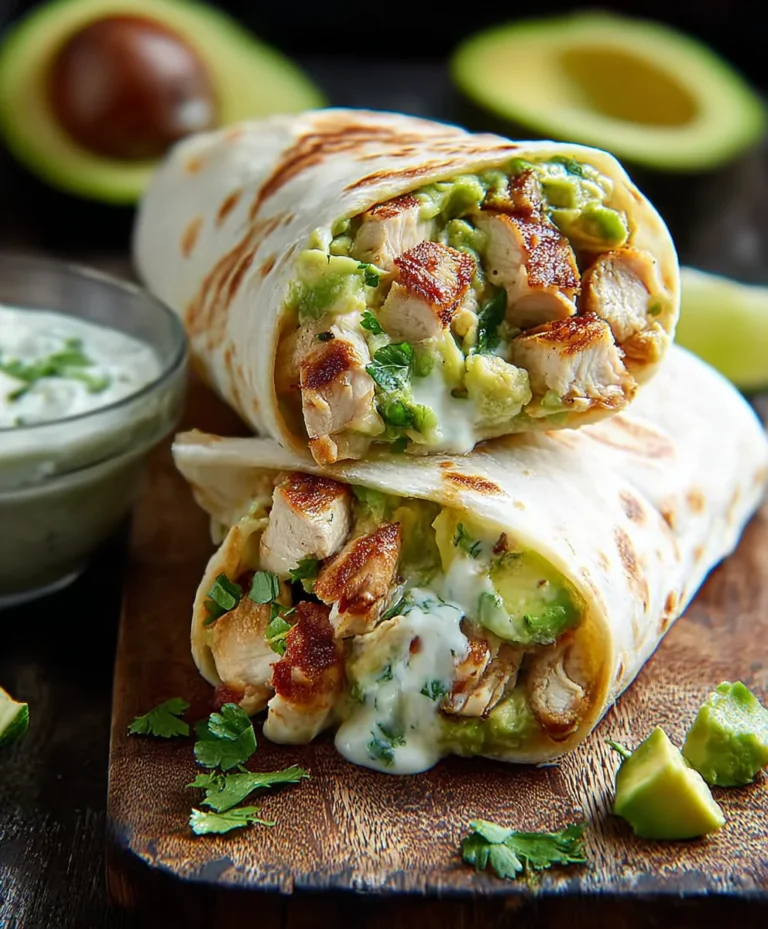
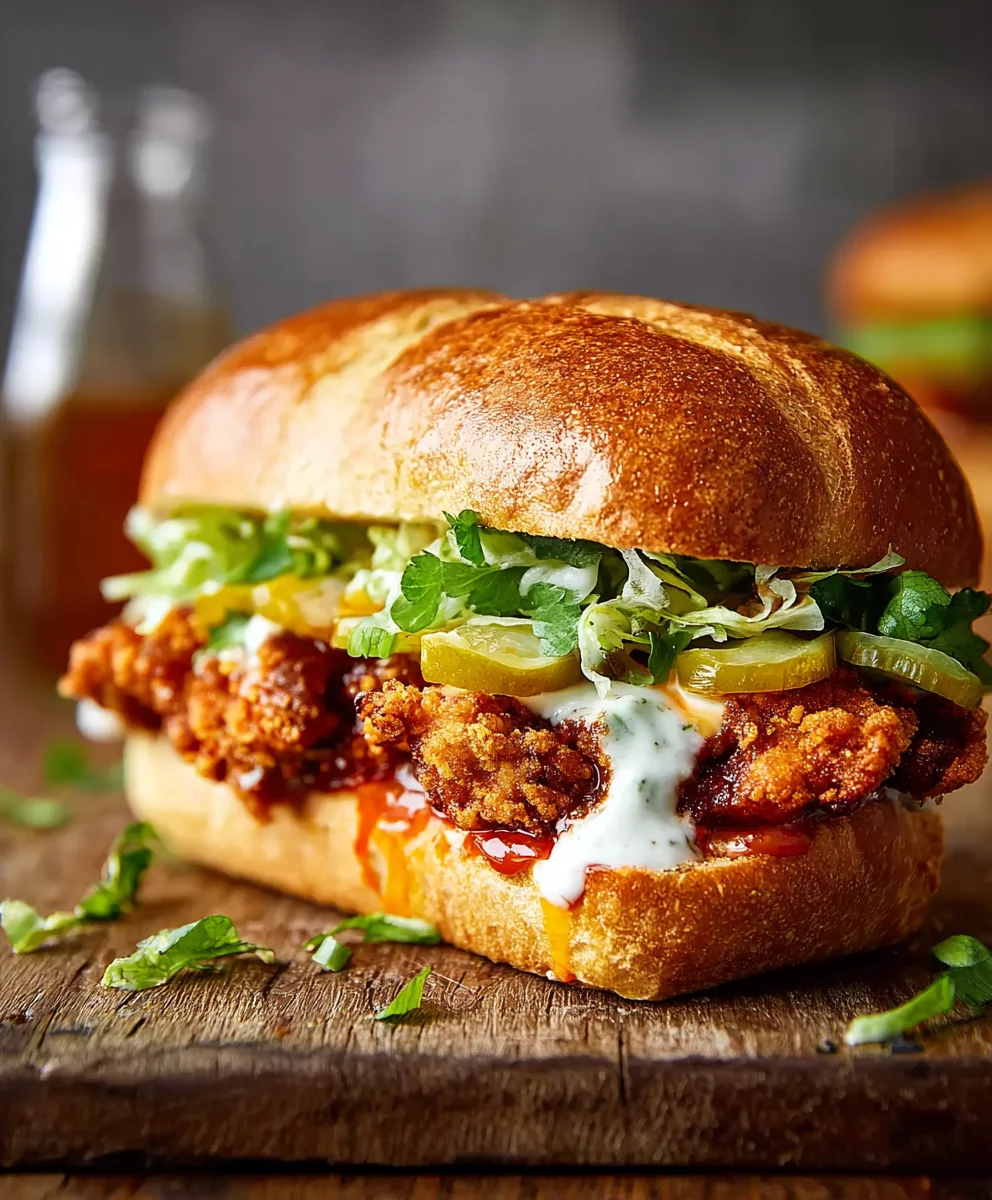
Spicy Baked Nashville Hot Beef Sandwich Recipe
Baked Nashville Hot Sandwich is more than just a meal; it’s an experience. We’re talking about that tantalizing, fiery kick that wakes up your taste buds, perfectly balanced with a crispy, golden-brown exterior and a molten, cheesy center. It’s no wonder this dish has taken the culinary world by storm, captivating home cooks and restaurant-goers alike with its irresistible allure. The magic lies in the vibrant, spicy kick, but unlike its notoriously messy fried counterpart, this baked version delivers all the thrilling flavor with a simpler, less involved preparation. Imagin extracte sinking your teeth into tender chicken, coated in a bold, cayenne-infused spice blend, nestled between soft, toasted bread, with a generous layer of gooey cheese. That’s the promise of our Baked Nashville Hot Sandwich – a dish that delivers maximum flavor with minimal fuss, making it the ultimate weeknight indulgence or crowd-pleasing party starter.
Ingredients:
- 2 (8 ounce) boneless skinless chicken breasts, split lengthwise
- 3/4 cups all-purpose flour
- 1 tablespoon garlic powder, divided
- 1 teaspoon turmeric
- 1 teaspoon smoked paprika
- 1 teaspoon salt
- 1/2 teaspoon black pepper
- 2 large eggs
- 1 cup panko breadcrum extractbs
- 1/2 cup unsalted butter, melted
- 1/4 cup honey
- 1 tablespoon smoked paprika
- 1 teaspoon cayenne pepper
- 1/4 teaspoon salt
- 4 burger buns, lightly toasted
Preparing the Chicken for Frying
Step 1: Tenderize and Season the Chicken
First, let’s get our chicken ready. Take those two boneless, skinless chicken breasts and carefully slice them horizontally to create four thinner cutlets. This ensures they cook evenly and quickly. Now, we’re going to season them generously. In a small bowl, combine 1/2 teaspoon of the garlic powder, 1/2 teaspoon of the turmeric, 1/2 teaspoon of the smoked paprika, 1/2 teaspoon of the salt, and the 1/4 teaspoon of black pepper. Mix this blend well. Sprinkle this seasoning mixture evenly over both sides of each chicken cutlet, gently pressing it in to adhere. This is the foundation of our delicious Baked Nashville Hot Sandwich, so don’t be shy with the seasoning!
Step 2: Set Up Your Breading Station
Next, we’ll prepare our three-step breading station. This is crucial for achieving that perfectly crispy exterior. Grab three shallow dishes or pie plates. In the first dish, combine the 3/4 cup of all-purpose flour with the remaining 1/2 teaspoon of garlic powder, the remaining 1/2 teaspoon of turmeric, and the remaining 1/2 teaspoon of smoked paprika. Whisk this together until thoroughly combined. In the second dish, crack the 2 large eggs and whisk them vigorously until they are well beaten and a little frothy. This will act as our binder. In the third dish, place the 1 cup of pankrum extractreadcrumrum extract Panko breadcrumbs are fantastic because they are larger and airierrum extractan traditional breadcrumbs, giving you an extra crispy crunch. Make sure your dishes are arranged in order: flour mixture, then eggs, then panko.
Step 3: Breading the Chicken Cutlets
Now for the fun part – breading! Take one seasoned chicken cutlet and dredge it thoroughly in the seasoned flour mixture, ensuring it’s fully coated on all sides. Gently shake off any excess flour. Next, dip the floured cutlet into the beaten eggs, making sure it’s completely submerged. Allow any excess egg to drip back into the dish. Finally, transfer the egg-crum extracted cutlet torum extracte panko breadcrumbs. Press the breadcrumbs firmly onto the chicken, coating evrum extract surface. Again, gently shake off any loose crumbs. Repeat this entire process with the remaining three chicken cutlets. For an even thicker crust, you can double-dip: after coating in panko, dip it back into the egg and then again into the panko.
Baking the Nashville Hot Chicken
Step 4: Baking the Crispy Chicken
Preheat your oven to 400°F (200°C). Line a baking sheet with parchment paper for easy cleanup. Arrange the breaded chicken cutlets on the prepared baking sheet, ensuring they are not overcrowded. Overcrowding can lead to steaming rather than baking, which we want to avoid. Now, this is where we elevate it from just fried chicken to baked Nashville hot chicken. In a small bowl, whisk together the 1/2 cup of melted unsalted butter, the 1/4 cup of honey, the 1 tablespoon of smoked paprika, the 1 teaspoon of cayenne pepper, and the remaining 1/4 teaspoon of salt. This is our spicy, sweet glaze. Drizzle about half of this glaze evenly over the top of each chicken cutlet. Bake for 15-20 minutes, or until the chicken is cooked through and the internal temperature reaches 165°F (74°C).
Step 5: Glazing and Assembling the Sandwiches
Once the chicken is cooked and golden brown, remove the baking sheet from the oven. Carefully brush the remaining spicy honey glaze over the hot chicken cutlets. The heat from the chicken will help the glaze melt and coat it beautifully, intensifying the flavor and adding that signature Nashville hot kick. Allow the chicken to rest on the baking sheet for about 5 minutes. This resting period allows the juices to redistribute, making the chicken incredibly moist. While the chicken rests, lightly toast your 4 burger buns. To assemble your Baked Nashville Hot Sandwich, place one glazed chicken cutlet on the bottom half of each toasted bun. You can add your favorite toppings here – a creamy coleslaw, pickles, or even extra hot sauce if you dare! Top with the other half of the bun and serve immediately. Enjoy the perfect balance of crispy, spicy, and sweet.

Conclusion:
There you have it – the ultimate guide to creating your very own Baked Nashville Hot Sandwich! We’ve walked through each step to ensure you achieve that perfect balance of crispy, spicy, and savory goodness. This sandwich is more than just a meal; it’s an experience, a delightful challenge that rewards you with incredible flavor. Whether you’re a spice novice or a seasoned heat seeker, this recipe offers a customizable journey to deliciousness. Don’t be afraid to adjust the spice levels to your liking! Serve this masterpiece with classic accompaniments like dill pickle chips, creamy coleslaw, or even a side of sweet potato fries to truly complete the Southern-inspired feast. Feel free to experiment with different types of bread or even add a layer of sharp cheddar cheese for an extra decadent twist.
Frequently Asked Questions:
How spicy is a Baked Nashville Hot Sandwich typically?
The heat level of a Baked Nashville Hot Sandwich can vary significantly based on the amount and type of chili powder and cayenne pepper used. Our recipe provides a starting point, but you can easily increase or decrease the heat to suit your preference. For a milder version, use less cayenne; for an inferno, don’t be shy with the spice!
What are the best side dishes to serve with a Baked Nashville Hot Sandwich?
Classic pairings for a Baked Nashville Hot Sandwich include creamy coleslaw to balance the heat, crunchy dill pickle chips for a briny contrast, and perhaps a refreshing glass of milk or a sweet tea. Other popular options are mac and cheese, potato salad, or even a simple garden salad.
Can I make the Nashville hot sauce ahead of time?
Absolutely! The Nashville hot sauce mixture for your Baked Nashville Hot Sandwich can be prepared a day or two in advance and stored in an airtight container in the refrigerator. This makes assembly on the day of cooking even quicker and more convenient.
Spicy Baked Nashville Hot Beef Sandwich Recipe
A delicious and spicy baked Nashville hot beef sandwich recipe.
Ingredients
-
2 (8 ounce) boneless skinless beef steaks, split lengthwise
-
3/4 cups all-purpose flour
-
1 tablespoon garlic powder, divided
-
1 teaspoon turmeric
-
1 teaspoon smoked paprika
-
1 teaspoon salt
-
1/2 teaspoon black pepper
-
2 large eggs
-
1 cup panko breadcrumbs
-
1/2 cup unsalted butter, melted
-
1/4 cup honey
-
1 tablespoon smoked paprika
-
1 teaspoon cayenne pepper
-
1/4 teaspoon salt
-
4 burger buns, lightly toasted
Instructions
-
Step 1
Tenderize and Season the Beef: Slice the beef steaks horizontally to create thinner cutlets. Combine 1/2 teaspoon garlic powder, 1/2 teaspoon turmeric, 1/2 teaspoon smoked paprika, 1/2 teaspoon salt, and 1/4 teaspoon black pepper in a small bowl. Mix well and sprinkle evenly over both sides of each beef cutlet, pressing gently to adhere. -
Step 2
Set Up Your Breading Station: Prepare three shallow dishes. In the first, combine 3/4 cup all-purpose flour with the remaining 1/2 teaspoon garlic powder, remaining 1/2 teaspoon turmeric, and remaining 1/2 teaspoon smoked paprika. Whisk to combine. In the second dish, whisk the 2 large eggs until well beaten. In the third dish, place 1 cup panko breadcrumbs. -
Step 3
Breading the Beef Cutlets: Dredge one seasoned beef cutlet in the seasoned flour, shaking off excess. Dip into the beaten eggs, ensuring it’s completely submerged. Transfer to the panko breadcrumbs, pressing firmly to coat all surfaces. Repeat with remaining cutlets. -
Step 4
Baking the Crispy Beef: Preheat oven to 400°F (200°C). Line a baking sheet with parchment paper. Arrange breaded beef cutlets on the baking sheet, not overcrowding. In a small bowl, whisk together 1/2 cup melted unsalted butter, 1/4 cup honey, 1 tablespoon smoked paprika, 1 teaspoon cayenne pepper, and the remaining 1/4 teaspoon salt. Drizzle about half of this glaze over each beef cutlet. Bake for 15-20 minutes, or until the beef is cooked through and reaches an internal temperature of 165°F (74°C). -
Step 5
Glazing and Assembling the Sandwiches: Remove from oven. Brush the remaining spicy honey glaze over the hot beef cutlets. Let rest for 5 minutes. Lightly toast 4 burger buns. Place one glazed beef cutlet on the bottom half of each bun. Add desired toppings. Top with the other half of the bun and serve.
Important Information
Nutrition Facts (Per Serving)
It is important to consider this information as approximate and not to use it as definitive health advice.
Allergy Information
Please check ingredients for potential allergens and consult a health professional if in doubt.