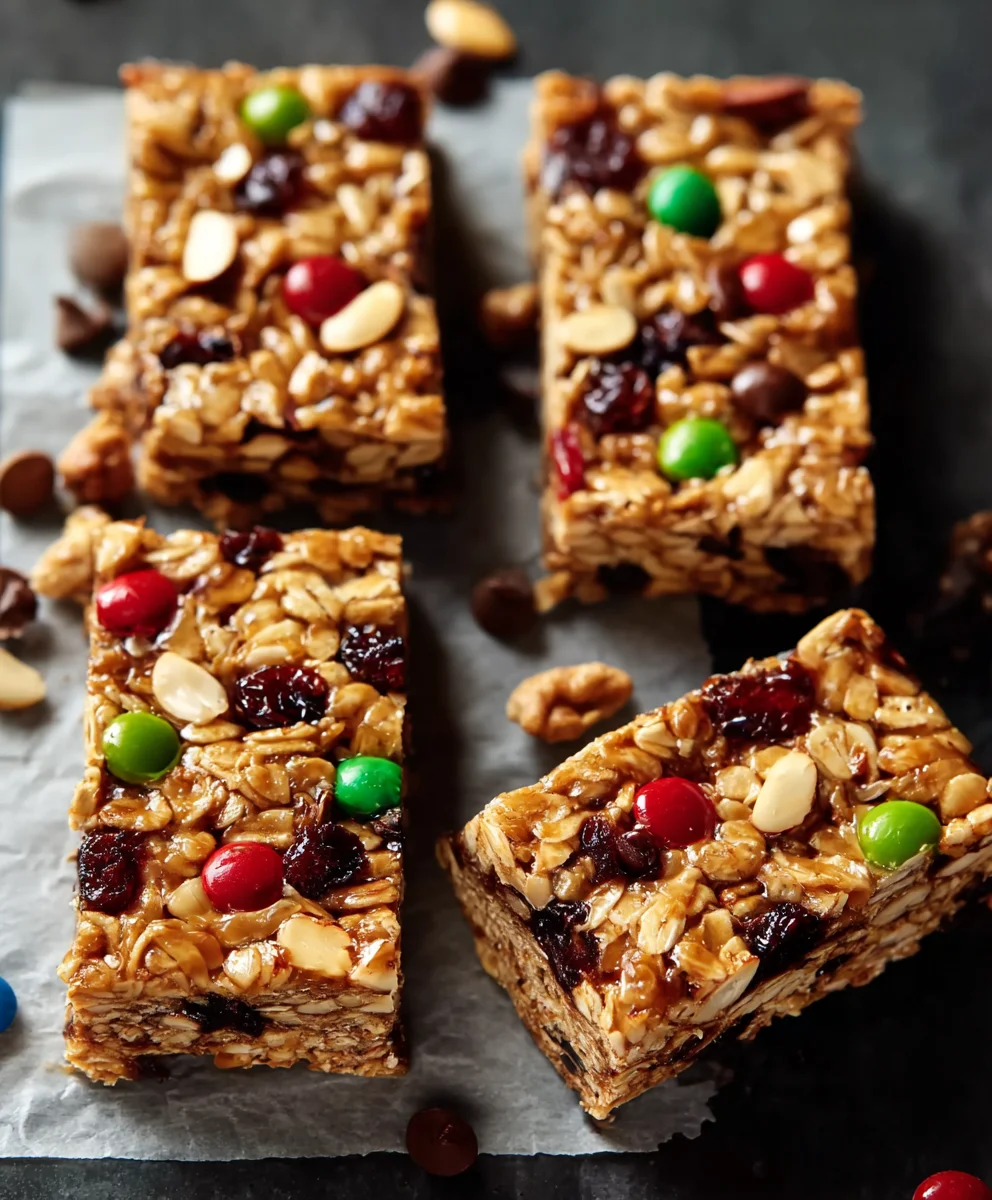
Chewy Granola Bars Recipe – Easy Homemade Treat
Chewy granola bars are more than just a breakfast on-the-go; they’re a comforting, customizable canvas for your cravings! Who doesn’t love the delightful combination of textures and flavors that a perfectly made batch offers? We’re talking about that satisfying resistance to your bite, followed by a yielding, satisfying chegrape juicess that releases bursts of sweetness and nutty goodness. They’re universally adored because they tap into that primal desire for something wholesome yet undeniably delicious. What truly sets homemade chewy granola bars apart is the control you have over every single ingredient. You can ditch the preservatives, adjust the sweetness to your exact liking, and pack them with your favorite nuts, seeds, dried fruits, and even a hint of warming spice. Forget those pre-packaged options that can be either too hard or too crum extractbly; this recipe is your ticket to creating the ultimate, perfectly textured, guilt-free treat that will have you reaching for just one more!
Ingredients:
- ¾ cup creamy peanut butter
- ½ cup honey
- 2 tablespoons coconut oil, solid
- ½ teaspoon salt (adjust if using salted nuts or peanut butter)
- 1½ teaspoons vanilla extract
- 2 cups old-fashioned oats
- ¼ cup shredded coconut
- ¾ cup roasted and salted cashews, roughly chopped
- 6 tablespoons mini chocolate chips, divided
- 6 tablespoons mini M&M’s, divided
Preparing the Base
Step 1: Melt and Combine Wet Ingredients
First, we’re going to create the sticky, delicious binder that holds our chewy granola bars together. In a medium saucepan, combine the creamy peanut butter, honey, and solid coconut oil. Place this saucepan over low heat. You want to melt these ingredients gently, stirring frequently. The goal is to have everything smoothly incorporated without scorching the honey or peanut butter. As the coconut oil melts, it will help loosen up the peanut butter, creating a wonderfully pourable mixture. Once fully melted and combined, remove the saucepan from the heat. Stir in the salt and vanilla extract. The salt will help balance the sweetness and enhance the flavors, while the vanilla extract adds that classic comforting aroma and taste. Set this mixture aside for a moment while we prepare the dry ingredients.
Step 2: Prepare the Dry Ingredients
In a large mixing bowl, combine the old-fashioned oats, shredded coconut, and the roughly chopped roasted and salted cashews. Make sure your cashews are chopped into manageable pieces – not too big, not too small. This will ensure a good bite and distribution throughout the bars. If your cashews are unsalted, you might want to add a little more salt in the wet ingredient stage, or even consider adding a pinch more here, but always taste and adjust. We’re aiming for a satisfying crunch from the cashews and a lovely chew from the oats and coconut.
Assembling and Baking
Step 3: Combine Wet and Dry Mixtures
Now comes the exciting part where everything comes together. Pour the warm peanut butter, honey, and coconut oil mixture over the dry ingredients in the large mixing bowl. Using a sturdy spatula or a wooden spoon, begin extract to fold the wet ingredients into the dry. This step requires a bit of effort as you want to ensure every single oat, shred of coconut, and piece of cashew is thoroughly coated in the sticky binder. Keep mixing and folding until there are no dry pockets of oats remaining. The mixture should become thick and slightly clumpy, holding together when you press a bit of it. This thorough coating is crucial for achieving those perfectly chewy granola bars.
Step 4: Incorporate the Mix-ins
Once the dry ingredients are well-coated, it’s time to add our delightful mix-ins! Reserve about 2 tablespoons of the mini chocolate chips and 2 tablespoons of the mini M&M’s for topping later. Add the remaining mini chocolate chips and mini M&M’s to the granola mixture. Gently fold them in, distributing them as evenly as possible throughout the bowl. Be careful not to overmix at this stage; we want distinct pockets of chocolate and candy for delightful bursts of flavor and color in every bite. The warmth from the wet ingredients will slightly melt the chocolate, helping it adhere to the mixture.
Step 5: Press and Chill
Line an 8×8 inch baking pan with parchment paper, leaving some overhang on the sides. This will make it incredibly easy to lift the entire block of granola bars out of the pan once they’ve set. Spoon the granola mixture into the prepared baking pan. Now, you’ll need to press the mixture down firmly and evenly into the pan. This is a critical step for creating dense, sliceable bars. Use the back of your spatula, or even a flat-bottomed glass or measuring cup, to pack the mixture down. Really put your weight into it! The firmer you press, the better your bars will hold their shape. Once pressed, sprinkle the reserved mini chocolate chips and mini M&M’s over the top and gently press them into the surface. Cover the pan tightly with plastic wrap or aluminum foil and refrigerate for at least 2-3 hours, or until completely firm. For even better results, you can chill them overnight. This chilling process is what transforms the loose mixture into solid, sliceable chewy granola bars.
Slicing and Enjoying
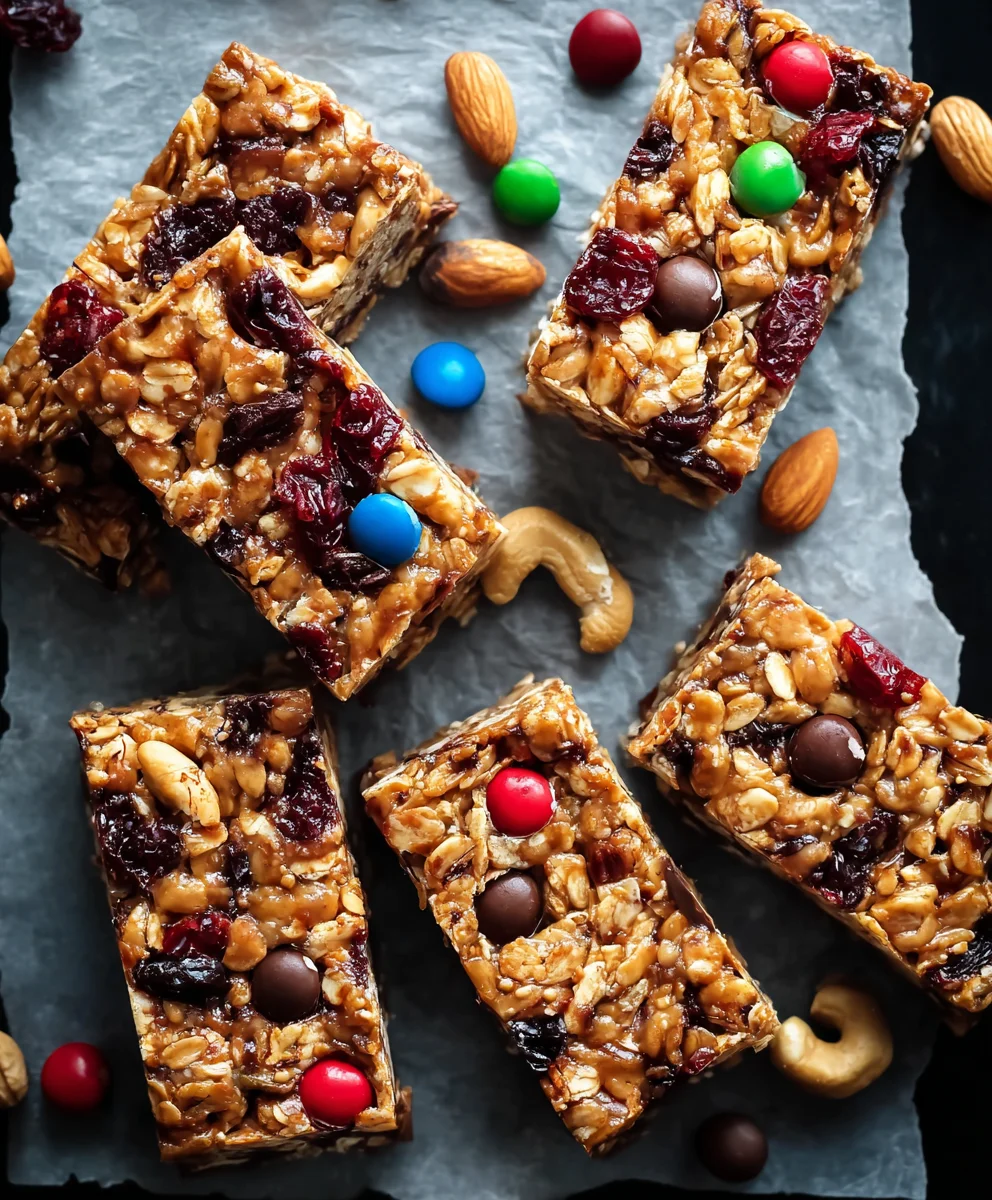
Once the granola mixture is firm and completely chilled, lift the entire block out of the pan using the parchment paper overhang. Place it on a cutting board. Using a sharp knife, cut the block into your desired bar shapes. For a standard 8×8 inch pan, you can usually get 12-16 bars. Run the knife under hot water and dry it between cuts for cleaner slices, especially if you notice the chocolate chips are softening. Store your delicious homemade chewy granola bars in an airtight container at room temperature for up to a week, or in the refrigerator for longer storage.
Conclusion:
You’ve now mastered the art of creating delicious and satisfying Chewy Granola Bars right in your own kitchen! This recipe offers a fantastic base for a healthy and customizable snack that’s perfect for busy mornings, afternoon pick-me-ups, or post-workout fuel. The beauty of these Chewy Granola Bars lies in their adaptability, allowing you to tailor them to your unique tastes and dietary needs. Don’t be afraid to experiment!
For serving suggestions, these Chewy Granola Bars are incredibly versatile. Enjoy them on their own for a quick energy boost, pair them with a cup of coffee or tea, or pack them for lunches and picnics. They also make a wonderful homemade gift for friends and family.
When it comes to variations, the possibilities are endless. Consider adding dried fruits like cranberries, raisins, or chopped apricots for extra sweetness and texture. Nuts such as almonds, walnuts, or pecans add a delightful crunch and healthy fats. For a chocolatey twist, stir in some chocolate chips or chopped dark chocolate. You can also incorporate spices like cinnamon or nutmeg for added warmth and flavor. If you prefer a gluten-free option, ensure your oats and any add-ins are certified gluten-free. For a vegan recipe, swap the honey for maple syrup or agave nectar and use dairy-free chocolate chips.
We encourage you to get creative and make these Chewy Granola Bars your own. The satisfaction of biting into a homemade bar, knowing exactly what goes into it, is unparalleled. Happy baking!
Frequently Asked Questions:
Q: How long do these Chewy Granola Bars typically last?
Stored properly in an airtight container at room temperature, these Chewy Granola Bars should stay fresh for about 5 to 7 days. For longer storage, you can keep them in the refrigerator for up to two weeks, or even freeze them for a month or two.
Q: Can I make these Chewy Granola Bars healthier?
Absolutely! To enhance the health benefits of these Chewy Granola Bars, consider increasing the amount of whole grains by using a higher ratio of oats to other ingredients. Adding seeds like chia seeds, flaxseeds, or pumpkin seeds is also a great way to boost fiber and nutrient content. Reducing the amount of added sweetener slightly and relying more on the natural sweetness of dried fruits is another excellent strategy.
Chewy Granola Bars Recipe – Easy Homemade Treat
Easy homemade chewy granola bars packed with oats, nuts, chocolate chips, and M&M’s, perfect for a quick and satisfying treat.
Ingredients
-
¾ cup creamy peanut butter
-
½ cup honey
-
2 tablespoons coconut oil, solid
-
½ teaspoon salt
-
1½ teaspoons vanilla extract
-
2 cups old-fashioned oats
-
¼ cup shredded coconut
-
¾ cup roasted and salted cashews, roughly chopped
-
6 tablespoons mini chocolate chips, divided
-
6 tablespoons mini M&M’s, divided
Instructions
-
Step 1
In a medium saucepan over low heat, gently melt together the creamy peanut butter, honey, and solid coconut oil, stirring frequently until smooth. Remove from heat and stir in the salt and vanilla extract. Set aside. -
Step 2
In a large mixing bowl, combine the old-fashioned oats, shredded coconut, and roughly chopped roasted and salted cashews. -
Step 3
Pour the warm wet ingredients over the dry ingredients and fold together with a spatula until all dry ingredients are thoroughly coated. The mixture should be thick and slightly clumpy. -
Step 4
Reserve 2 tablespoons each of mini chocolate chips and mini M&M’s for topping. Add the remaining chocolate chips and M&M’s to the mixture and gently fold them in. -
Step 5
Line an 8×8 inch baking pan with parchment paper. Spoon the granola mixture into the pan and press down firmly and evenly. Sprinkle the reserved chocolate chips and M&M’s over the top and gently press them in. Cover and refrigerate for at least 2-3 hours, or until completely firm. -
Step 6
Once firm, lift the granola block out of the pan using the parchment paper. Cut into desired bar shapes. Store in an airtight container at room temperature for up to a week.
Important Information
Nutrition Facts (Per Serving)
It is important to consider this information as approximate and not to use it as definitive health advice.
Allergy Information
Please check ingredients for potential allergens and consult a health professional if in doubt.