Creamiest Avocado Crema – Tacos Salads Easy
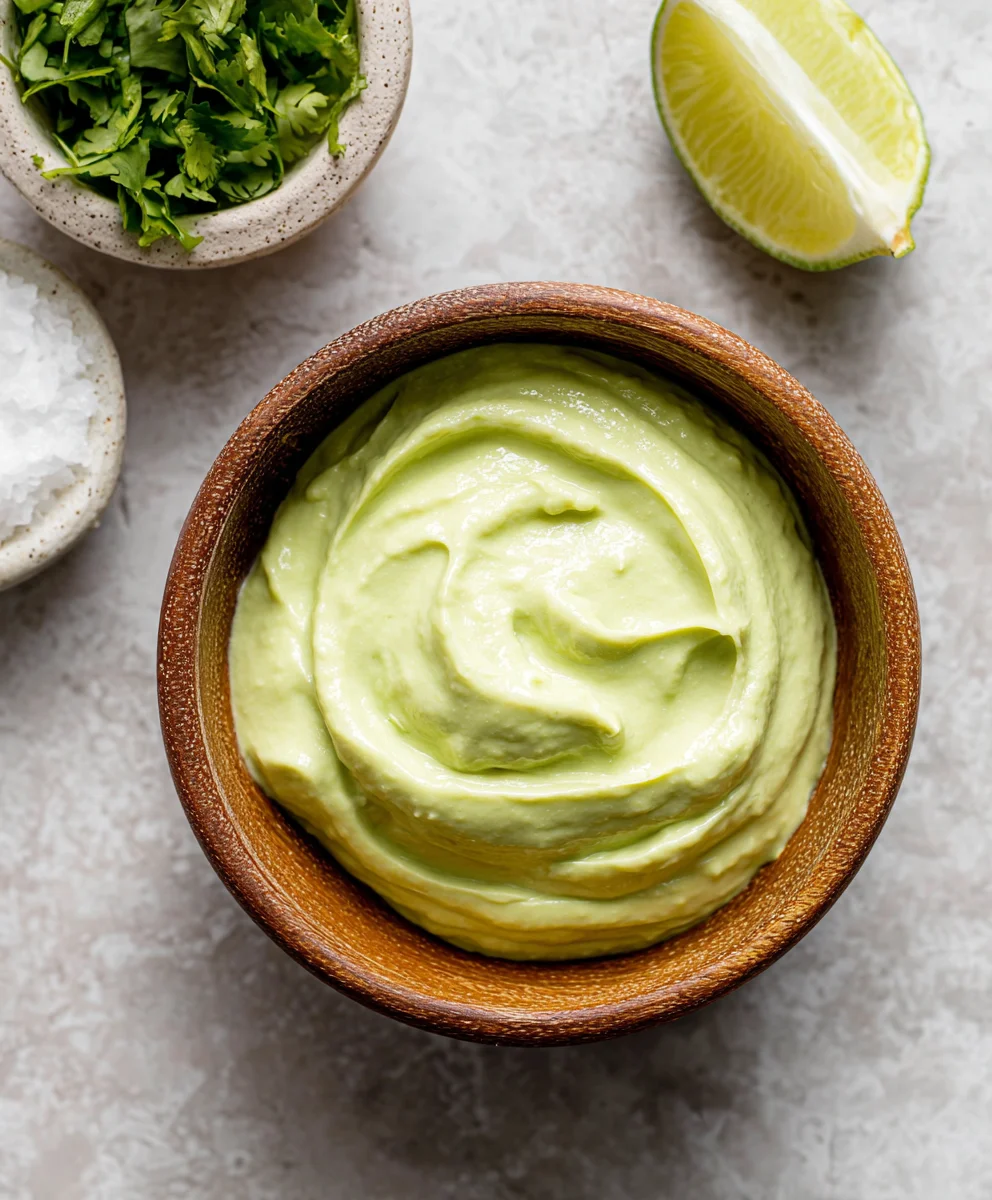
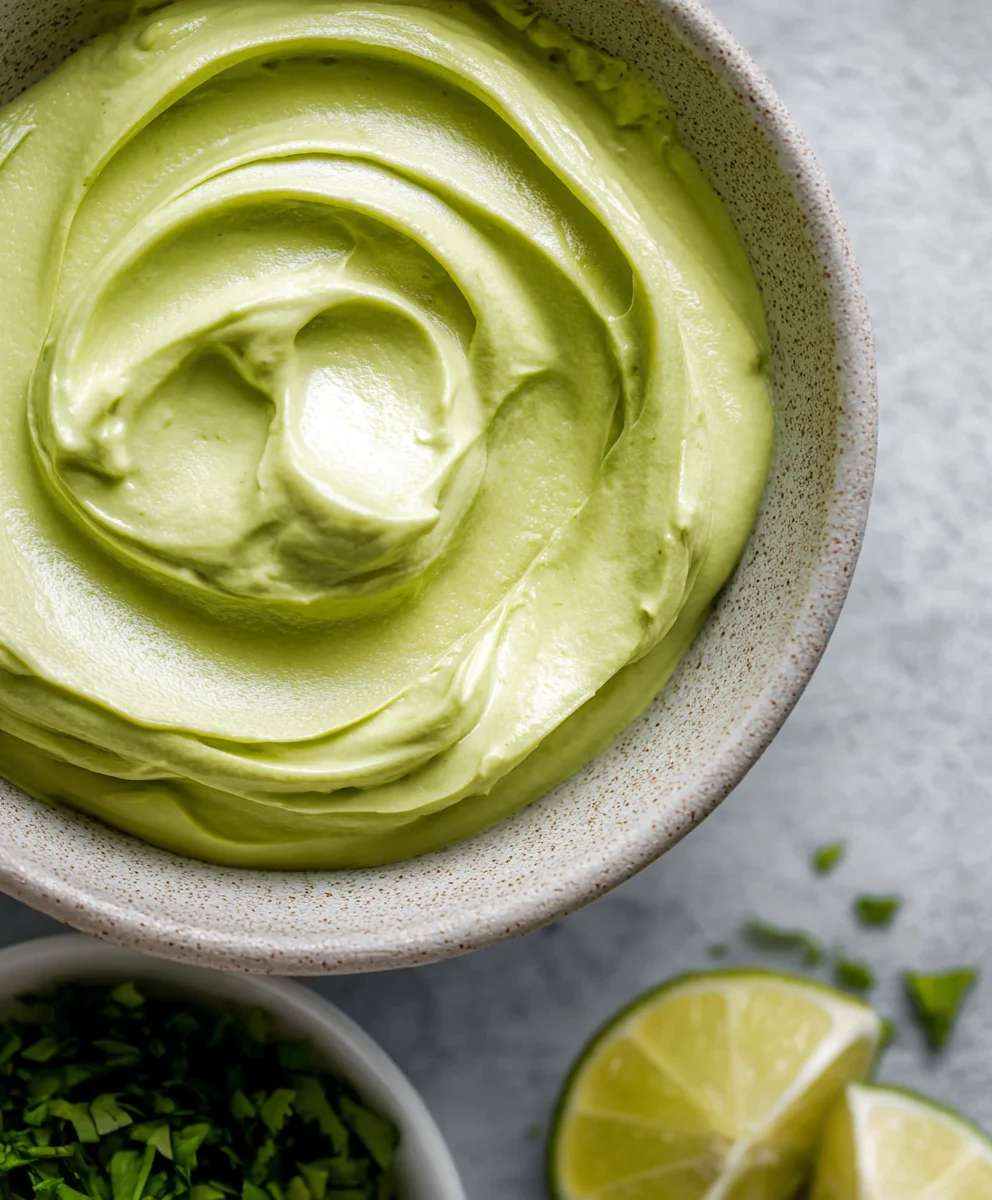
The Creamiest Avocado Crema For Tacos, Salads, & More: Imagin extracte a velvety smooth, vibrant green sauce that instantly elevates any dish. That’s the magic of a truly exceptional avocado crema. If you’ve ever dreamt of a condiment that’s both lusciously rich and refreshingly bright, then you’ve landed in the right place. This isn’t just any avocado dip; it’s a flavor revelation. People adore this crema because it transforms the ordinary into the extraordinary, offering a decadent yet healthy indulgence. What makes this specific recipe so special is its perfect balance – it’s wonderfully tangy from lime, subtly herbaceous from cilantro, and incredibly smooth thanks to a secret trick that ensures absolute creaminess every single time. Get ready to discover your new go-to topping that will have everyone asking for the recipe.
Ingredients:
- ⅔ cup sour cream
- ½ large ripe avocado, peeled
- 1 large garlic clove, finely chopped
- 1 lime, zested and juiced
- Pinch of Kosher salt
- Milk, optional, for thinning out crema
Making The Creamiest Avocado Crema
This avocado crema is your new best friend for elevating everything from tacos and burritos to salads, grilled meats, and even as a dip for crudités. Its luscious texture and bright, zesty flavor come together in mere minutes, proving that gourmet-level sauces don’t require hours in the kitchen. The key to its incredible creaminess lies in the perfectly ripe avocado and the velvety smoothness of the sour cream. Let’s get started on this simple yet sensational condiment.
Phase 1: Preparation is Key
The first step in creating this incredibly versatile avocado crema is to ensure all your ingredients are prepped and ready to go. This makes the blending process seamless and helps you achieve the smoothest possible consistency. We’ll start with the avocado. Make sure your avocado is ripe – it should yield slightly to gentle pressure. This ripeness is crucial for that silky texture. Carefully slice the avocado in half, remove the pit, and then scoop out the flesh from one half into your blender or food processor. Don’t worry about perfection here; the blending will take care of any unevenness.
Next, we move onto the aromatics. For the garlic, I like to finely mince it before adding it to the blender. This ensures that the garlic flavor is evenly distributed throughout the crema and you don’t end up with any unwelcome raw garlic chunks. If you’re not a fan of raw garlic’s intensity, you can lightly sauté the minced garlic in a tiny bit of oil until fragrant, but not browned, and let it cool before adding. For this recipe, however, raw minced garlic provides a pleasant little zing that complements the avocado beautifully.
Now for the star citrus: the lime. We need both the zest and the juice. Zesting the lime first allows you to capture all those fragrant oils from the peel before you cut into it for juicing. Use a microplane or the fine side of a box grater to zest the lime, being careful to only get the green part and avoid the bitter white pith underneath. Once zested, cut the lime in half and squeeze out the juice. Fresh lime juice is essential here; it not only adds a bright, tangy flavor but also helps to prevent the avocado from browning and keeps the crema a vibrant green.
Phase 2: Blending for Ultimate Smoothness
With all your components prepped, it’s time to bring them together. In the bowl of your food processor or the jug of your blender, combine the scooped avocado flesh, the finely chopped garlic, the lime zest, and the freshly squeezed lime juice. Add in your sour cream. The sour cream is what lends that luxurious, creamy texture that makes this avocado crema so addictive. It also provides a subtle tang that balances the richness of the avocado. Finally, add a good pinch of Kosher salt. Salt is a flavor enhancer, and it will really make all the other ingredients pop. Start with a small pinch and you can always add more later if needed.
Begin extract to blend the ingredients. Start on a low speed, then gradually increase to a higher speed. You want to process this mixture until it is completely smooth and homogenous. There should be no visible chunks of avocado or garlic remaining. This may take anywhere from 30 seconds to 2 minutes, depending on the power of your blender or food processor. Scrape down the sides of the bowl or blender jug periodically with a spatula to ensure everything is incorporated evenly. The goal here is a silky, luscious consistency that coats the back of a spoon beautifully.
Phase 3: Adjusting and Perfecting the Consistency
Once you’ve achieved a smooth blend, it’s time to taste and adjust. Dip a clean spoon into the crema and give it a taste. Does it need more salt? A little more lime juicegin extractr tanginess? Or perhaps a touch more zest for an extra burst of citrus aroma? Make these adjustments now, blending briefly after each addition to incorporate the flavors. Remember, it’s easier to add more ingredients than to take them away.
If you find that your avocado crema is a little too thick for your liking, this is where the optional milk comes in. Add milk, a tablespoon at a time, and blend until you reach your desired consistency. Start with just a splash, as a little goes a long way. This is particularly useful if you plan to drizzle the crema rather than dollop it. The milk will further enhance the creaminess without significantly altering the flavor profile. Continue to blend until the milk is fully incorporated and the crema is perfectly smooth and pourable.
Once you’re happy with the flavor and consistency, your Creamiest Avocado Crema is ready to be served. Transfer it to a serving bowl or a senon-alcoholic aled container. For best results and to allow the flavors to meld, I recommend letting it sit in the refrigerator for at least 15-30 minutes before serving. This chilling period not only deepens the flavors but also allows the crema to thicken slightly, achieving its ideal texture. Enjoy this incredibly versatile sauce with your favorite dishes!
Conclusion:
You’ve now unlocked the secret to creating The Creamiest Avocado Crema For Tacos, Salads, & More! This versatile sauce is incredibly easy to whip up and elevates any dish it graces. Its rich, smooth texture and vibrant, fresh flavor are a guaranteed hit. Don’t be afraid to experiment with it; it’s perfect drizzled over grilled chicken, as a dip for sweet potato fries, or even swirled into a hearty soup. We encourage you to embrace your culinary creativity and make this crema your own!
Frequently Asked Questions:
How long does The Creamiest Avocado Crema For Tacos, Salads, & More last in the refrigerator?
When stored in an airtight container, this crema will stay fresh and delicious for up to 2-3 days. The lime juice helps to preserve it, but the avocado can start to oxidize and brown over time, so it’s best enjoyed relatively soon after making.
Can I make The Creamiest Avocado Crema For Tacos, Salads, & More without cilantro?
Absolutely! While cilantro adds a wonderful brightness, you can easily omit it if it’s not your favorite. Alternatively, you could try substituting it with a small amount of fresh parsley or even a pinch of fresh mint for a different flavor profile. The core deliciousness will remain!
Creamiest Avocado Crema
An incredibly versatile and easy avocado crema perfect for tacos, salads, grilled meats, or as a dip.
Ingredients
-
⅔ cup sour cream
-
½ large ripe avocado, peeled
-
1 large garlic clove, finely chopped
-
1 lime, zested and juiced
-
Pinch of Kosher salt
-
Milk, optional, for thinning out crema
Instructions
-
Step 1
Prepare ingredients: Ensure avocado is ripe, mince garlic, zest and juice lime. -
Step 2
Combine ingredients in a blender or food processor: Add avocado flesh, chopped garlic, lime zest, lime juice, sour cream, and a pinch of salt. -
Step 3
Blend until smooth: Process on low speed, gradually increasing to high, until the mixture is completely smooth and homogenous. Scrape down sides as needed. -
Step 4
Taste and adjust: Check seasoning for salt and lime. Add more as needed, blending briefly after each addition. -
Step 5
Adjust consistency (optional): If too thick, add milk one tablespoon at a time and blend until desired pourable consistency is reached. -
Step 6
Chill before serving: Transfer to a container and refrigerate for at least 15-30 minutes to allow flavors to meld and thicken.
Important Information
Nutrition Facts (Per Serving)
It is important to consider this information as approximate and not to use it as definitive health advice.
Allergy Information
Please check ingredients for potential allergens and consult a health professional if in doubt.