Frozen Greek Yogurt Peanut Butter Bites Recipe
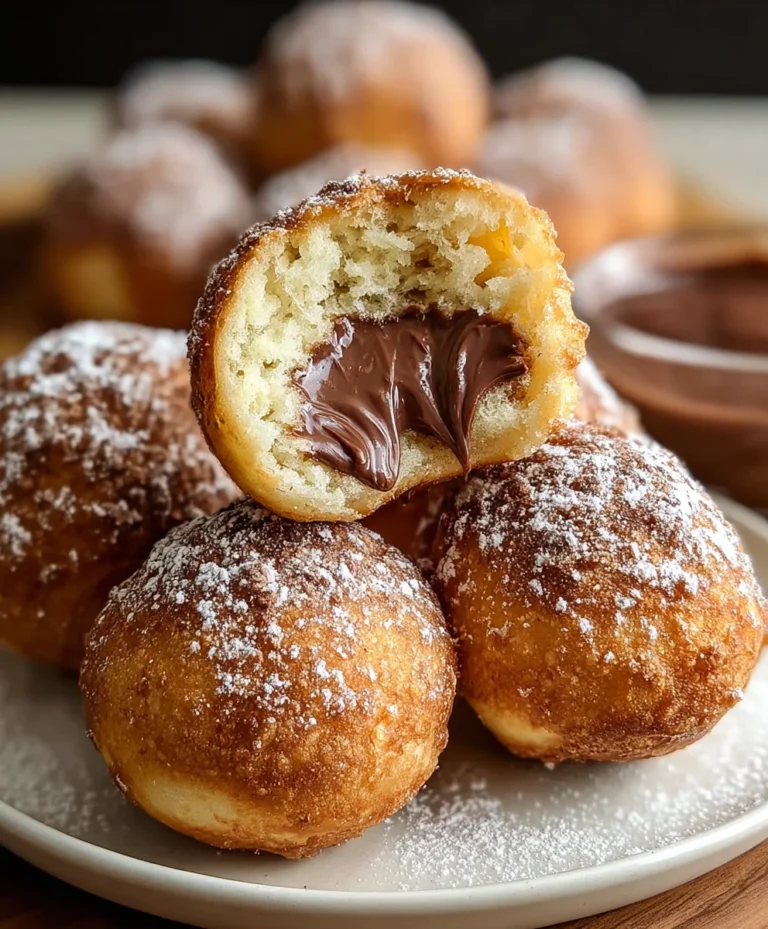
Frozen Greek Yogurt Peanut Butter Bites with Chocolate Chips: A Delightful Treat You Can Make at Home! have become a staple in my freezer, and for good reason. There’s something incredibly satisfying about a bite-sized morsel that’s both healthy-ish and utterly delicious, especially when it’s this easy to whip up. Imagin extracte creamy, tangy Greek yogurt swirled with rich peanut butter and studded with little bursts of melted chocolate, all transformed into a perfectly chilled, pop-able treat. This is the magic of these bites! People absolutely adore them because they hit that sweet spot between a guilt-free snack and a decadent dessert. They’re incredibly versatile, perfect for a post-workout refuel, a midday pick-me-up, or even a light sweet ending to a meal. What truly sets these Frozen Greek Yogurt Peanut Butter Bites with Chocolate Chips apart is their simplicity, allowing the natural flavors of the ingredients to shine, and the fact that you can control exactly what goes into them. Forget the store-bought versions filled with less-than-ideal ingredients; making your own allows for customization and a truly homemade goodness that’s hard to beat.
Ingredients:
- 1 cup plain Greek yogurt
- 1/2 cup creamy peanut butter
- 1/4 cup honey
- 1 teaspoon vanilla extract
- 1/2 cup mini chocolate chips
- 1/4 teaspoon sea salt
Preparing Your Delicious Bites
Step 1: Creating the Flavor Base
The first step to making these incredibly simple yet satisfying Frozen Greek Yogurt Peanut Butter Bites is to create a smooth and delicious base. In a medium-sized mixing bowl, combine the plain Greek yogurt and the creamy peanut butter. It’s important to use full-fat Greek yogurt for the best creamy texture and richest flavor. If your peanut butter is slightly stiff, you can warm it for a few seconds in the microwave (about 10-15 seconds) to make it easier to incorporate, but be careful not to overheat it. Stir these two ingredients together thoroughly. You want to achieve a uniform color and consistency, ensuring there are no streaks of yogurt or peanut butter visible. This thorough mixing is key to an even flavor distribution in every bite. Don’t rush this part; take your time to get it just right.
Step 2: Sweetening and Enhancing the Flavor
Once your yogurt and peanut butter are well combined, it’s time to add the sweetness and a touch of aromatic depth. Add the honey and vanilla extract to the bowl. The honey not only sweetens the mixture but also contributes a lovely subtle flavor that pairs wonderfully with the peanut butter and yogurt. The vanilla extract, even in small amounts, really elevates the overall taste profile, adding a warm, comforting aroma and flavor. Again, mix these ingredients in with the yogurt and peanut butter mixture until everything is completely integrated. You should have a smooth, homogenous blend that smells absolutely divine. Taste a tiny bit at this stage (if you can resist!) to ensure the sweetness level is to your liking. You can always add a touch more honey if you prefer a sweeter treat, but remember the chocolate chips will add further sweetness later.
Step 3: Incorporating the Textural Elements
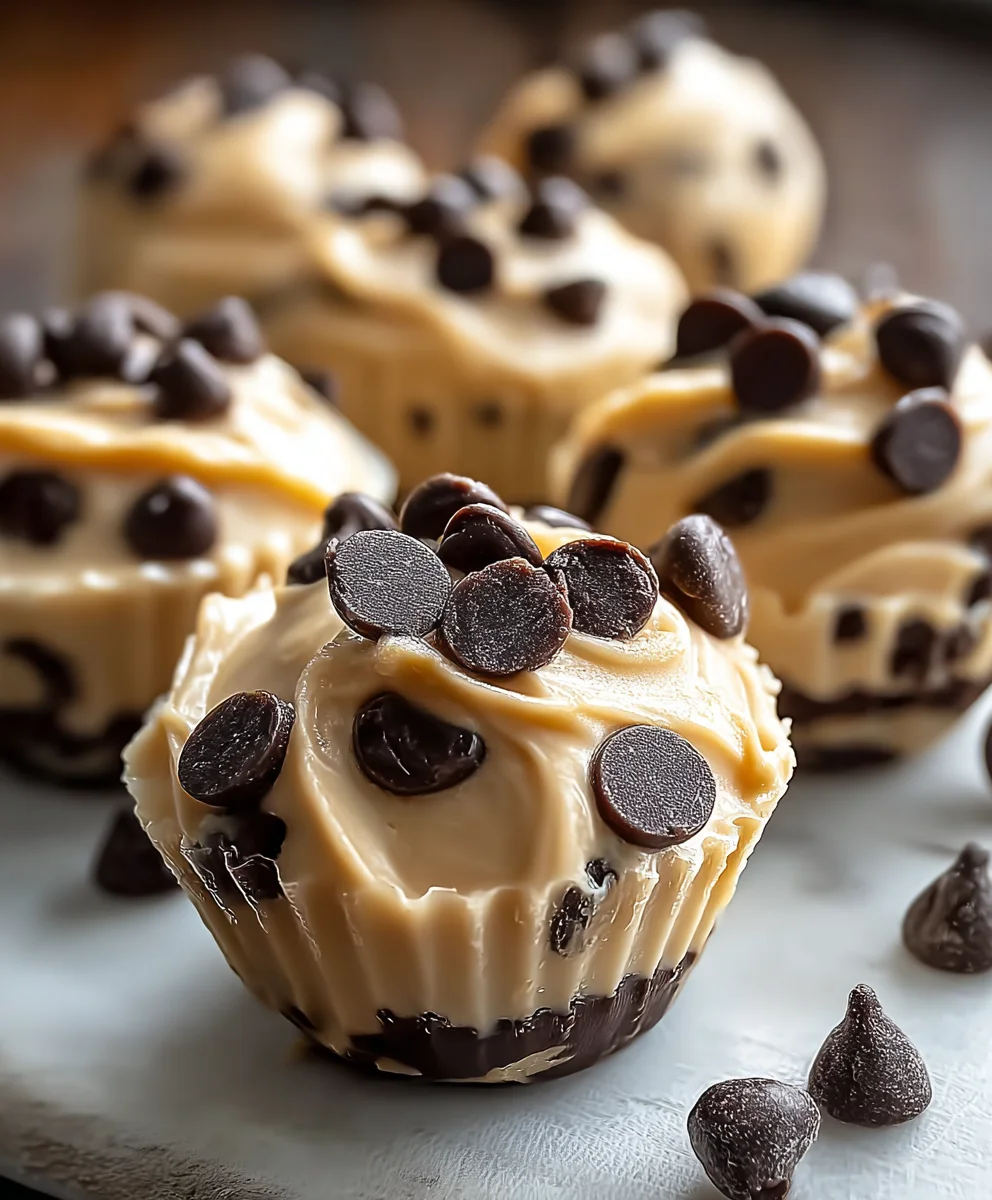
Now comes the fun part where we add the delightful texture and pops of flavor. Gently fold in the mini chocolate chips and the sea salt. For the chocolate chips, mini ones are ideal because they distribute evenly throughout the mixture and provide little bursts of chocolatey goodness in each bite without overwhelming the other flavors. If you only have regular-sized chocolate chips, you can chop them into smaller pieces. The sea salt is a secret weapon here. It might seem counterintuitive to add salt to a sweet treat, but a little bit of sea salt does wonders to enhance the sweetness and bring out the nuances of the peanut butter flavor. It creates a perfect balance, preventing the bites from being overly sweet and adding a sophisticated edge. Stir just enough to distribute them evenly – overmixing can cause the chocolate chips to break down too much.
Step 4: Portioning and Freezing
With your flavorful mixture ready, it’s time to get these bites ready for freezing. You have a few options for shaping your bites. The easiest way is to use a small spoon or a mini ice cream scoop to drop dollops of the mixture onto a parchment-lined baking sheet. Parchment paper is crucial here; it prevents the bites from sticking to the baking sheet and makes them easy to remove once frozen. Aim for bite-sized portions, perhaps about a teaspoon or a tablespoon each, depending on how large you want your treats. Ensure the dollops are relatively uniform in size so they freeze at roughly the same rate. Once your baking sheet is filled with these little mounds of deliciousness, carefully place it into the freezer. It’s important to freeze them until they are completely solid. This will take at least 2-3 hours, but it’s best to leave them for longer to ensure they hold their shape perfectly.
Step 5: Storing Your Frozen Delights
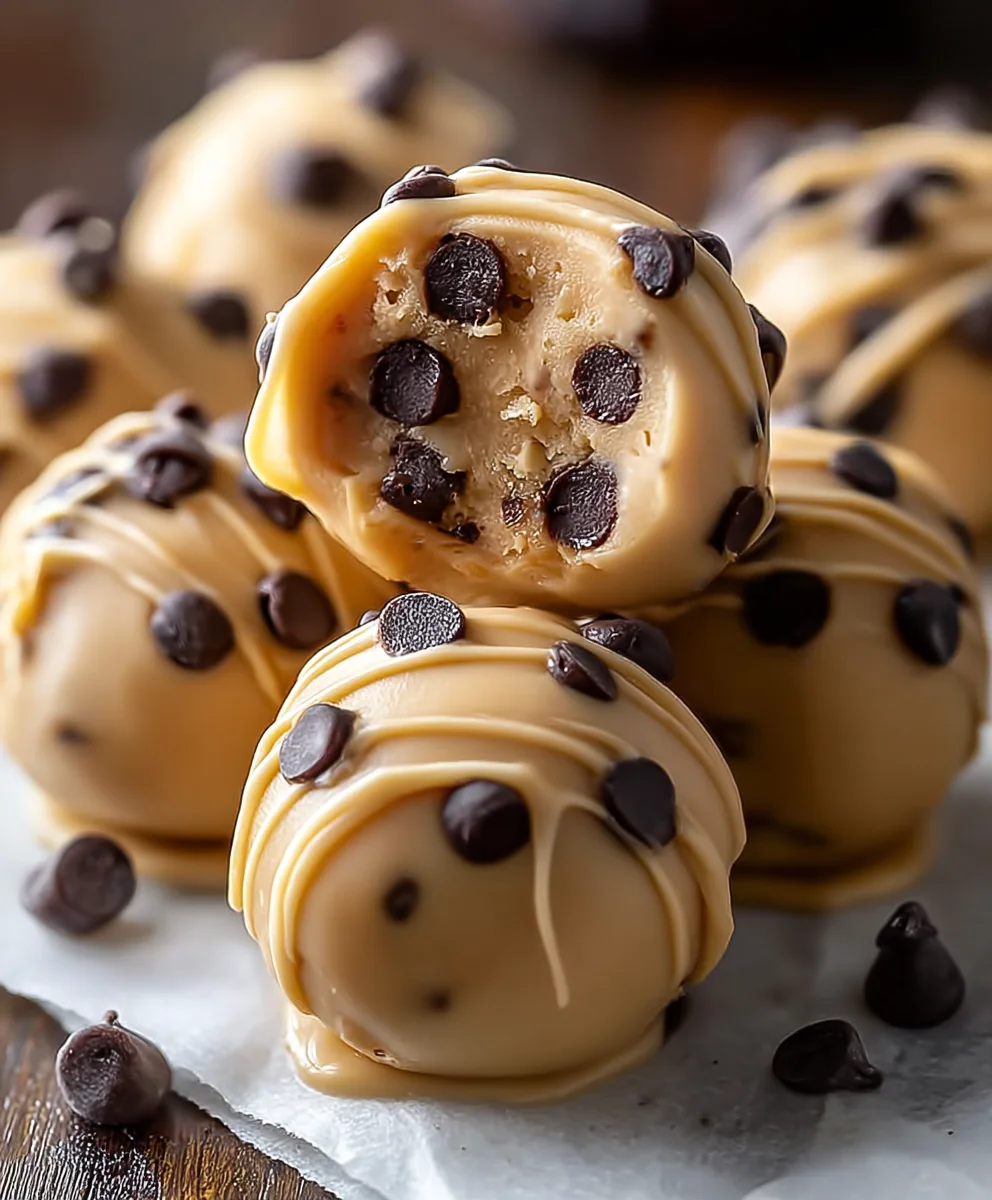
After your Frozen Greek Yogurt Peanut Butter Bites are thoroughly frozen and solid, it’s time to transfer them to their permanent storage. Once they are firm enough to handle without losing their shape, gently peel them off the parchment paper. Now, you can store them in an airtight container in your freezer. To prevent them from clumping together, you can layer them with small pieces of parchment paper between layers. They will keep well in the freezer for up to a month, though they are so delicious, I doubt they’ll last that long! When you’re craving a healthy and satisfying sweet treat, simply reach into the freezer and enjoy one or two of these delightful bites. They are the perfect post-workout snack, a refreshing dessert, or an anytime pick-me-up. Remember to always reseal the airtight container after each use to maintain their quality and prevent freezer burn.
Conclusion:
And there you have it! You’ve successfully learned how to whip up a batch of Frozen Greek Yogurt Peanut Butter Bites with Chocolate Chips: A Delightful Treat You Can Make at Home! These delightful bites are not only incredibly easy to prepare but also incredibly satisfying. They strike a perfect balance between creamy, sweet, and a hint of salty from the peanut butter, making them an irresistible snack for any time of day. We hope you feel empowered to create this wonderful treat in your own kitchen. Don’t hesitate to get creative and enjoy the process!
For serving suggestions, these bites are fantastic straight from the freezer as a refreshing dessert or a mid-afternoon energy boost. They pair wonderfully with a cup of coffee or tea. For variations, feel free to experiment with different mix-ins! Try adding a sprinkle of shredded coconut, a few chopped nuts like almonds or pecans, or even a dash of cinnamon for an extra layer of flavor. You can also swap out the dark chocolate chips for milk chocolate or white chocolate chips depending on your preference.
Frequently Asked Questions:
Q1: How long do the Frozen Greek Yogurt Peanut Butter Bites with Chocolate Chips last in the freezer?
Properly stored in an airtight container, these bites can last for up to 1 to 2 months in the freezer. However, they are best enjoyed within the first few weeks for optimal texture and flavor.
Q2: Can I make these bites without chocolate chips?
Absolutely! If you’d prefer to skip the chocolate chips, you can certainly omit them. The bites will still be delicious with the Greek yogurt and peanut butter combination. You can also consider adding other ingredients like freeze-dried berries for a fruity burst.
Frozen Greek Yogurt Peanut Butter Bites Recipe
Easy and healthy no-bake frozen bites made with Greek yogurt, peanut butter, honey, and chocolate chips.
Ingredients
-
1 cup plain Greek yogurt
-
1/2 cup creamy peanut butter
-
1/4 cup honey
-
1 teaspoon vanilla extract
-
1/2 cup mini chocolate chips
-
1/4 teaspoon sea salt
Instructions
-
Step 1
In a medium-sized mixing bowl, combine the plain Greek yogurt and the creamy peanut butter. Stir thoroughly until uniform in color and consistency. -
Step 2
Add the honey and vanilla extract to the bowl. Mix until completely integrated into the yogurt and peanut butter mixture. -
Step 3
Gently fold in the mini chocolate chips and the sea salt. Stir just enough to distribute them evenly. -
Step 4
Drop dollops of the mixture onto a parchment-lined baking sheet using a small spoon or mini ice cream scoop. Aim for bite-sized portions. -
Step 5
Place the baking sheet in the freezer and freeze until completely solid, at least 2-3 hours. -
Step 6
Once frozen, transfer the bites to an airtight container and store in the freezer. Layer with parchment paper to prevent sticking.
Important Information
Nutrition Facts (Per Serving)
It is important to consider this information as approximate and not to use it as definitive health advice.
Allergy Information
Please check ingredients for potential allergens and consult a health professional if in doubt.