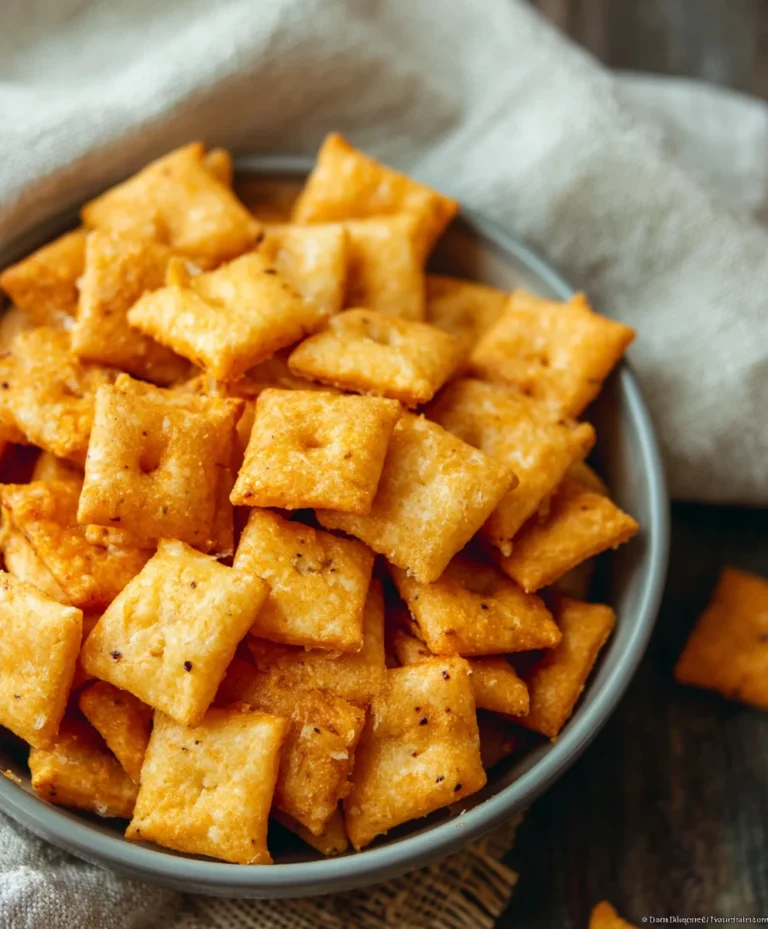
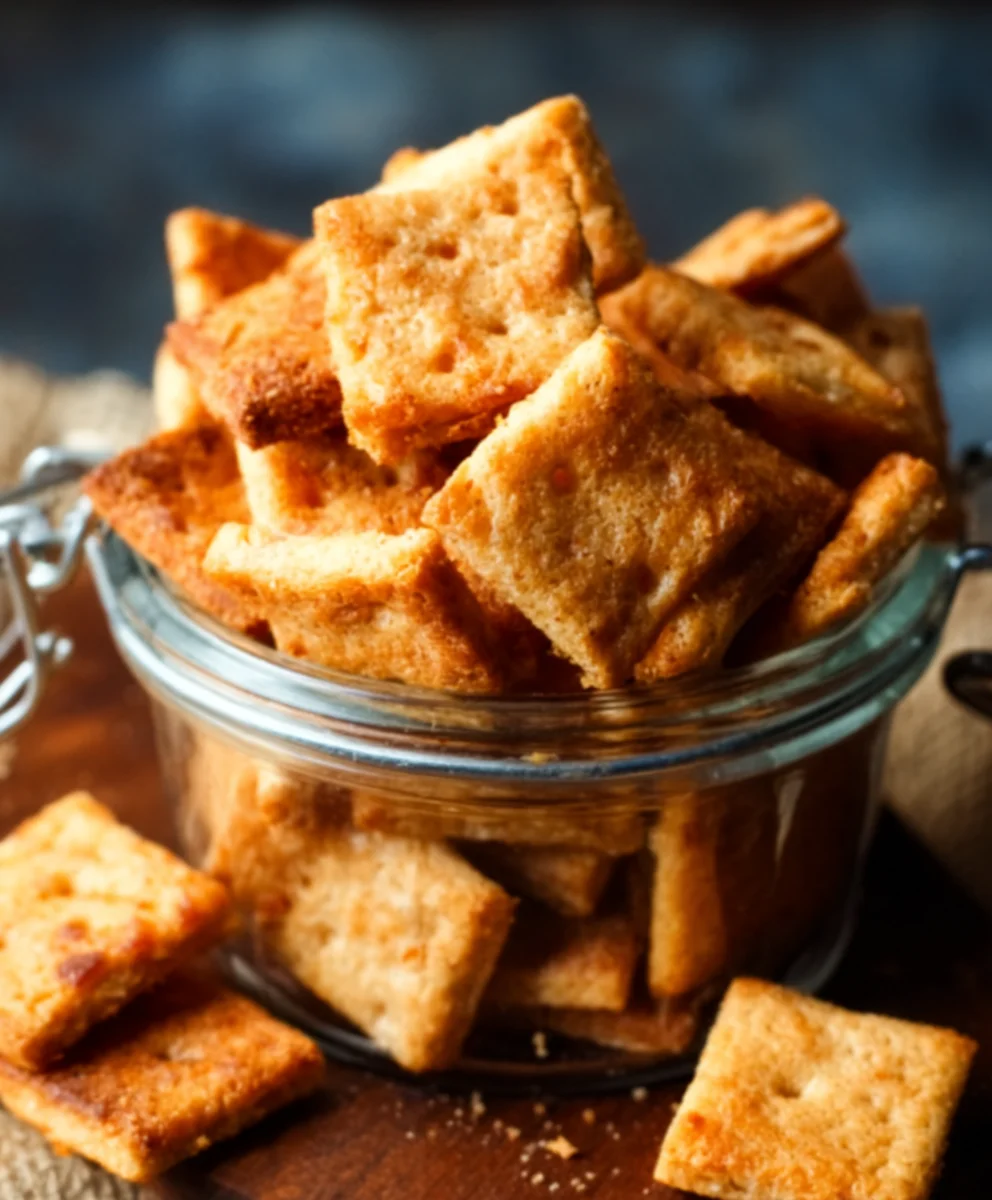
Easy Sourdough Cheese Crackers – Crispy Homemade Snack
Sourdough Cheese Crackers are more than just a snack; they’re a testament to the magic of fermentation and a delightfully savory way to use up that bubbling starter. If you’ve ever found yourself gazing into your jar of active sourdough, wondering what delicious destiny awaits its tangy goodness, then look no further. These artisanal crackers are surprisingly simple to whip up and offer a depth of flavor that store-bought versions simply can’t match. People adore them because they strike the perfect balance between a satisfying crunch and an irresistible cheesy bite. The natural tang from the sourdough provides a sophisticated edge, elevating them beyond your average cracker and making them the star of any cheese board or a perfect accompaniment to your favorite soup. What truly makes these Sourdough Cheese Crackers special is the unique texture – a delicate crispness infused with rich, savory notes that will have you reaching for more, one delicious crum extractb at a time.
Ingredients:
- 230 grams (1 cup) sourdough starter, active or discard – stirred down before measuring
- 3 tablespoons melted butter or oil (your choice, I often use unsalted butter for a richer flavor)
- 120 grams (1 cup) all purpose flour
- 1/2 teaspoon salt (adjust to your preference, especially if your cheese is salty)
- 1/2 teaspoon paprika (for color and a hint of sweetness)
- 1/2 teaspoon garlic powder (adds a savory depth)
- 1/4 teaspoon cayenne pepper (optional, for a touch of heat)
- 8 ounces cheddar cheese, shredded (sharp cheddar works wonderfully here for maximum flavor)
Making Your Sourdough Cheese Crackers
These sourdough cheese crackers are wonderfully crisp, packed with savory flavor, and surprisingly easy to make. They’re a fantastic way to use up leftover sourdough starter and a step above any store-bought cracker. The combination of tangy sourdough, sharp cheddar, and warming spices creates a truly addictive snack.
Phase 1: Mixing the Dough
Step 1: Combine Wet Ingredients and Starter
Begin extract by gathering your ingredients. In a medium-sized mixing bowl, I like to start by combining the wet ingredients. Pour in your 230 grams (which is about 1 cup) of sourdough starter. Make sure it’s stirred down before measuring, as it can separate. Then, add the 3 tablespoons of melted butter or oil. If you’re using butter, ensure it’s melted but not hot. Give these a quick whisk together until they are well combined. This forms the moist base for our cracker dough.
Step 2: Incorporate Dry Ingredients
Next, it’s time to add the dry ingredients to the wet mixture. Add the 120 grams (about 1 cup) of all-purpose flour. Following that, measure out and add the 1/2 teaspoon of salt, 1/2 teaspoon of paprika, 1/2 teaspoon of garlic powder, and the 1/4 teaspoon of cayenne pepper, if you’re using it. The paprika not only adds a lovely reddish hue to the crackers but also a subtle sweetness, while the garlic powder and cayenne provide a savory punch. Stir everything together with a spoon or spatula until a shaggy gin extractgh begins to form. At this stage, it might seem a bit wet or sticky, which is perfectly normal. Don’t be tempted to add more flour just yet.
Step 3: Add the Cheese and Form the Dough
Now for the star ingredient – the cheese! Add your 8 ounces of shredded cheddar cheese to the bowl. I find that shredding your own cheese from a block yields the best results, as pre-shredded cheese often has anti-caking agents that can affect the texture. Gently fold the cheese into the dough. You can use your hands at this point; the dough will still be a bit sticky. Continue to mix and fold until the cheese is evenly distributed throughout the dough. The dough will start to come together more cohesively as the cheese binds with the other ingredients. Once it’s mostly incorporated and you can form a rough ball, it’s ready for the next step.
Phase 2: Chilling and Rolling
Step 4: Chill the Dough for Easier Handling
This step is crucial for easy rolling and to prevent the crackers from spreading too much during baking. Turn the cheesy dough out onto a piece of plastic wrap. Use the plastic wrap to help you form the dough into a flat disc, about 1/2 inch thick. Wrap it tightly. Now, place this disc in the refrigerator to chill for at least 30 minutes, or up to 2 days. Chilling firm the butter (if used) and makes the dough much less sticky and easier to handle, preventgin extract it from clinging to your rolling pin and work surface. This waiting period is worth it for beautifully shaped crackers.
Phase 3: Shaping and Baking
Step 5: Roll and Cut the Crackers
Once the dough is well-chilled and firm, it’s time to roll it out. Preheat your oven to 375°F (190°C) and line two baking sheets with parchment paper for easy cleanup. Lightly flour your work surface and your rolling pin. Unwrap the chilled dough and place it on the floured surface. Roll the dough out as thinly as you can manage, aiming for about 1/16 to 1/8 inch thickness. The thinner you roll them, the crispier your crackers will be. Don’t worry if it’s not perfectly even; rustic edges add character! Once rolled, use a knife or a pizza cutter to score the dough into your desired cracker shapes – squares or rectangles work well. You can also use small cookie cutters for fun shapes. Then, carefully transfer the scored dough to the prepared baking sheets, leaving a little space between each cracker. You don’t need to separate them entirely if you’ve scored them well.
Step 6: Bake to Golden Perfection
Bake the crackers in the preheated oven for 12 to 18 minutes. The exact baking time will depend on how thinly you rolled your dough and your oven. Keep a close eye on them during the last few minutes. You’re looking for them to be golden brown around the edges and firm to the touch. If you scored them well, you can often break them apart along the score lines once they’re out of the oven, or you can gently cut them with your knife. For extra crispiness, you can turn off the oven and leave the crackers inside with the door slightly ajar for another 5-10 minutes. Let them cool completely on the baking sheets before serving. They will become even crispier as they cool.
Conclusion:
There you have it – a delightful and relatively simple method for creating your own homemade Sourdough Cheese Crackers! We’ve walked through the steps to transform your active sourdough starter into a batch of deliciously cheesy, perfectly crisp crackers that are far superior to anything store-bought. These Sourdough Cheese Crackers are ideal as a standalone snack, a sophisticated addition to a cheese board, or even as a flavorful accompaniment to soups and salads. Don’t be afraid to experiment with different cheeses and herbs to make them uniquely your own! I encourage you to give this recipe a try; the satisfying crunch and rich flavor are well worth the effort. Enjoy sharing your homemade delights!
Frequently Asked Questions about Sourdough Cheese Crackers:
Can I use a discard sourdough starter for this recipe?
Yes, you absolutely can! A discard starter works wonderfully for these Sourdough Cheese Crackers. The fermentation in the discard adds a lovely tangy depth to the flavor without requiring an active, recently fed starter.
What other cheeses can I use in my Sourdough Cheese Crackers?
The possibilities are endless! Sharp cheddar is a classic, but feel free to explore Gruyere, Parmesan, Monterey Jack, or even a spicy pepper jack for a kick. You can also mix and match cheeses for a more complex flavor profile. Remember to grate your cheese finely for even distribution.
How should I store my Sourdough Cheese Crackers?
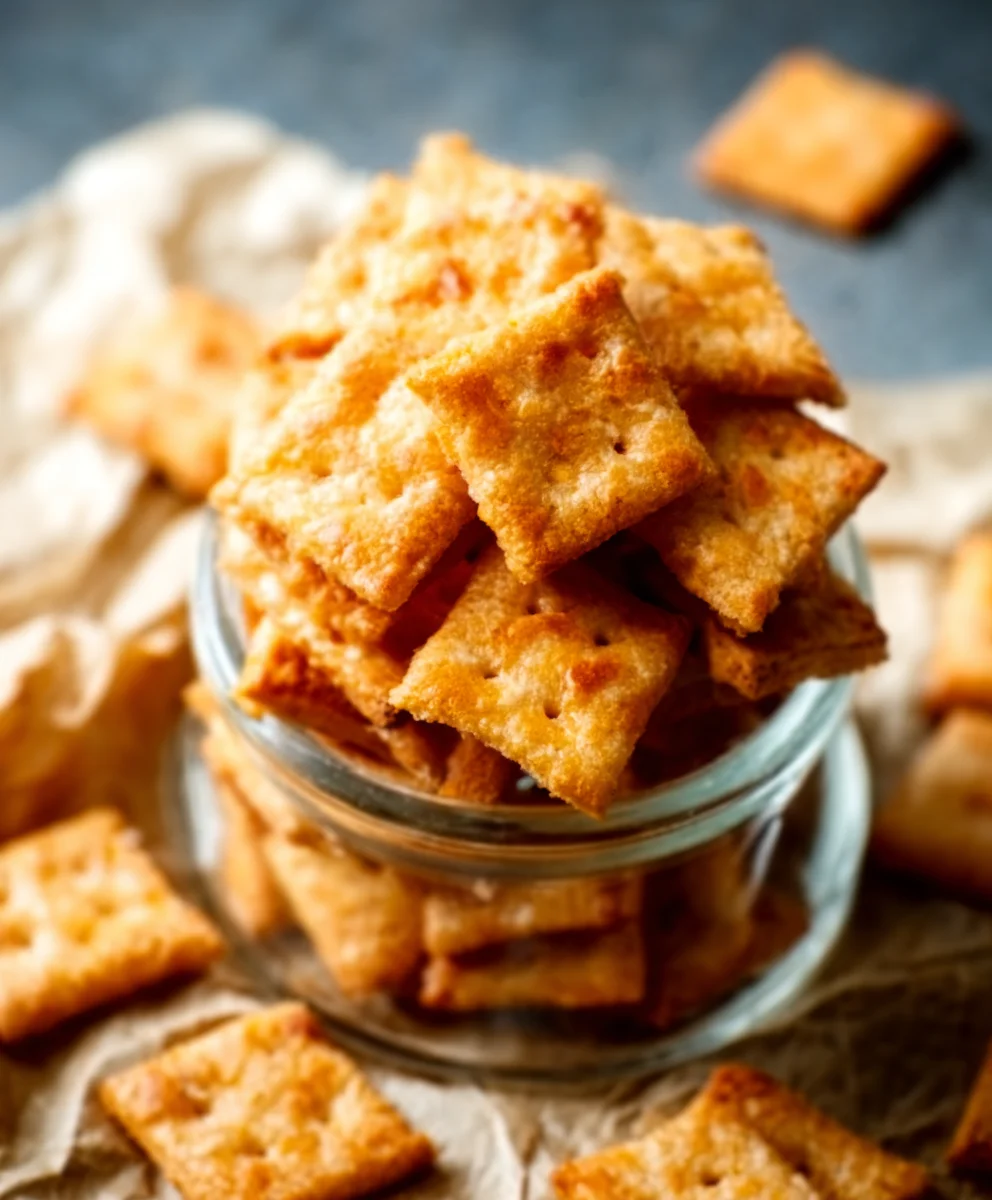
Once completely cooled, store your Sourdough Cheese Crackers in an airtight container at room temperature. They should remain wonderfully crisp for up to a week, though they rarely last that long!
Easy Sourdough Cheese Crackers
Crispy homemade sourdough cheese crackers packed with savory flavor, perfect for a satisfying snack. A great way to use up sourdough starter.
Ingredients
-
230 grams (1 cup) sourdough starter, active or discard – stirred down before measuring
-
3 tablespoons melted butter or oil
-
120 grams (1 cup) all purpose flour
-
1/2 teaspoon salt
-
1/2 teaspoon paprika
-
1/2 teaspoon garlic powder
-
1/4 teaspoon cayenne pepper (optional)
-
8 ounces cheddar cheese, shredded
Instructions
-
Step 1
In a medium bowl, whisk together the sourdough starter and melted butter or oil until well combined. -
Step 2
Add the all-purpose flour, salt, paprika, garlic powder, and cayenne pepper (if using) to the wet ingredients. Stir until a shaggy dough forms. -
Step 3
Gently fold in the shredded cheddar cheese until evenly distributed throughout the dough. The dough may be sticky. -
Step 4
Turn the dough onto plastic wrap, form into a flat disc about 1/2 inch thick, wrap tightly, and chill in the refrigerator for at least 30 minutes. -
Step 5
Preheat oven to 375°F (190°C) and line two baking sheets with parchment paper. Lightly flour a work surface and rolling pin. Unwrap the chilled dough and roll it out as thinly as possible (about 1/16 to 1/8 inch thick). -
Step 6
Score the dough into desired cracker shapes (squares or rectangles). Carefully transfer the scored dough to the prepared baking sheets. -
Step 7
Bake for 12 to 18 minutes, or until golden brown and firm. Let cool completely on the baking sheets before breaking apart and serving.
Important Information
Nutrition Facts (Per Serving)
It is important to consider this information as approximate and not to use it as definitive health advice.
Allergy Information
Please check ingredients for potential allergens and consult a health professional if in doubt.