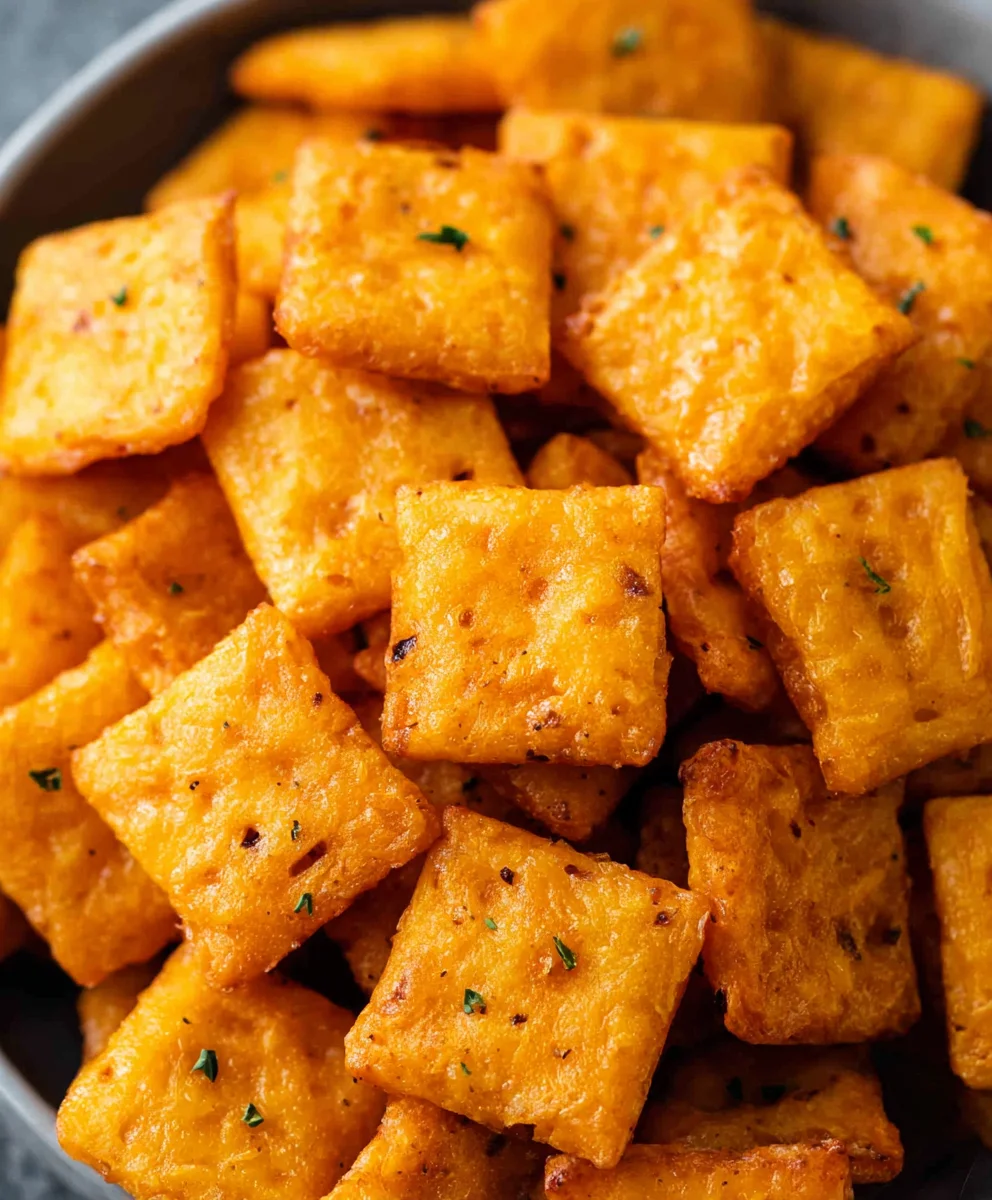
Homemade Cheez-Its – Your New Favorite Snack
Homemade Cheez Its are more than just a snack; they’re a nostalgic journey back to childhood, a crunchy, cheesy escape that satisfies cravings with every bite. There’s something incredibly comforting and rewarding about recreating those iconic, bite-sized crackers in your own kitchen. People adore this recipe because it delivers that signature sharp cheddar flavor and irresistible crispness, but with the added bonus of knowing exactly what goes into them. What truly makes Homemade Cheez Its special is the sheer joy of customization. You can play with different cheeses, add a pinch of your favorite spice, or even experiment with varying the thickness for your perfect crunch. Forget the boxed stuff; this is your chance to elevate a beloved classic into something truly extraordinary, a testament to simple ingredients transformed into pure snacking perfection. Get ready to impress yourself and everyone around you with these delightful little flavor bombs.
Ingredients:
- ¼ cup unsalted butter, softened to room temperature
- 8 oz. sharp cheddar cheese, finely shredded
- 1 ¼ cups all-purpose flour
- 1 teaspoon kosher salt, plus extra for sprinkling on top
- 2-3 tablespoons ice-cold water
- 2 tablespoons olive oil
Making the Dough
Step 1: Cream the Butter and Cheese
The first crucial step in achieving that irresistible Homemade Cheez It crunch is to properly combine our butter and cheese. In a medium-sized mixing bowl, add the softened unsalted butter and the finely shredded sharp cheddar cheese. Using an electric mixer, or if you’re feeling energetic, a sturdy whisk and some elbow grease, cream these two ingredients together until they are well combined and form a smooth, cohesive mixture. It’s important that the butter is at room temperature; this makes it much easier to incorporate into the cheese, preventing any lumpy bits and ensuring a uniform texture in your final crackers. If your butter is too cold, it will be difficult to mix, and if it’s too melted, it can make the dough greasy. The goal here is a creamy, well-blended base that will hold everything together.
Step 2: Incorporate Dry Ingredients
Next, we’ll introduce the dry components to our creamy butter-cheese mixture. To the bowl containing the creamed butter and cheese, add the all-purpose flour and the 1 teaspoon of kosher salt. Once again, using your electric mixer on a low speed or mixing by hand with a spatula, begin extract to combine these ingredients. You’ll notice the mixture will start to look crum extractbly, almost like coarse meal. This is exactly what we want at this stage. Continue mixing until the flour is just incorporated and there are no large dry pockets remaining. Overmixing at this point can develop the gluten in the flour too much, which can lead to tough crackers, so be gentle.
Step 3: Add Cold Water for Dough Formation
Now it’s time to brirum extractour crumbly mixture together into a workable dough. This is where the ice-cold water comes into play. Add 2 tablespoons of the ice-cold water to the bowl. Continue mixing on a low speed or with your spatula. The dough should start to come together. If it still seems too dry and isn’t forming a cohesive ball, add the remaining tablespoon of ice-cold water, a teaspoon at a time, until the doughgin extractst begins to pull away from the sides of the bowl and forms a soft, pliable mass. The key here is “just.” Too much water will make the dough sticky and difficult to handle, potentially affecting the crispness of your crackers. The cold water helps to keep the butter from melting too much, contributing to a flakier texture.
Step 4: Chilling and Rolling the Dough
Once your dough has formed, it’s time to give it a little rest and prepare it for shaping. Turn the dough out onto a lightly floured surface. Gently knead it a few times just to ensure it’s fully combined, but again, avoid overworking it. Form the dough into a flat disk, wrap it tightly in plastic wrap, and refrigerate for at least 30 minutes. This chilling period is essential. It allows the gluten to relax, making the dough easier to roll out, and it solidifies the butter, which is crucial for achieving that signature flaky and crispy texture in your Homemade Cheez Its. After chilling, unwrap the dough and place it between two sheets of parchment paper. Roll the dough out to about 1/8-inch thickness. Aim for an even thickness throughout for consistent baking. The thinner you roll it, the crispier your crackers will be.
Shaping and Baking
Step 5: Cutting and Seasoning the Crackers
Now for the fun part – turning our rolled dough into bite-sized cheesy crackers! Remove the top sheet of parchment paper. Using a knife or a pizza cutter, cut the dough into small squares, roughly 1-inch by 1-inch. You can also use a small square cookie cutter for a more uniform look, but freehand cutting works perfectly well. For that authentic Homemade Cheez It look and taste, lightly brush the tops of the cut crackers with the olive oil. This helps them brown nicely and adds a subtle richness. Then, generously sprinkle the tops with additional kosher salt. This salt topping is critical for that classic flavor and crunch.
Step 6: Baking to Golden Perfection
Preheat your oven to 375°F (190°C). Carefully transfer the parchment paper with the cut crackers onto a baking sheet. Place the baking sheet in the preheated oven and bake for 12-15 minutes, or until the edges are golden brown and the crackers are firm. Keep a close eye on them during the last few minutes, as they can go from perfectly baked to burnt quite quickly due to their small size and thinness. Once they’re done, remove them from the oven and let them cool completely on the baking sheet. They will continue to crisp up as they cool. For an extra crispier bite, you can even turn off the oven after the baking time, leave the door slightly ajar, and let them sit in the residual heat for another 5-10 minutes.
Step 7: Cooling and Enjoying Your Homemade Cheez Its
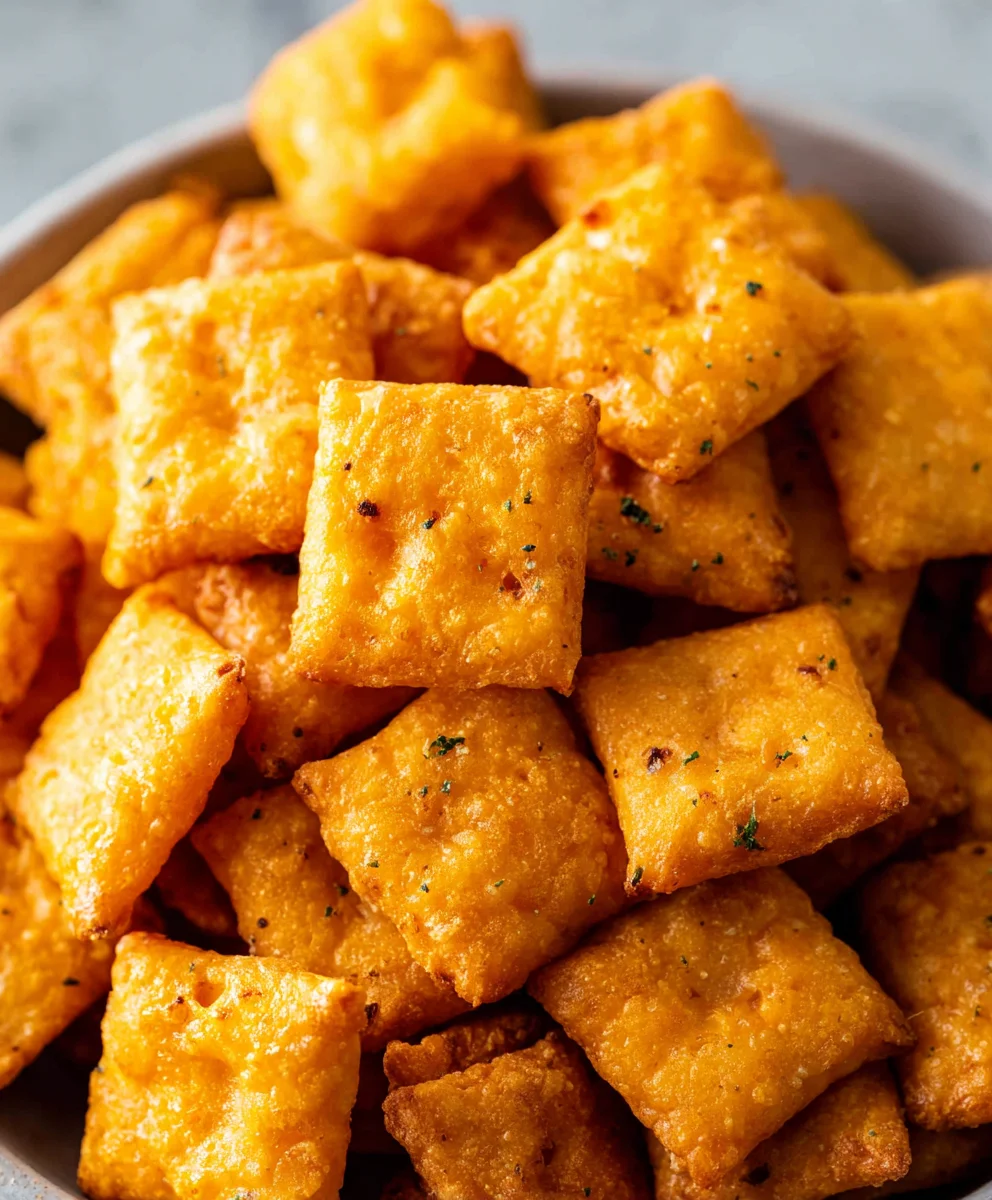
Once your Homemade Cheez Its have cooled completely on the baking sheet, they are ready to be devoured. Be warned, they are incredibly addictive! Store any leftovers in an airtight container at room temperature for up to a week. However, given their irresistible flavor and texture, it’s highly unlikely you’ll have any to store for that long. Enjoy the satisfaction of making your very own cheesy, crunchy, homemade crackers!
Conclusion:
There you have it – a simple yet incredibly satisfying recipe for Homemade Cheez Its! We’ve walked through each step, from creaming the butter and cheese to achieving that perfect, golden-brown bake. The result is a batch of cheesy, crunchy crackers that are a world away from anything store-bought. They’re perfect for snacking straight from the oven, packing in lunchboxes, or serving as a delightful appetizer. Don’t hesitate to get creative with the cheese selection; a sharp cheddar is classic, but don’t shy away from a smoky gouda or a spicy pepper jack for a different twist. This recipe is designed to be adaptable, so feel free to experiment with herbs and spices to make your Homemade Cheez Its uniquely yours. We truly hope you enjoy making and sharing these delightful little crackers. Happy baking!
Frequently Asked Questions about Homemade Cheez Its:
Q1: Can I make these Homemade Cheez Its ahead of time?
Absolutely! Once cooled completely, Homemade Cheez Its can be stored in an airtight container at room temperature for up to 5 days. They maintain their crispness remarkably well, making them ideal for preparing in advance for parties or everyday snacking.
Q2: What are some other cheese options I can use for my Homemade Cheez Its?
The beauty of this recipe is its versatility. While sharp cheddar is a fantastic base, consider experimenting with combinations like Monterey Jack and a touch of Parmesan for extra depth. For a bolder flavor, try Gruyère or even a goat cheese. Just ensure your cheese is finely grated for the best melting and incorporation into the dough.
Q3: My Homemade Cheez Its came out too soft. What went wrong?
A common culprit for softer crackers is insufficient baking time. Ensure your oven temperature is accurate and bake until the edges are golden brown and the centers feel firm to the touch. Over-handling the dough can also contribute to a less crispy texture. Try to be gentle when rolling and cutting to maintain the best possible outcome for your Homemade Cheez Its.
Homemade Cheez-Its – Your New Favorite Snack
Whip up a batch of irresistible homemade cheesy crackers that rival your favorite store-bought snack. Crispy, cheesy, and perfect for any occasion.
Ingredients
-
1/4 cup unsalted butter, softened to room temperature
-
8 oz. sharp cheddar cheese, finely shredded
-
1 1/4 cups all-purpose flour
-
1 teaspoon kosher salt, plus extra for sprinkling on top
-
2-3 tablespoons ice-cold water
-
2 tablespoons olive oil
Instructions
-
Step 1
Cream together the softened unsalted butter and finely shredded sharp cheddar cheese in a medium bowl until well combined and smooth using an electric mixer or whisk. -
Step 2
Add the all-purpose flour and 1 teaspoon of kosher salt to the butter-cheese mixture. Mix on low speed or by hand until crumbly and just incorporated, avoiding overmixing. -
Step 3
Gradually add 2 tablespoons of ice-cold water, mixing until the dough begins to form a cohesive ball. Add more water, a teaspoon at a time, if needed, until the dough is soft and pliable. -
Step 4
Turn the dough onto a lightly floured surface, knead gently a few times, form into a flat disk, wrap in plastic wrap, and refrigerate for at least 30 minutes. After chilling, roll the dough out between two sheets of parchment paper to about 1/8-inch thickness. -
Step 5
Cut the rolled dough into approximately 1-inch squares using a knife or pizza cutter. Lightly brush the tops of the crackers with olive oil and generously sprinkle with additional kosher salt. -
Step 6
Preheat oven to 375°F (190°C). Transfer the crackers on parchment paper to a baking sheet and bake for 12-15 minutes, or until golden brown and firm. Cool completely on the baking sheet to crisp up.
Important Information
Nutrition Facts (Per Serving)
It is important to consider this information as approximate and not to use it as definitive health advice.
Allergy Information
Please check ingredients for potential allergens and consult a health professional if in doubt.