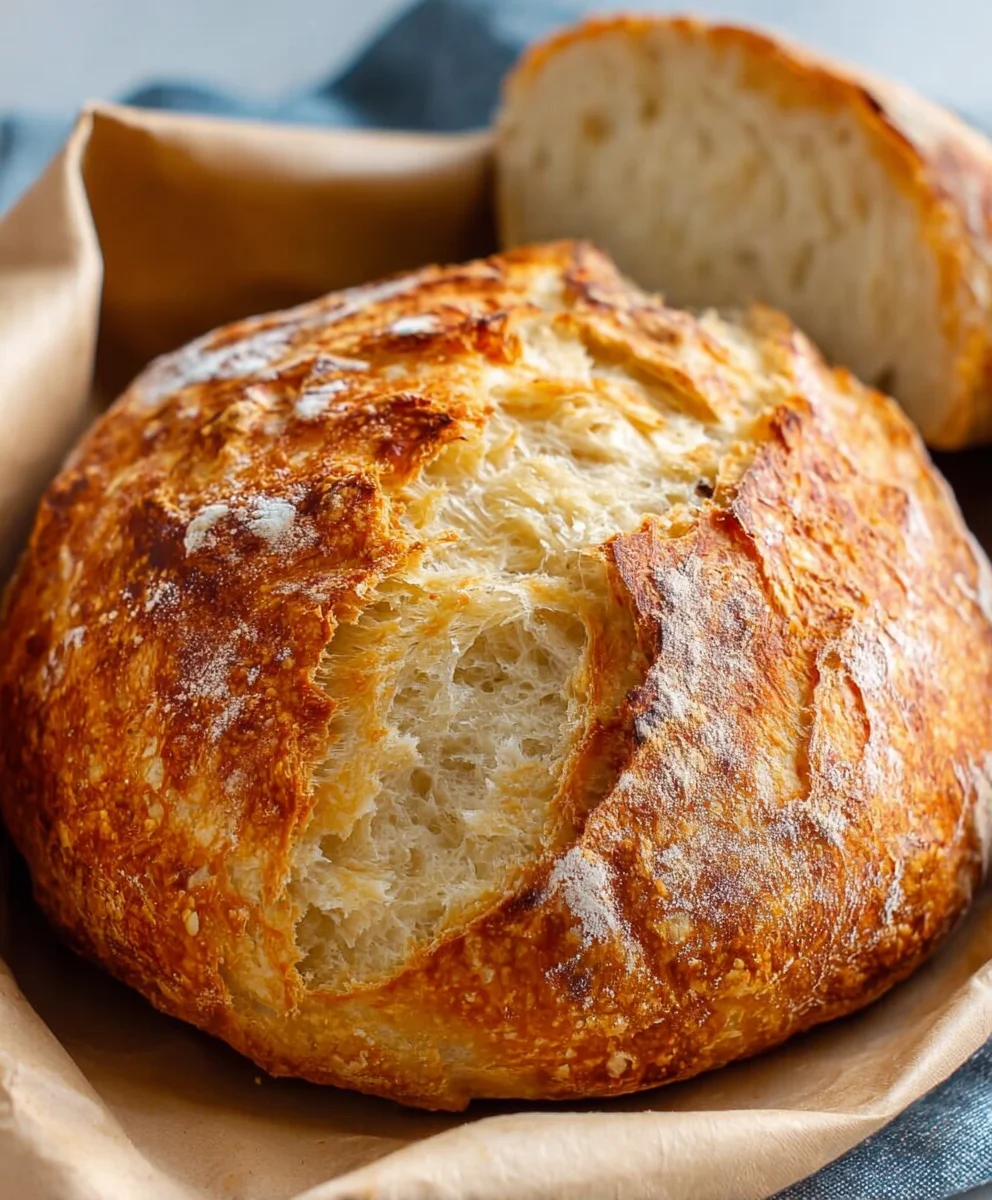
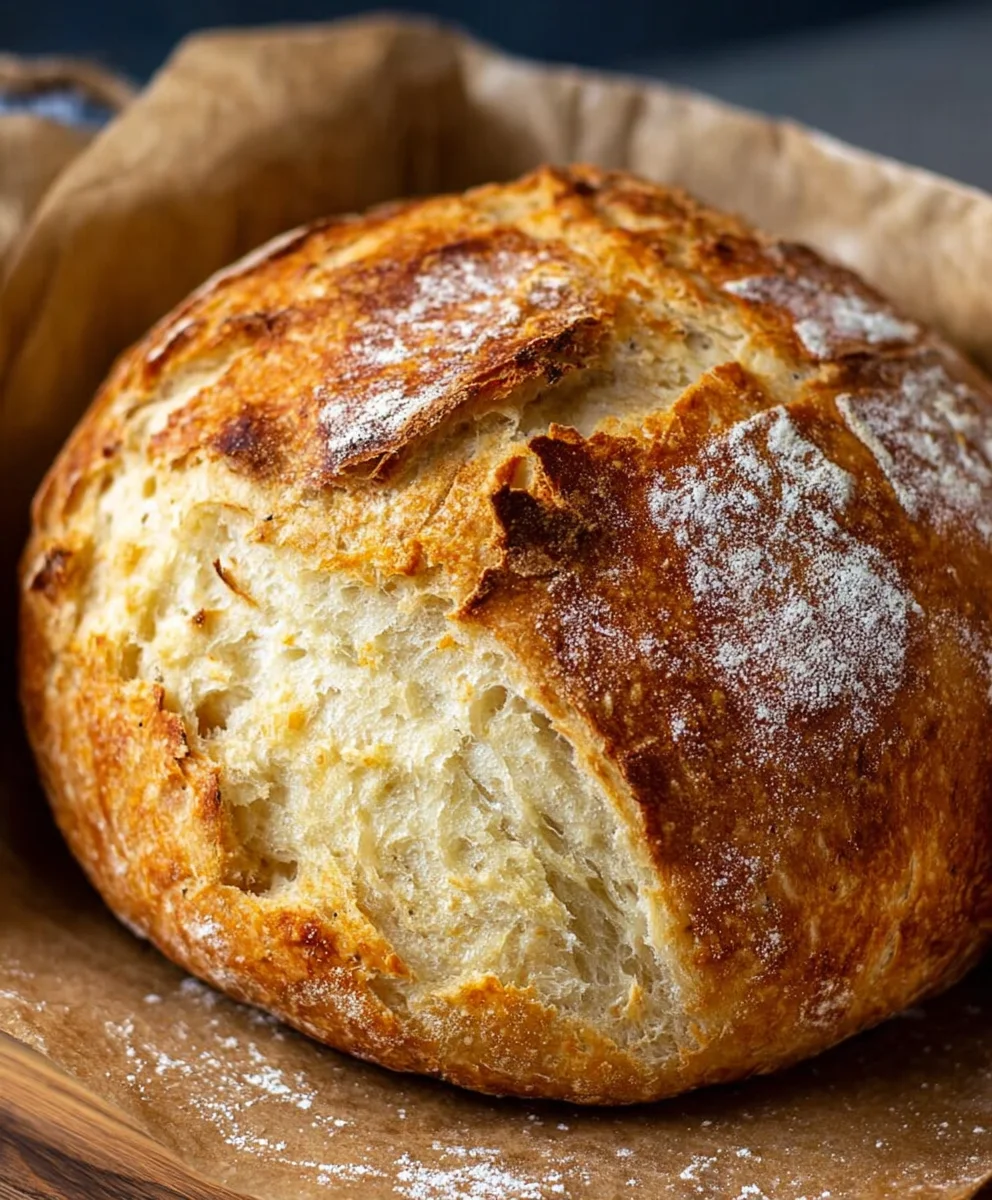
Quick Easy No-Knead Bread – Foolproof Homemade Loaf
Quick And Easy No-Knead Bread is more than just a recipe; it’s a culinary revelation for busy home bakers. Imagin extracte the aroma of freshly baked bread filling your kitchen, without the hours of kneading and proofing usually associated with artisanal loaves. That’s the magic of this remarkable approach. People adore this bread because it delivers that satisfyingly crusty exterior and delightfully airy interior that we all crave, all with minimal effort. What makes it truly special is its ingenious simplicity – a few basic ingredients, a little patience, and a hot oven work wonders to transform humble flour into a masterpiece. It’s perfecgin extractor beginners intimidated by traditional bread making, or for experienced bakers seeking a foolproof, stress-free option for a delightful, rustic loaf. Get ready to impress yourself and your loved ones with this surprisingly simple yet utterly delicious creation.
Ingredients:
- 3 cups bread flour
- 1 packet (which is approximately 2 teaspoons) of rapid rise yeast
- 1 ½ teaspoons of salt
- 1 ½ cups of warm water
Preparing the Dough
This Quick and Easy No-Knead Bread recipe relies on a simple yet effective method that requires minimal hands-on time. The magic happens through a long, slow rise, which develops the gluten structure without any vigorous kneading. First, gather all your ingredients. Having everything measured out and ready to go will make the process even smoother.
In a large mixing bowl, combine the bread flour and salt. The bread flour is crucial here as it has a higher protein content than all-purpose flour, which contributes to a better crum extractb structure and a chewier texture in the final loaf. The salt not only adds flavor but also helps to control the yeast activity, ensuring a more even rise. Whisk these dry ingredients together thoroughly to ensure they are well distributed. This step is important for consistency in the final bake.
Next, sprinkle the rapid rise yeast evenly over the dry ingredients. Rapid rise yeast, also known as instant yeast, is designed to work quickly and doesn’t require proofing in water beforehand. It can be added directly to the flour mixture. Give everything another quick whisk to further distribute the yeast.
Now, pour the warm water into the bowl. The water should be warm to the touch, but not hot – think around 105-115 degrees Fahrenheit (40-46 degrees Celsius). Water that is too hot can kill the yeast, while water that is too cool will slow down its activity. As you add the water, start mixing with a wooden spoon or a spatula. Continue to mix until all the flour is incorporated and a shaggy, sticky dough forms. It will look quite wet and unmanageable at this stage, and that’s exactly what we want. Don’t be tempted to add more flour at this point, even if it seems overly sticky. This high hydration is key to the no-knead method and will create a wonderfully open anrum extractiry crumb.
The Long Rise
Once your dough has come together, cover the bowl tightly with plastic wrap or a damp kitchen towel. This is where the patience comes in. Place the covered bowl in a warm, draft-free spot in your kitchen. A good place is on top of your refrigerator, or in an oven that has been turned off after a brief warming period. Let the dough rise for at least 12 hours, and up to 18 hours. This extended fermentation period is what develops the flavor and the chararum extractristic open crumb of no-knead bread. During this time, the yeast will work its magic, producing carbon dioxide gas that will create those lovely air pockets. The dough will visibly increase in size, potentially doubling or even tripling in volume, and will become bubbly and lighter in texture.
Shaping and Second Rise
After the long rise, the dough will be puffy and covered in bubbles. Lightly flour a clean work surface. Gently scrape the dough out of the bowl onto the floured surface. Be careful not to deflate it too much. The dough will be quite sticky and airy. You’re not going to knead it; instead, you’ll gently fold it a few times to create some surface tension. You can do this by stretching one side of the dough up and over to the center, then rotating the dough and repeating this process a few times. This helps to form a slightly smoother top and gives the loaf some structure.
Lightly flour a piece of parchment paper. Place your shaped dough onto the parchment paper, seam-side down. You can gently shape it into a rough ball or an oval. Cover the dough loosely with plastic wrap or a light kitchen towel and let it rest for another 30 to 45 minutes while you preheat your oven. This second, shorter rise allows the dough to relax and regain some of its airy structure before baking.
Baking the Bread
About 30 minutes into the second rise, place a Dutch oven (a heavy, lidded pot made of cast iron or enamel) into your oven. Preheat your oven, with the Dutch oven inside, to 450 degrees Fahrenheit (230 degrees Celsius). This high initial heat is essential for creating a fantastic crust. The preheated Dutch oven traps steam, which allows the bread to rise to its full potential before the crust begin extracts to set, resulting in a thinner, crispier crust and a taller loaf.
Once the oven and Dutch oven are fully preheated, carefully remove the hot Dutch oven from the oven. Remove the plastic wrap from your risen dough. Using the parchment paper as a sling, carefully lower the dough into the hot Dutch oven. Be very cautious as the pot is extremely hot. Place the lid back on the Dutch oven.
Bake the bread, covered, for 30 minutes. After 30 minutes, carefully remove the lid from the Dutch oven. You’ll see a beautifully risen, pnon-alcoholic ale loaf. Continue baking, uncovered, for another 15 to 20 minutes, or until the crust is a deep golden brown and the bread sounds hollow when tapped on the bottom. This final uncovered bake allows the crust to crisp up and achieve that perfect caramelized color.
Cooling and Enjoying
Once baked, carefully remove the bread from the Dutch oven and place it on a wire rack to cool completely. This step is crucial! Resist the urge to cut into it immediately. Allowing the bread to cool on a wire rack prevents the bottom from becoming soggy and allows the internal structure to set. As it cools, you’ll hear delightful crackling sounds from the crust – a sure sign of a perfect bake. Once fully cooled, slice and enjoy your delicious homemade Quick and Easy No-Knead Bread!
Conclusion:
And there you have it – your very own batch of delicious, crusty Quick And Easy No-Knead Bread! We’ve walked through each simple step to create a loaf that looks and tastes like it came from a professional bakery, all without the fuss of traditional kneading. This recipe is a testament to the magic of time and good ingredients, yielding a wonderfully airy interior and a satisfyingly chewy crust. Don’t be afraid to experiment with this foundational recipe; it’s incredibly forgiving and adaptable. Slice it warm and slather it with butter, use it for incredible sandwiches, or serve it alongside your favorite soups and stews. The possibilities are truly endless. Now go forth and bake with confidence – you’ve got this!
Frequently Asked Questions about Quick And Easy No-Knead Bread
Why does this bread not need kneading?
The magic of Quick And Easy No-Knead Bread lies in the long, slow fermentation process. Over many hours, the yeast has ample time to develop the gluten structure naturally, eliminating the need for physical kneading. This extended rise time also contributes to the bread’s complex flavor and beautiful open crum extractb.
Can I make this bread ahead of time?
Absolutely! The dough for Quick And Easy No-Knead Bread can be refrigerated for up to 3 days after the initial rise. This allows you to bake fresh bread whenever the craving strikes. Simply bring the dough to room temperature for about 30-60 minutes before proceeding with baking as usual. The flavor will often deepen with this cold fermentation.
What are some simple variations I can try?
The beauty of Quick And Easy No-Knead Bread is its versatility. You can add herbs like rosemary or thyme to the dough, sprinkle seeds (sesame, poppy, sunflower) on top before baking, or even mix in a handful of shredded cheese for a savory twist. A touch of garlic powder or onion flakes can also elevate the flavor profile wonderfully.
Quick Easy No-Knead Bread – Foolproof Homemade Loaf
A simple, foolproof recipe for a delicious homemade no-knead bread with a wonderfully open crumb and crispy crust. Minimal effort required for maximum flavor and texture.
Ingredients
-
3 cups bread flour
-
1 packet (2 teaspoons) rapid rise yeast
-
1 ½ teaspoons salt
-
1 ½ cups warm water
-
Parchment paper
Instructions
-
Step 1
In a large mixing bowl, combine bread flour and salt. Whisk well. Sprinkle rapid rise yeast over the dry ingredients and whisk again to distribute. Pour in warm water (105-115°F) and mix with a wooden spoon or spatula until a shaggy, sticky dough forms. Do not add more flour. -
Step 2
Cover the bowl tightly with plastic wrap or a damp kitchen towel. Let the dough rise in a warm, draft-free spot for at least 12 hours, and up to 18 hours. The dough will become bubbly and increase significantly in volume. -
Step 3
Lightly flour a clean work surface. Gently scrape the dough out and fold it a few times to create surface tension. Place the shaped dough onto a piece of parchment paper, seam-side down. Cover loosely and let rest for 30-45 minutes while preheating the oven. -
Step 4
About 30 minutes into the second rise, place a Dutch oven into your oven and preheat to 450°F (230°C). The oven and Dutch oven should be fully preheated. -
Step 5
Carefully remove the hot Dutch oven. Lower the dough into the pot using the parchment paper. Cover and bake for 30 minutes. Then, carefully remove the lid and continue baking uncovered for another 15-20 minutes, until deep golden brown and hollow-sounding when tapped. -
Step 6
Remove the bread from the Dutch oven and place it on a wire rack to cool completely. This is essential for preventing a soggy bottom and allowing the crumb to set. Slice and enjoy!
Important Information
Nutrition Facts (Per Serving)
It is important to consider this information as approximate and not to use it as definitive health advice.
Allergy Information
Please check ingredients for potential allergens and consult a health professional if in doubt.