Sugar Free Fudge Recipe – Easy Delicious & Guilt Free
Sugar Free Fudge is a delightful paradox, a treat that satisfies your deepest chocolate cravings without the guilt. For so many of us, fudge conjures up memories of childhood holidays, cozy evenings, and pure, unadulterated sweetness. But what if you’re looking to cut back on sugar or manage your dietary intake? Does that mean bidding farewell to this beloved confection? Absolutely not! This version of Sugar Free Fudge is crafted to deliver that rich, creamy texture and intense chocolate flavor you adore, all while being a smarter choice. We’ve discovered the secrets to creating a melt-in-your-mouth experience that rivals traditional fudge, proving that indulgence and smart eating can absolutely go hand-in-hand. Prepare to be amazed as you discover just how satisfying and decadent sugar-free can truly be.
Why You’ll Love This Recipe
This isn’t just another sugar-free recipe; it’s a carefully developed masterpiece designed for pure enjoyment. We’ve honed this recipe to ensure that the texture is spot-on – smooth, dense, and utterly irresistible. Forget any preconceived notions of sugar-free treats tasting bland or artificial. Our approach focuses on enhancing the natural richness of cocoa and using clever alternatives to achieve that perfect fudgy consistency. Whether you’re a seasoned baker or a begin extractner, this recipe is incredibly straightforward, promising delightful results every time. It’s the perfect way to share a homemade treat with loved ones, knowing everyone can enjoy a piece of this delicious Sugar Free Fudge.
Ingredients:
- 2 cups sugar free chocolate chips
- 1 cup almond butter (or any smooth nut or seed butter, like peanut butter or sunflower seed butter)
- 1 teaspoon vanilla extract
Making Your Sugar Free Fudge
This recipe is incredibly straightforward, making it perfect for a quick sweet treat or a thoughtful homemade gift. We’re focusing on simple, high-quality ingredients to let the rich flavor of the chocolate and the creaminess of the almond butter shine, all without the added sugar.
Step 1: Preparing Your Pan
Before you even think about melting chocolate, the most crucial first step is to prepare your baking pan. This ensures your delicious sugar-free fudge won’t stick and will be easy to remove and cut later. You’ll need an 8×8 inch baking pan. Line it with parchment paper, leaving an overhang on all sides. This overhang acts as “handles” to lift the entire slab of fudge out of the pan once it’s set. Make sure the parchment paper extends up the sides of the pan as well, creating a barrier between the fudge and the metal. This makes cleanup a breeze and guarantees a clean release. For extra insurance against sticking, you can lightly grease the pan with a tiny bit of cooking spray or a thin layer of butter before laying down the parchment paper, though with the parchment overhang, this is often unnecessary.
Step 2: Melting the Chocolate and Almond Butter
Now comes the melting process. You have two primary methods: the microwave or a double boiler. For the microwave method, place the sugar-free chocolate chips and the almond butter into a microwave-safe bowl. Microwave on 50% power in 30-second intervals, stirring thoroughly after each interval. It’s vital to use 50% power to prevent the chocolate from scorching, which can give it a bitter taste. Stirring is key; don’t be tempted to just let it melt on its own. You want a smooth, homogenous mixture. The almond butter will help the chocolate melt more evenly and contribute to the creamy texture of the fudge. If you’re using a double boiler, fill the bottom pot with about an inch of water and bring it to a simmer. Place the chocolate chips and almond butter in the top bowl, ensuring the bottom of the bowl does not touch the simmering water. Stir constantly until completely melted and smooth. Whichever method you choose, the goal is a glossy, streak-free mixture.
Step 3: Incorporating the Vanilla Extract
Once your chocolate and almond butter mixture is perfectly melted and smooth, it’s time to add the vanilla extract. This is where a touch of fragrant depth is added to your sugar-free fudge. Remove the bowl from the heat (if using a double boiler) or from the microwave. Add the teaspoon of vanilla extract directly into the melted mixture. Stir it in gently but thoroughly until it’s fully incorporated. Vanilla extract enhances the chocolate flavor and adds a warm, subtle sweetness that complements the nuttiness of the almond butter. Avoid adding the vanilla extract while the mixture is still extremely hot, as some of the volatile flavor compounds can evaporate. Allowing it to cool for just a minute or two before adding the vanilla is ideal.
Step 4: Pouring and Spreading the Fudge
With your chocolatey, nutty, vanilla-infused base ready, carefully pour the mixture into your prepared 8×8 inch pan. Use a spatula or a heat-resistant rubber scraper to get every last bit out of the bowl. Now, you need to spread the mixture evenly to create a uniform layer for your fudge. Gently spread the mixture towards the edges of the pan, using your spatula to create a smooth, flat surface. This evenness is important for consistent cooking and for creating neat, uniform squares when you cut the fudge. You want to make sure there are no large air bubbles trapped. If you see any, gently tap the pan on the counter a couple of times, or use your spatula to carefully smooth them out.
Step 5: Chilling and Cutting Your Sugar Free Fudge
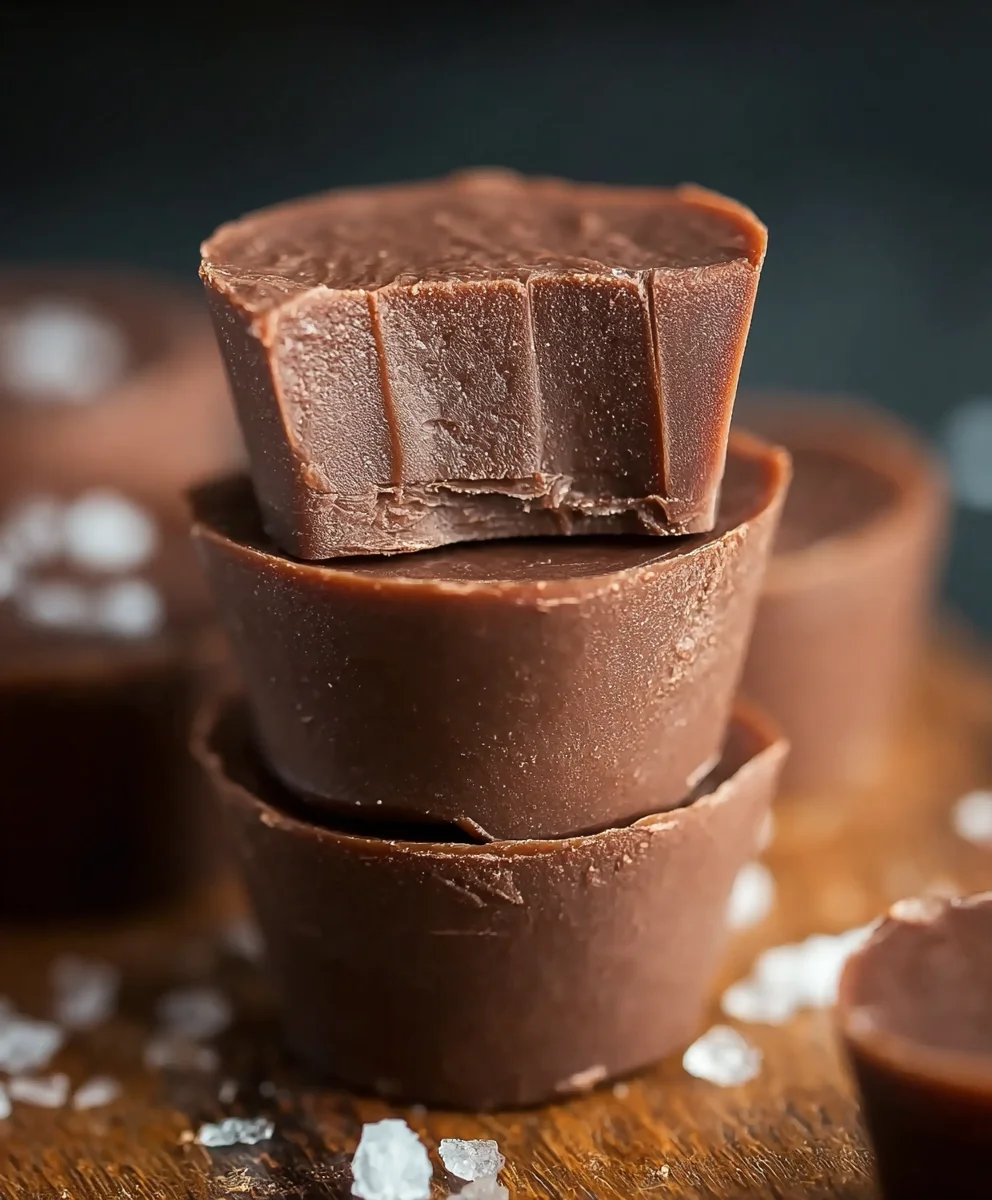
This is the waiting game, but it’s worth it! Once the fudge is spread evenly in the pan, cover it loosely with plastic wrap or aluminum foil. Transfer the pan to the refrigerator. You’ll want to let it chill for at least 2-3 hours, or until it’s completely firm to the touch. The colder and firmer it gets, the cleaner your cuts will be. Once the fudge is solid, use the parchment paper overhangs to carefully lift the entire slab out of the pan and place it on a clean cutting board. Now, for the cutting. Use a sharp knife, ideally one that has been warmed slightly under hot water and then dried thoroughly. This will help the knife glide through the firm fudge without draggin extractg. Cut the fudge into your desired square or rectangular shapes. Small, bite-sized pieces are often perfect for this rich treat. For the neatest cuts, wipe your knife clean between each cut. You can store the cut fudge in an airtight container in the refrigerator for up to two weeks.
Conclusion:
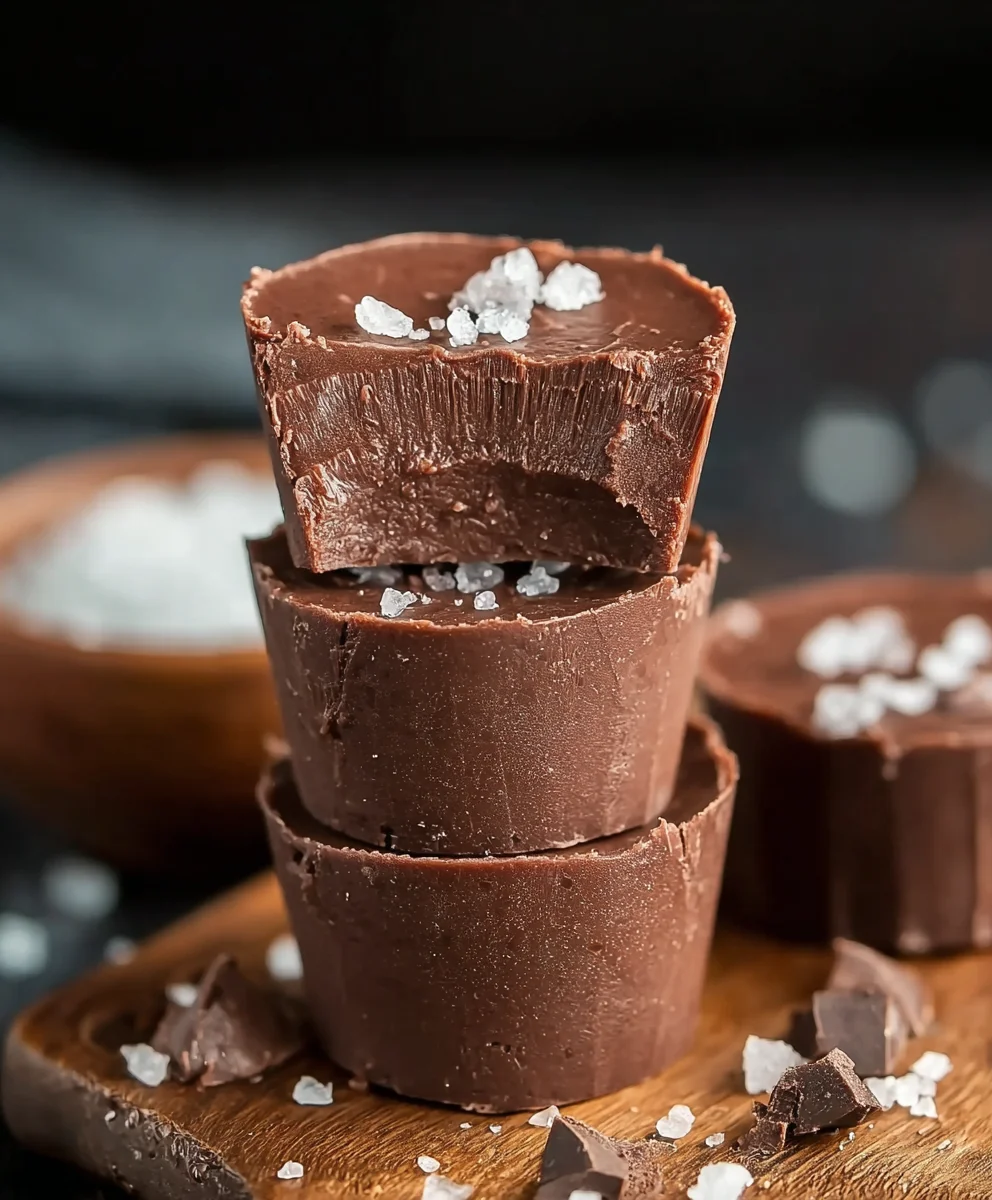
And there you have it – a delightful batch of Sugar Free Fudge! We’ve walked through the simple steps to create this rich and satisfying treat without the sugar spike. This Sugar Free Fudge is perfect for those watching their sugar intake, or simply looking for a healthier indulgence. Its creamy texture and deep chocolate flavor make it a crowd-pleaser, and you can feel good about enjoying it.
For serving suggestions, this Sugar Free Fudge is wonderful on its own, cut into small squares. It also makes a fantastic addition to a dessert platter, or can be crum extractbled over sugar-free ice cream or yogurt. When it comes to variations, don’t be afraid to experiment! You could add a pinch of chili powder for a spicy kick, a dash of espresso powder to enhance the chocolate flavor, or even some chopped sugar-free nuts like walnuts or pecans for added texture and a nutty undertone.
I truly hope you enjoy making and, more importantly, eating this Sugar Free Fudge. It’s proof that you don’t need sugar to enjoy a decadent chocolate experience. Give it a try and surprise yourself with how delicious guilt-free indulgence can be!
FAQs:
Can I use a different type of sugar substitute?
Yes, you can experiment with other granulated sugar substitutes that measure cup-for-cup like sugar. However, be aware that different sweeteners can sometimes affect the texture or setting time. Erythritol or xylitol (ensure it’s pet-safe if you have animals) are generally good options. Stevia or monk fruit blends can also work, but you might need to adjust the amount and may find the texture slightly different.
How should I store Sugar Free Fudge?
Sugar Free Fudge should be stored in an airtight container in the refrigerator. This helps maintain its texture and prevents it from becoming too soft. It can typically be stored for up to a week. If you live in a very warm climate, keeping it in the fridge is especially important.
Sugar Free Fudge Recipe – Easy Delicious & Guilt Free
A simple and delicious recipe for sugar-free fudge, perfect for a guilt-free sweet treat. This recipe uses minimal ingredients and is incredibly easy to make.
Ingredients
-
2 cups sugar free chocolate chips
-
1 cup almond butter
-
1 teaspoon vanilla extract
-
Parchment paper
-
Cooking spray or butter (optional)
Instructions
-
Step 1
Prepare an 8×8 inch baking pan by lining it with parchment paper, leaving an overhang on all sides. This overhang will act as handles to easily lift the fudge out later. For extra insurance against sticking, lightly grease the pan before laying down the parchment paper. -
Step 2
Melt the sugar-free chocolate chips and almond butter together. In a microwave-safe bowl, combine the chocolate chips and almond butter. Microwave on 50% power in 30-second intervals, stirring thoroughly after each interval until smooth and glossy. Alternatively, use a double boiler, stirring constantly until completely melted and smooth. -
Step 3
Once the chocolate and almond butter mixture is melted and smooth, remove it from the heat or microwave. Stir in the vanilla extract until fully incorporated. Allow the mixture to cool for a minute or two before adding the vanilla to preserve its flavor. -
Step 4
Pour the fudge mixture into the prepared pan. Use a spatula to spread it evenly towards the edges, creating a smooth, flat surface. Gently tap the pan on the counter to remove any large air bubbles. -
Step 5
Chill the fudge in the refrigerator for at least 2-3 hours, or until completely firm. Once set, use the parchment paper overhangs to lift the slab out of the pan and place it on a cutting board. Cut into desired squares or rectangles using a sharp knife. Store in an airtight container in the refrigerator for up to two weeks.
Important Information
Nutrition Facts (Per Serving)
It is important to consider this information as approximate and not to use it as definitive health advice.
Allergy Information
Please check ingredients for potential allergens and consult a health professional if in doubt.